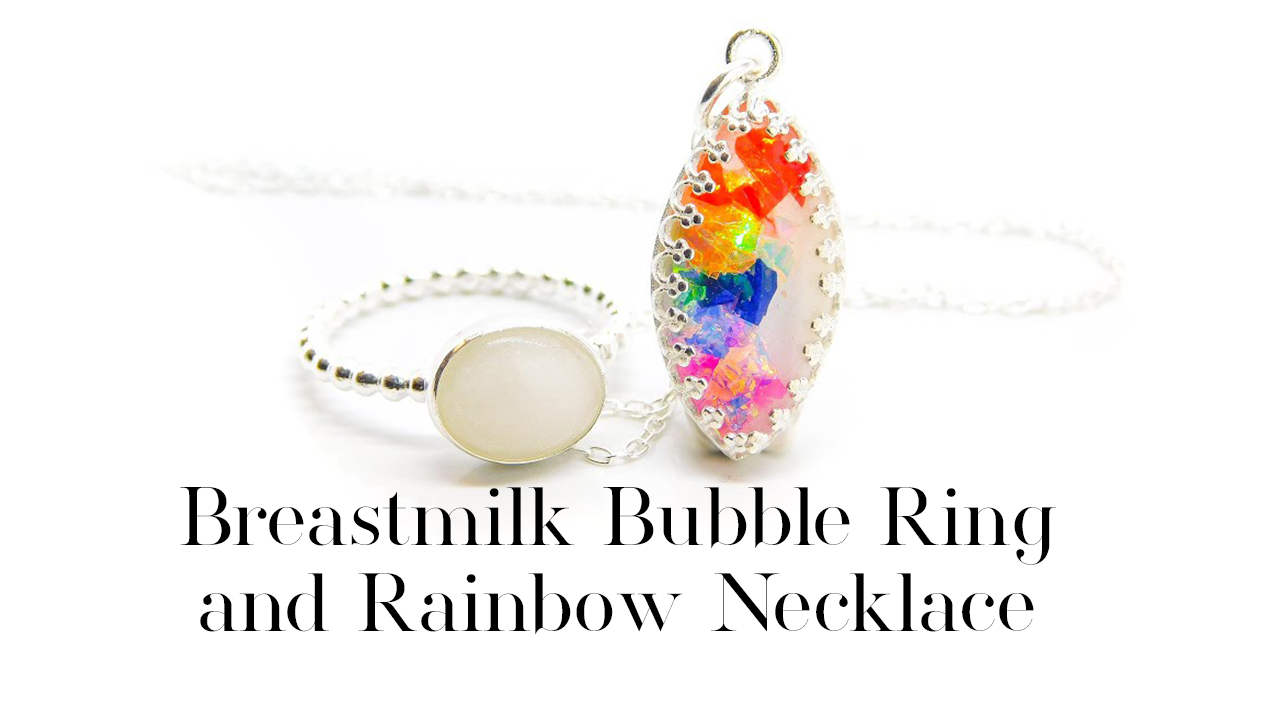
Bubble Ring and Rainbow Necklace tutorial – making breastmilk stones for jewellery using a cabochon stone technique compared to doing a direct pour. Recently I’ve created two free courses to help people learn how to make breastmilk and memorial jewellery – click here to register and take them!
I’m using one of our bubble band rings which are great for rubbing over a stone or direct pouring. The breastmilk kit option for the ring comes with a single mould, so you can make a couple of cabochons then choose your favourite to top coat and set in the setting or you can pour the milk paste and resin directly into the ring.
If you want to make the marquise necklace as well as the ring, you don’t need to buy two kits; you can use the breastmilk preservation powder to preserve the client’s milk and it’s more than enough for dozens of pieces. All you need to add is the marquise necklace setting and a marquise mould duo.
Bubble Ring and Rainbow Necklace Tutorial Video
I like to suggest that the client keeps another 10 mil in their freezer in case it’s lost in the post

You’ll need the following supplies
- your client’s breastmilk
- a breastmilk ring kit (all of our rings are available as breastmilk kits)
- crown marquise necklace setting
- 20x10mm marquise mould duo
- a necklace chain
- UV top coat
- tiny spoon
- opalescent flakes
Tools and Equipment
- LED UV lamp to work with UV resin
- You can also use epoxy resin for these pieces but you will need to wait for the resin to cure between layers which can take days
- curved burnisher or a teaspoon
- side cutting pliers
RECEIVING BREASTMILK
Before starting, I preserved and dried the client’s milk, being careful to keep it labelled


This milk ground fairly easily in five minutes, but some samples take longer than others. Put a small drop of resin on a piece of label backing paper, then add a tiny spoonful of the milk powder and combine to make a milk paste. Take your mould and add a little clear resin, covering about a quarter. Please use gloves to work with resin, I usually do but they get in the way of the camera. Use a cocktail stick to transfer a tiny bit of the milk paste. Cure under the UV lamp for 99 seconds on a low heat then allow it to cool before repeating in layers.
Work in layers, adding a bit more milk paste in each layer until the final layer is opaque. You could add umbilical cord or baby’s first curl, shimmers and sparkles, colour tints, precious metal leaf, birthstones and boobie awards, whatever your client wants. This client chose classic breastmilk but I wanted to show you how to make a rainbow with opalescent flakes so I made them a marquise necklace as a gift. Lay out the flakes on resin so they’re a little easier to transfer, you cut them smaller and take more time with placement.

Some artists take hours placing hair, cord, words, text and images, flowers and sparkles and you should be able to charge more for this style of piece but it doesn’t always work that way. Please make sure that you value your time highly enough when you’re pricing something that takes over an hour to make, so that you can pay yourself, such as charging more depending on the complexity of the work. If you’re making a rainbow, don’t forget the order is red, orange, yellow, green, blue, indigo and violet. I like to use pink for the violet. Add some clear resin to the opalescent layer before curing, add a bit of milk paste and mix gently so the milk can swirl into the flakes a little. Cure then add more layers with milk paste until it’s opaque at the back. After the final layer, add some top coat to the back of all the stones, cure and cool.

To set the stones just remove them from the mould and trim the edges with side cutting pliers. Then place them on a little WhiteTack ball and top coat then cure again twice. When they’re cooled, they will feel smooth and be super shiny. Test the stone in the setting and file the edges if necessary. Place inside the setting and use the back of a teaspoon, or a curved burnisher like I’m using here, to press down the points to secure the stone. To set the ring, place the ring setting in a ring clamp then add the breastmilk stone. You don’t need glue for this Bubble Ring and Rainbow Necklace Tutorial.
Use a curved burnisher to press in the edges at 12o’clock, 6o’clock, 3o’clock then 9o’clock, then the corners, then smooth down any ridges. If the stone is too tall, you won’t be able to secure it with with the bezel cup, if it’s too short you will have to work harder to rub over the silver and might get ridges. To make the stone taller, apply top coat in layers to the back or cut a piece of plastic the same size as the stone to go behind it (like a piece of a milk bottle). To make a stone shorter, file it down on a 100 grit sandpaper or use a large diamond file. Add a chain and the little necklace is ready. Photograph the pieces and then they’re ready to send to your client.
Usually I take a proof photo to send to the client to check they’re happy with the colours but I don’t think it’s necessary with classic breastmilk, and I wanted the rainbow necklace to be a nice surprise so I didn’t photograph this order first. However, proof photos virtually eliminate complaints from clients who don’t like the colour, so if they’ve asked for anything but classic milk make sure you send one. We have two free courses available at KeepsakerSupplies.com at the moment and I hope you get a chance to try them. I’m so grateful for my client’s permission to film this anonymously as part of my series of courses to make breastmilk and memorial jewellery.

Please note, this blog contains affiliate links, meaning I receive a small income based on your purchases from Amazon and Etsy etc. This affiliate income is really helpful to me to support my family and if you’d like to know how I set it all up please get in touch (blogs coming soon!).
Nikki
pronouns – they/them
