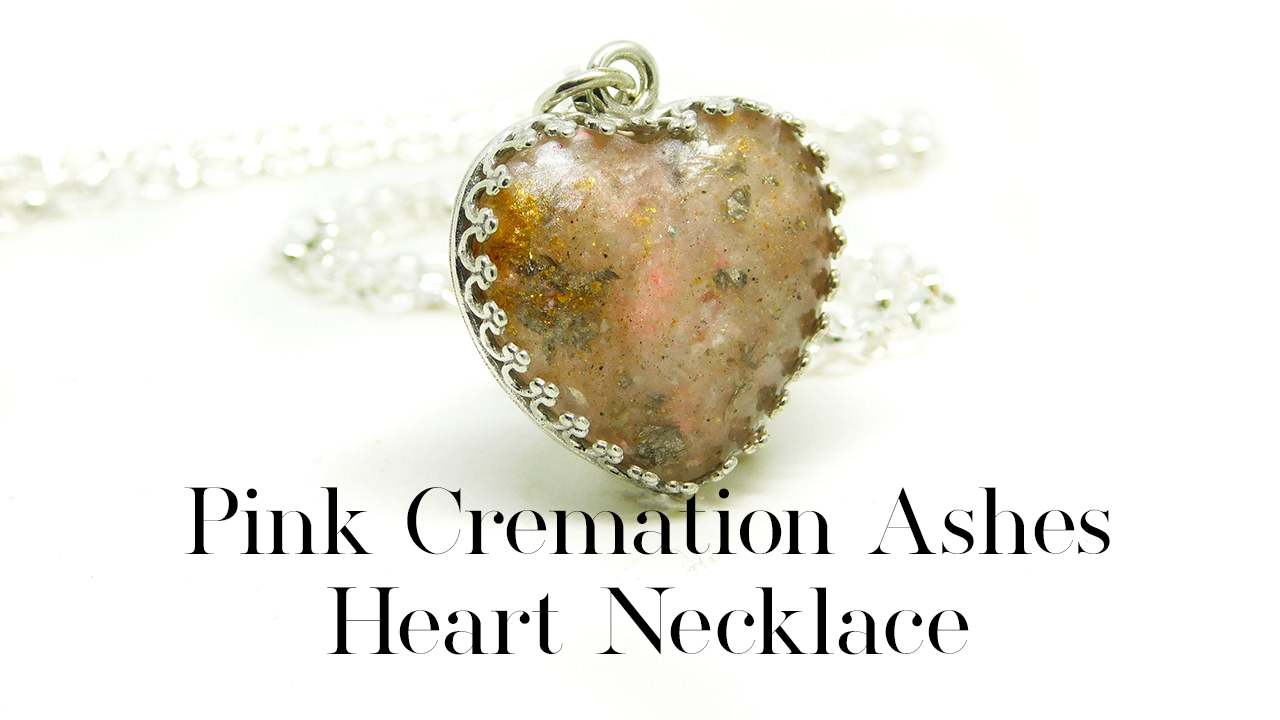
Learn how to make a cremation ashes heart necklace with our video below. I’m working with horse ashes in this video so if you find this upsetting please do not watch. The resin part of this is very similar to our How to Make a Cremation Ashes Ring blog, but this setting is much easier!
You can read more about working with ashes in our How To Make Cremation Ashes Jewellery blog here (click).
Supplies from Keepsaker Supplies
A cremation ashes heart necklace kit, this includes
- the new style scalloped edge anti-tarnish solid silver heart necklace setting with jump ring
- a single 18mm heart cabochon mould
- dust mask
- vinyl gloves
- cocktail sticks
- resin sparkle mix
- UV resin
- sandpaper
You might also need:
- Your client’s cremation ashes (or we can send you some practice ashes)
- pestle and mortar
- cremation ashes spoon
- precious metal leaf
- rubbing alcohol
- cotton wool pad
- diamond file
- silver polishing cloth
- burnishing tool
- medium weight necklace chain
- LED UV lamp

How to Make a Cremation Ashes Heart Necklace
Preparing the Mould
Firstly, inspect your mould and check for any dust or dirt, or lines and imperfections
Prepare the mould if it’s a little dusty by one of two methods
- The first is by wiping it with rubbing alcohol and a cotton wool pad
- The second is by applying a thin layer of UV resin and then curing. The dust will come off when you remove the resin
It’s better to replace a mould when it’s starting to get dull than spend hours trying to get a perfect shine back on your finished piece
CURE FOR 99 SECONDS
Then, you can remove the cleaning layer
Clear Layer
Pour the first bit of resin on the edge of the mould because it will probably have an air bubble
Carefully put a large dot of resin in the centre of each of the hearts
Tilt the mould around so that the whole surface is covered
Only use a cocktail stick if you have a bubble
Place it under your UV lamp for 30 seconds
This will give you a clear top layer on your finished piece
Add the Ashes and Colours
Check you have the right colours and double check your client’s name and order number against what they’ve ordered
We ask our clients to send no more than half a teaspoon of ashes
Inspect the cremation ashes and consider grinding them a little finer
Cremation ashes are ground in the crematorium and some are ground finer or for longer than others
The grains will suspend more nicely in the resin if they are very fine
Take a small pinch of your client’s ashes, and place them in a pestle and mortar
Gently grind them down until they’re a little finer
Put them to one side. Somewhere where you can’t knock them over
Pour another layer of resin in, about two thirds of the way up
Use the cocktail stick to add a very tiny amount of ashes
Then your colors. I’m using a fairy pink resin sparkle mix here
Then I add a little bit of gold synthetic mica
Add a little bit of precious metal leaf if you like
This one is palladium leaf
Add a very tiny pinch of ashes
Gently swirl everything around to cover the first layer
If you want lots of depth to your piece then don’t add too much of
anything in the first colour layer
Keep it nice and translucent
cure for 30 seconds
Final Colour Layer
Repeat with another layer of resin almost to the top
Add a little bit more ashes this time along with more colour
This will ensure that none of your necklace is patchy or see-through
Cure for another 30 seconds
Finally add a thin layer of resin to dome the back and then cure for a final 30 seconds
Remove from the UV lamp and leave to completely cool
Clear Up
Use this time to clear up your work station, put your client’s ashes back into their bag and wash your pestle and mortar
I like to use rubbing alcohol on a cotton wool pad then use warm soapy water before drying completely
Preparing The Setting
Check that your heart setting has a jump ring
If not, you can solder one on or use a 6mm split ring like this
Make sure you don’t have any tangles in the necklace chain
Give it all a quick polish with a silver polishing cloth
Demoulding the resin heart
Once the piece is completely cooled you can remove it VERY EASILY from the mould
Check for imperfections then put a little rubbing alcohol onto a piece of cotton wool pad
Wipe the heart over to remove any stickiness
You might need to remove a little excess resin with a flat diamond file
Snap off any excess resin around the edges or use a burr on a rotary tool
Don’t forget to wear a mask doing this
Then wipe off any dust
Setting the resin heart
Put the heart into the setting
Use a burnishing tool to push down the crown points
Check that your necklace chain fits through the jump ring
If not, you MIGHT be able to gently squeeze together the last ring on the chain a little
Then it will usually fit through
If you’re using a very large chain like a Pandora style snake chain then you can attach a bail to the heart setting
Photographing the resin heart
You can photograph your cremation ashes jewellery a number of ways
Let me know in the comments if you’d like to see more videos like this and don’t forget I’ve linked to the blog and all the supplies you need down below
Now relax and do some crafting
**contains sponsored content meaning I may receive a small income based on purchases you make on my recommendations. Some of the products mentioned and linked to are ones my own items for sale

Thank you! This tutorial was done so beautifully! Every step was clear and easily understood.
I’ll be ordering from your links today!
Mitzi
Aww thanks Mitzi, that’s really lovely to hear. I can’t wait to see what you create, please send me pics!
Nikki x
[…] can find part two of our blog here (coming soon), there is a blog on making this beautiful cremation ashes heart necklace here and if you’d like to purchase cremation ashes jewellery then please see Nikki’s other […]
Hi this is an amazing site ive ordered the components to make a ring for my husband using my sons ashes. I would love it if you could show a video showing how to set the resin and ashes cabachon into a ring. I have googled and i think its 2 part epoxy thats used.
Hi Jo we’re planning a ring video soon, you don’t need any glue to set the cabochon but it’s recommended for some settings. We use E6000!
Thanks
Nikki
[…] How to Make a Cremation Ashes Heart Necklace […]
[…] How to Make a Cremation Ashes Heart Necklace […]
[…] How to Make a Cremation Ashes Heart Necklace […]
[…] How to Make a Cremation Ashes Heart Necklace […]
[…] make a cremation ashes heart necklace using one of our kits. You can read the full blog here: How to Make a Cremation Ashes Heart Necklace and it’s my top video on […]
[…] How to Make a Cremation Ashes Heart Necklace […]