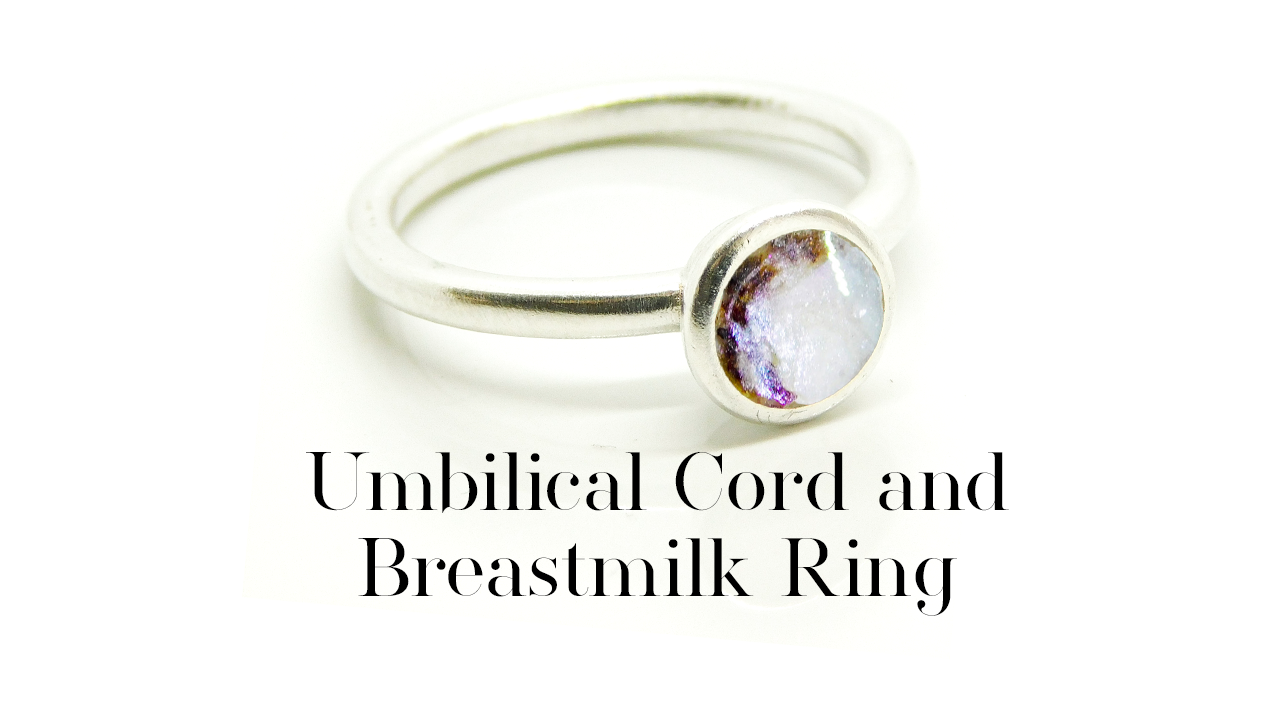
Umbilical cord and breastmilk ring tutorial – making breastmilk jewellery using a direct pour technique. This technique is ideal for our exclusive hybrid rings here which are great for direct pouring because the walls are curved over, meaning the resin can’t pop out again. You also have the option to use the mould included in the kit to make a couple of cabochons then choose your favourite to glue into the setting and top coat.
Umbilical Cord and Breastmilk Ring Tutorial Video
To learn how to preserve the milk here’s the full blog with instructions and the video:
Firstly, when making breastmilk jewellery send your client a breastmilk sending kit, see our Worldwide Sourcing Guides here – including the UK, USA, Australia and Canada (more countries coming soon) for details on the tubes we recommend, which are also suitable for heating directly although that’s not needed for this method.
Umbilical Cord and Breastmilk Ring Tutorial
You’ll need the following supplies
one of our DIY breastmilk ring kits
the breastmilk version of the kits contain:
- a single silicone mould, although we’re not using it in this video
- a single sachet of our own Breastmilk Preservation Powder
- a ring setting – this is one of our exclusive Ayla solitaire rings
- vinyl gloves
- pearly breastmilk sparkle mix
- a dust mask
- label backing paper
- some sandpaper
- 3 cocktail sticks
- 10g UV resin
You’ll also need your client’s preserved, dried and ground breastmilk and a small piece of your client’s umbilical cord/placenta powder or cremation ashes. We ask them to only send half a cord stump, not including the clip! That way, if it’s lost in the post they can send a little more.
- LED UV lamp**
- UV top coat (which today I used in place of resin)
- side cutting pliers
- at least one white pestle and mortar
- a tiny measuring spoon
- and a ring clamp

GRINDING UMBILICAL CORD
The pliers are the easiest way to cut umbilical cord
You can use scissors instead, but it’s tricky because the cord is tough and sinewy.
Cord stumps contain dried connective tissue and blood, some have more connective tissue and the resulting jewellery is more beige and brown, some have more blood and have a ruby colour but most pieces are a combination
Cut off some of the cord stump and put the rest back in the pot for your client to return with their finished jewellery
Use the pliers to make the pieces as small as possible. You can see you only need the tiniest bit!
Use the pestle and mortar to grind those pieces finely just as you did with the breastmilk powder.
The more time you spend grinding, the nicer the result
Scrape it from the edges with a tiny spoon
For good measure, give your breastmilk powder an extra grind in the other pestle and mortar
on KeepsakerSupplies.com you’ll find all the supplies I’ve used in this video

FILLING THE RING
Put your ring in the side of the ring clamp
You can also prop it up in an egg cup wrapped with cling film with a slit, or propped up in WhiteTack on a ring dish.
Anything which can be easily transferred into the UV lamp and keeps it up level
On the label backing paper put some pearly breastmilk sparkle mix, a tiny drop of resin and add breastmilk powder.
I’m using our UV top coat today instead of resin because it’s easier to work with and never leaves a sticky residue.
I don’t use it for every piece because it’s a little pricier than our regular UV resin which comes in the making breastmilk jewellery kit.
I wouldn’t use it for a bead or a heart necklace for instance.
It’s no problem using the resin in the kit but I definitly recommend buying the top coat just for a finishing layer of larger pieces
Mix the powder and resin well with the cocktail stick and put a little drop in the ring, so it’s just about half full
Cure in a UV lamp**
ADDING THE CORD
Take a fresh piece of label backing paper and add a drop of resin.
Put the ground umbilical cord next to it.
Use a toothpick to put some resin where you want the cord, in this case I’m making a crescent moon shape so I’m adding it round one edge
CURE AGAIN
Put any unused cord back in the client’s pot to return
You could also add dried ground placenta or cremation ashes at this point, too
SWIRLING ON A GALAXY EFFECT
Clients absolutely love a galaxy effect, so I’m adding some of the pearly breastmilk sparkle mix which comes in the kits.
Add a little bit of resin then take the tiniest bit of the pearly sparkles on a toothpick
This is pearly purple and I’m adding a couple of the opalescent flakes
Swirl in gently, you’ll notice it’s only visible at certain angles so it’s a beautiful surprise when it catches the light just so
We sell six different colours of the pearly breastmilk sparkle mixes, also known as “ghost pigments” because they don’t really contain any pigment.
The photos on our website definitely don’t do them justice!
Cure again
DOMING WITH TOP COAT
I find it easiest to pick up a little top coat directly from the bottle and drop onto the piece
If you add too much, just use the side of the toothpick and roll it around in the resin to pick some up
I like it just slightly domed, if it’s too high it’s more prone to being knocked
FULLY CURE TWICE
Allow the ring to cool completely after curing then cure again
The resin can’t pop out of this ring because it’s curved inwards at the top making it perfect for direct pours or cabochon stone setting

**Which UV Lamp To Use
I’m using a 48w Sun3 lamp with a low heat setting but any UV lamp or torch will do when making breastmilk jewellery. We sell a USB powered mini lamp here (UK only, sorry – here’s the USA version). We don’t recommend you use daylight unless it’s very bright and sunny and you work in extremely thin layers. We had a client contact us this week and we’re replacing their DIY breastmilk ring after the resin exploded out of the centre after being cured on the windowsill. The sunlight had only cured the very top layer, underneath was still liquid.
If you add too much pigment to a piece too it won’t cure, I’ve had beads that you can crush in your fingertips made by new artists that added too much resin sparkle mix.
Adding Hair
If you want to add hair when making breastmilk jewellery then you can cut a little and add it along with, or instead of, the umbilical cord. I find it a lot easier to shape it into a mould though.
There’s a video linked down below teaching you how to do that and set it in a rubover setting
This is one of our exclusive hybrid settings meaning you can pour directly into it like I’m doing here or you can glue in a cabochon then dome it with a top coat to add extra security
Now relax and do some crafting!
Making Breastmilk Jewellery eCourse
Making Breastmilk Jewellery Intro (Part 1 of 5)
Making Breastmilk Jewellery: Methods To Avoid (Part 2 of 5)
Making Breastmilk Jewellery: Methods That Work (Part 3 of 5)
Getting Started Making Breastmilk Jewellery (Part 4 of 5)
What You Need To Make Breastmilk Jewellery (Part 5 of 5)
Breastmilk Preservation Powder Instructions
Breastmilk Preservation Powder FAQ’s
Making A Breastmilk Heart Necklace
Umbilical Cord and Breastmilk Ring Tutorial
6 Ways To Sell More Breastmilk Jewellery
Please note this blog may contain affiliate links, meaning we may recieve a little extra income from your purchases at no extra cost to you
*terms apply – some products aren’t included such as settings and findings, sorry.

Can you keep a cord while in resin ? Client wants to add babies label to piece
Thank you for your advice in advance
Hi Susan if you’re wondering if you can keep the baby’s cord whole then yes of course. There are two main reasons why I don’t: a) I don’t personally like the aesthetic of the large piece, I think flecks look nicer but it’s up to your client. b) If the piece goes wrong then you have to destroy it to get the cord out, which takes lots of drilling with a carbide burr bit and a saw which is really bad for your lungs. It takes time and I just don’t like to work with anything irreplacable. If I mess up a piece with some ground cord I can just remake the stone or scrape it out and I have more to work with.
Can you tell me what you mean by a label? I’m planning a blog soon using words on transparency that you can embed in resin
Thanks
Nikki