Instructions on Making Breastmilk Jewellery: Intro (Part 1 of 5)
This series on making breastmilk jewellery is written by Nikki Kamminga, owner of Keepsaker Supplies and Tree of Opals. I can’t give you all the answers and it won’t magically create a business for you, but it’s an excellent start. If you’re looking for step-by-step instructions and a guaranteed method to preserve breastmilk just buy our ready-mixed Breastmilk Preservation Powder here. To try your own preservation techniques, read all parts of this blog and give it a try. Preserve your clients' breastmilk easily and inexpensively with this amazing powder

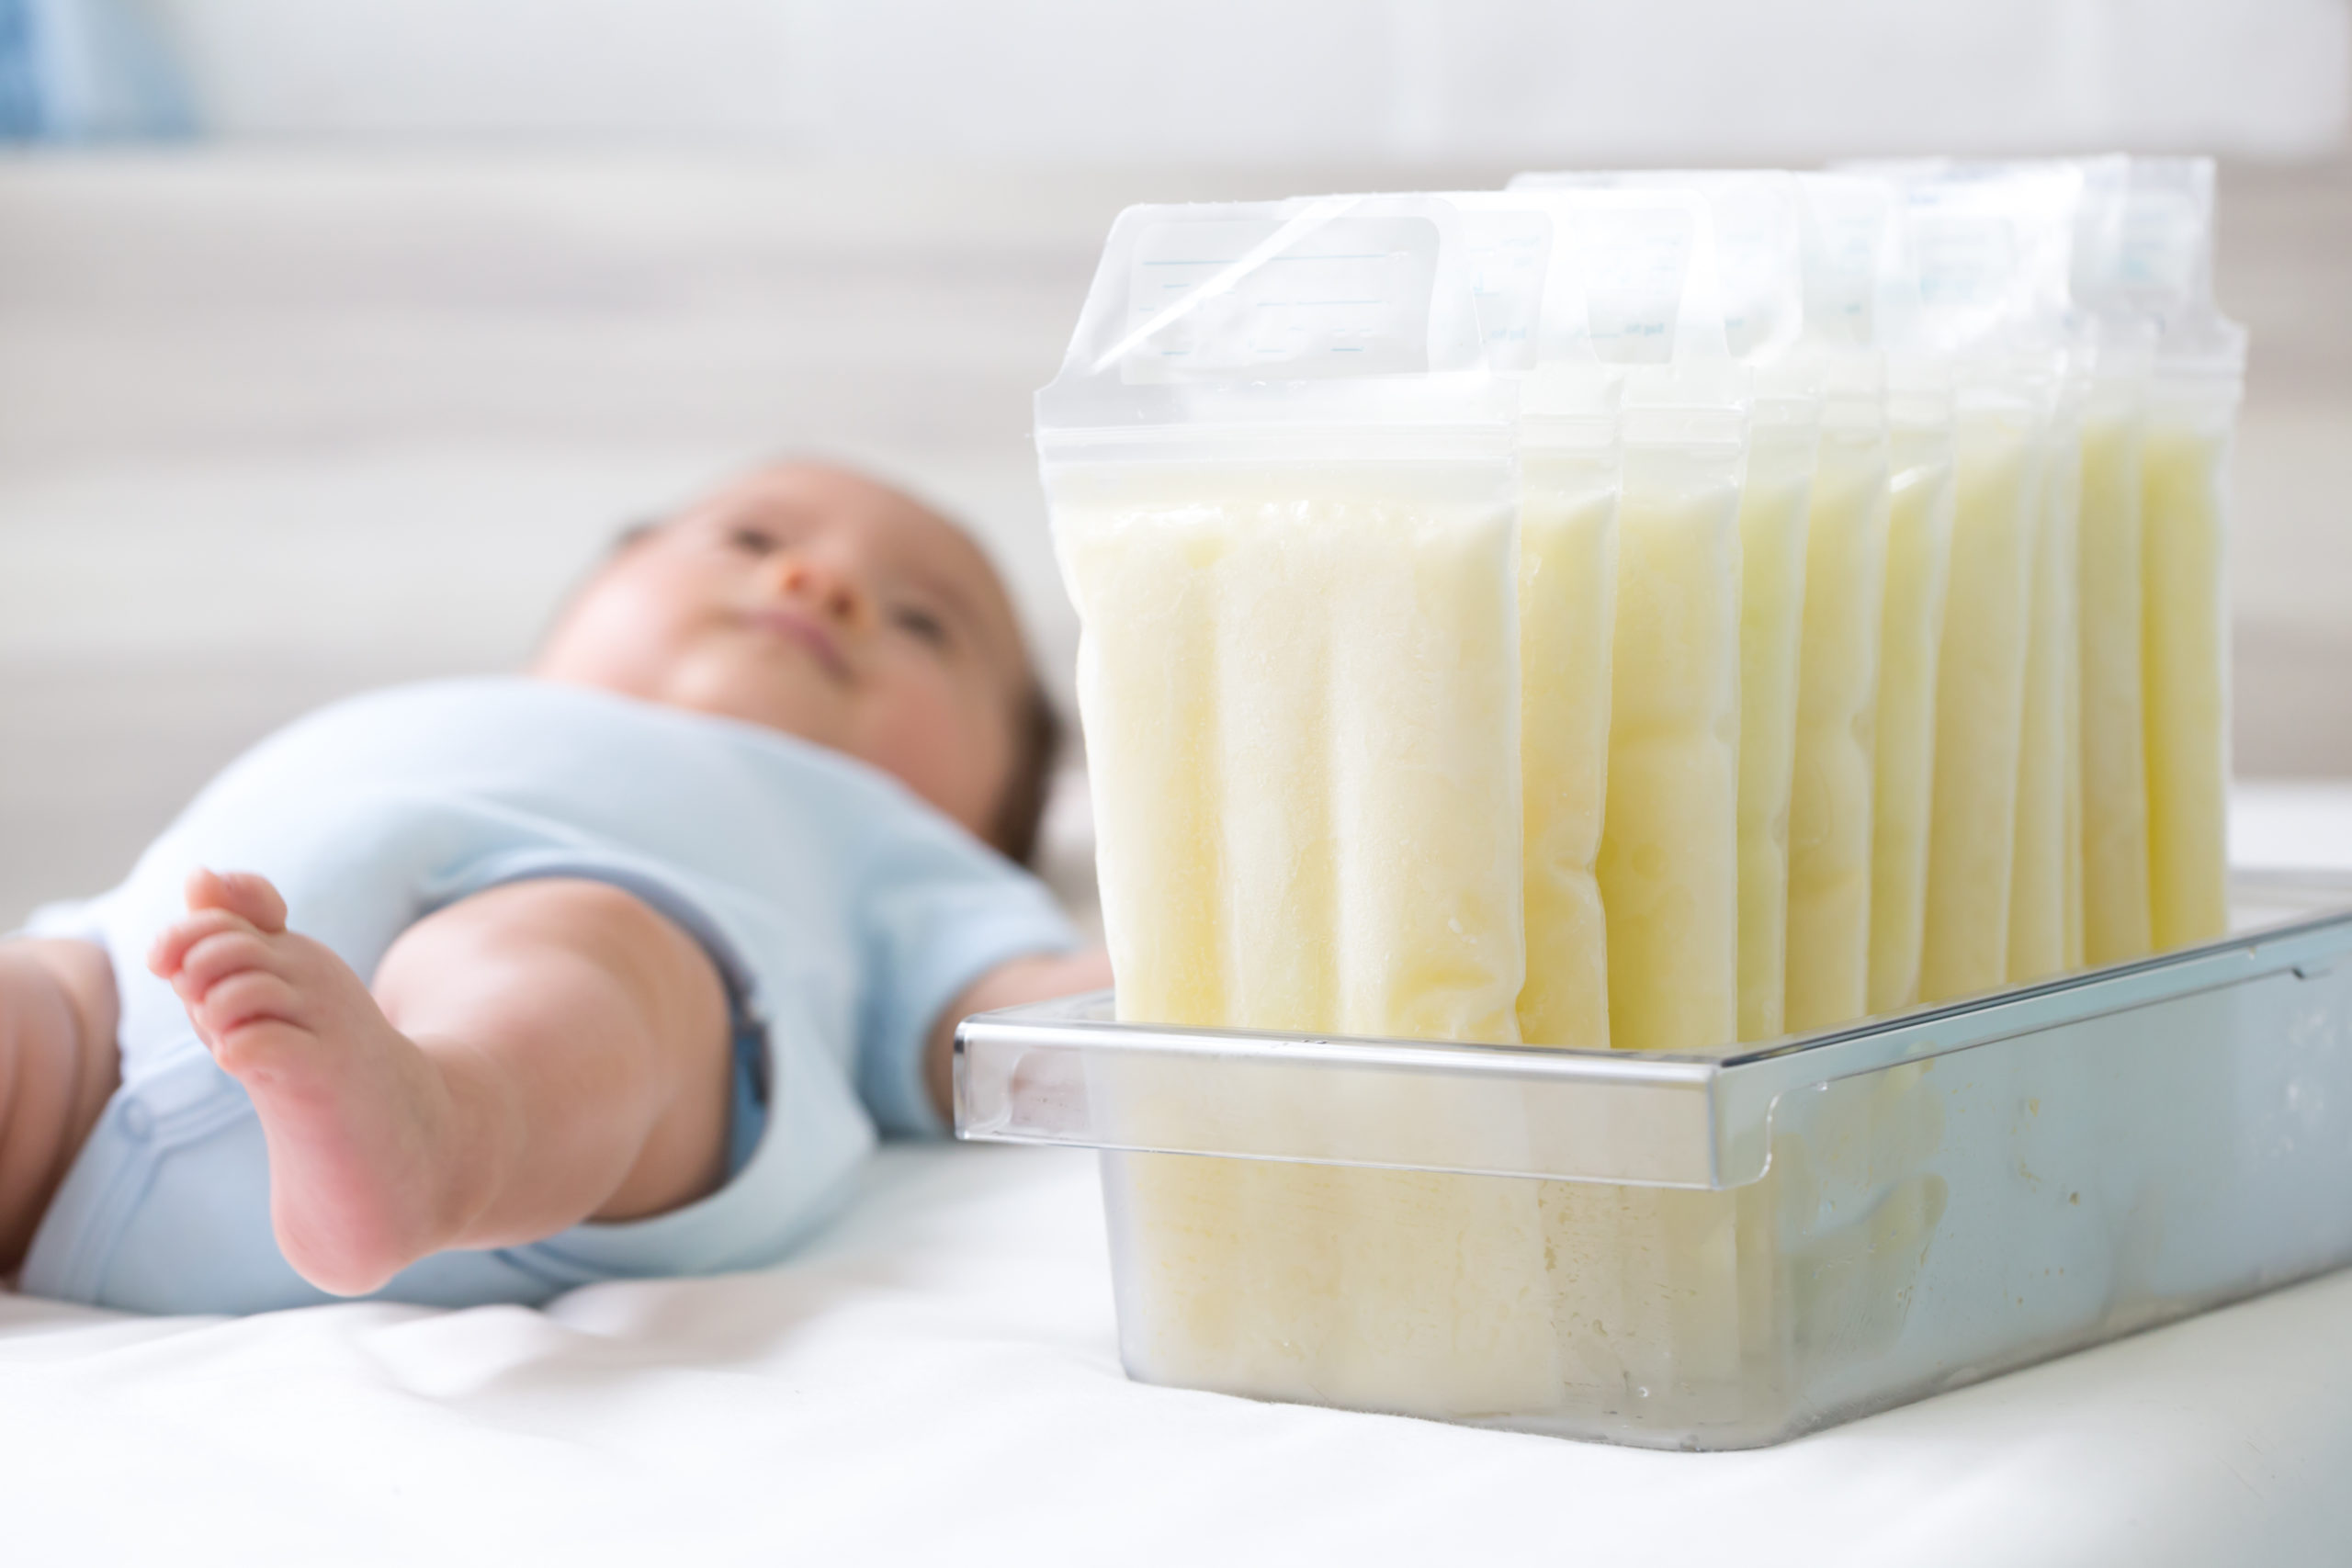
Breastmilk Preservation Powder
Making and selling breastmilk jewellery is so much more than the preservation, drying and suspending of the milk powder. You need to be willing to devote time, money, space and an awful lot of emotional resources to the craft. It will be time away from your own children at first, you will get very emotional clients, and at times things will just feel like they’re not going right. But in the end you can have a business that will support your family, one you can do at home and not worry about leaving them every day.
People message me all the time to say, “I just want to make something for myself”, to which I recommend all-in-one breastmilk jewellery DIY kits here! If you’re developing your own business then I’d recommend one of our Keepsake Business Startup Packages.
Learning To Make Breastmilk Jewellery
Previously the most secretive craft in the world, the art of making breastmilk jewellery has been opened wide to the mums and artists (and dads and doulas) who want to preserve human milk without wasting a fortune in unnecessary equipment. I’ve learnt that true art is about inspiration and the sharing of skills and I believe that no business ever failed by helping another. In the thousands of craft groups and forums out there, no other community pretends theirs it’s a skill that only a few can master. People help one another in almost every craft on the planet and I don’t see why breastmilk preservation should be any different. I’m not going to tell you how to do it, it’s not a full method, just tips! One method will work for one artist and not for another, I don’t want anyone to turn around and blame me if they struggle with any part of the preservation or drying process. You still need to work hard and experiment.
No business ever failed by helping another
– Nikki Kamminga
Part two of the blog is here in Making Breastmilk Jewellery: Part 2 of 3 which explains some of the ways to preserve milk that do and don’t work. Part three of the blog is here in Making Breastmilk Jewellery: Part 3. Info about the Facebook group and asking questions is in part 3.
So many clients come to us with photos of brown, dark orange and yellow pieces that have been made with their baby’s milk only for that seller to have closed the business when the pieces don’t stay white. So this information is to help those artists who are trying to support their families, to try to ensure that people are no longer disappointed with their keepsakes that rot down the line. To celebrate and normalise breastfeeding!
Breastmilk Jewellery Community
When I first published this blog, the outpouring of negativity and emotional blackmail from other businesses shocked me. However, it confirmed that it was the right thing to do. I’ve even had threats and one woman (a “doula” told me I should kill myself!). The people who who can use the following information to make their dreams a reality are my main focus. It is still sad that those in the breastmilk jewellery community who think that this will affect their sales but a good business doesn’t worry about what their competition are doing, they focus on their own unique selling points (USP’s), their brand ethos, marketing and their work quality. Maybe it’s time for them to stop buying mass-produced settings and stop relying on the novelty of preserving breastmilk. This reminds me of the story of the glass artists in Murano, Italy during the 14th Century:
“Marriage between glass master and the daughter of the nobleman wasn’t regarded as misalliance. However, glassmakers were not allowed to leave the Republic. Exportation of professional secret was punished by death. Many craftsmen took this risk and set up glass furnaces in surrounding cities and as far afield as England and the Netherlands” – Wikipedia
Glass artists nowadays don’t worry because other people know their trade. I’ve learnt basic lampworking myself and got some brilliant support from the community online. I always say, there are a million babies born every day and without having any way to verify numbers, I’m sure at least half of those babies are given human milk (however briefly). As someone who struggled to nurse my children because of major surgery I know that even if I had only managed a few days nursing Ayla I’d have wanted a piece of jewellery with my milk. Tons and tons of our enquiries came from people who’ve never heard of it let alone looked for an artist before so it seems like the breastmilk jewellery industry is an untapped market that replenishes itself every day. We now have al ovely Facebook Group called The Breastmilk and Memorial Jewellery Group where members post daily.
This blog is aimed more towards people interested in creating the pieces themselves. So, hello to all the breastfeeders curious about how it’s done or wondering where to buy, but this is just a guide for people to start their journey making breastmilk jewellery and want to invest time, effort and love into a business.
Making Breastmilk Jewellery Successfully
When I made breastmilk jewellery at Tree of Opals barely needed to advertise and really only did so occasionally to reach new clients. Nowadays I focus on supporting others in the industry as I felt called to that after so many people read this blog.
I worked in advertising at the age of 20 and I know how to market my company long-term, so I was very successful making breastmilk jewellery. I’m always thinking five and ten years down the line when I brand the work and make decisions. The only problem I’ve ever faced is being too busy, which is a luxury problem! Our lead time was always six months and we did everything we could to tell our clients this but it did cause problems. Most of our customers know that something special and bespoke and highly in demand will take longer and be worth it. If I ever did “need” to advertise I’d focus on local advertising simply because there are so many breastfeeding families around me and it’s nice to meet them in person. I could focus on a small community on the other side of the world and spend the same amount for the same revenue but why bother? And I’m keeping my carbon footprint low when someone from down the road orders. There could be a breastmilk jeweller in every large town and city across the globe and still have enough work. As a keepsake artist at least half of my orders come in the form of other elements like umbilical cord, and of course, memorial jewellery. In just a year of trading I’d carved out a niche and been able to help hundreds of families, working mostly by myself with some part time admin help.
So from the small time community doula hoping to offer their clients a little more than placenta jewellery to the entrepreneurial stay at home parent who doesn’t want to go back to their career in corporate, to the daddy who loves to work with wood and metal, I believe anyone can and should make breastmilk jewellery. Not that it’s easy…

Breastmilk Jewellery Caution
One of the big oppositions to DIY breastmilk jewellery or new artists is that the chemicals/solvents used are dangerous. That’s not necessarily true, or at least not all aspects. The most dangerous chemical I used was epoxy resin and after about six months it gave me contact dermatitis. So you need to minimise your risk by following (obviously) all of the manufacturers’ instructions on anything you use, use proper PPE (personal protective equipment) and use a lot of common sense. Keep it in a separate room to children and pets and make sure you wash your hands, arms and any uncovered skin well before you touch others. For Pete’s sake don’t be stirring resin with a baby next to you. If you have a young child that can’t be with someone else for a few hours then please, please, please can you put your milk in the freezer and wait! I now use only UV resin which we sell here, special blogs to follow!
You’ll see with the methods below that you don’t need formaldehyde, solvents and other dangerous substances. If you do decide to give them a try then follow the above advice and more. For the sake of protecting my own family I’m going to give a big legal disclaimer here in addition to the website terms and conditions, whatever you decide to do with the information here you do at your own risk. We don’t take any responsibility, legal, moral or otherwise for this information and if you use chemicals please speak directly to the manufacturers.
If you’re working with heat and pressure make sure you do it safely and sensibly. Please don’t burn yourselves!
Practice with spare milk until you have it right. More safety info in the other course parts. Don’t waste your clients’ milk, always always always keep some of their milk back and if the pieces turn, you should do the right thing and send that milk to another, more established artist, to pay them to preserve it for your client.
Making Breastmilk Jewellery eCourse
Making Breastmilk Jewellery Intro (Part 1 of 5)
Making Breastmilk Jewellery: Methods To Avoid (Part 2 of 5)
Making Breastmilk Jewellery: Methods That Work (Part 3 of 5)
Getting Started Making Breastmilk Jewellery (Part 4 of 5)
What You Need To Make Breastmilk Jewellery (Part 5 of 5)
Breastmilk Preservation Powder Instructions
Breastmilk Preservation Powder FAQ’s
This blog contains affiliate links so we may make a little extra income at no extra cost to yourself. It’s a nice way of supporting my family and helping me keep the blogs up to date. I’ll do a new blog eventually, showing you how it’s done!

[…] blog has moved! Please see our sister site Keepsaker Supplies for the Making Breastmilk Jewellery Part 1 and don’t forget to […]
[…] have begun to learn, the art of preserving breastmilk. You can find part one of the blog here in Making Breastmilk Jewellery: Part 1 which gives you a list of initial supplies you’ll need for this craft. Part two of the blog […]
I am wondering how to find a reliable jewelry supplier. I would really love to start a small business doing this.
Hi Carter do you mean a supplier for jewellery settings? Personally I’d recommend doing a metalsmithing course, learning to use silver and gold yourself so you’re not tied to a supplier. Otherwise it depends where you are in the world as to which suppliers would be best. Where are you based?
Nikki
Hi Nikki,
Yes that is what I meant. I’m not sure that is something offered here locally. I will look into it, are there online courses you know for? I am located in Newfoundland Canada. Thanks for your reply !
Carter
You might be able to get private lessons with local jewellers, or ask them to custom make settings for you. I’d recommend Rio Grande who I know ship to Canada. I buy from them (they’re in the USA) and just have to factor in the currency conversion, shipping and import tax into my calculations. I can’t find anything much on Etsy x
Hi carter, I am in Montreal and I made a breastmilk jewelry for my daughter. I found the silver setting on Etsy and can send you a link if you want. It’s really beautiful. Send me an email if you are interested
Great Post. Thanks for sharing
[…] Making Breastmilk Jewellery: Part 1 […]
[…] Making Breastmilk Jewellery: Part 1 […]
[…] Making Breastmilk Jewellery: Part 1 […]
[…] Making Breastmilk Jewellery: Part 1 […]
[…] Making Breastmilk Jewellery: Part 1 […]
Hello, I would like to start making breast milk jewelry however, I don’t know where to find gold rings/necklaces (specifically for making breast milk jelwery) in bulk. Any suggestions?
Hi Jessica, do you mean gold plated, gold filled, gold vermeil or solid carat gold? Personally I only work with solid gold but gold filled and vermeil are also great options for clients who don’t want to pay for solid gold. I wait for each order to come in before buying solid gold settings (hundreds of pounds, I order based on the weight of gold needed) but if you and your clients are happy with filled gold Quality Findings Market on Etsy is a really good source. I’ve been buying silver from them for years, but have made a few gold filled items for friends and family.
I’d recommend staying away from gold plated base metal. Gold plated silver (gold vermeil) is lovely but gold plated tarnishes once the gold starts to flake off and you’ll get complaints. Instead, offer the clients the chance to pay by instalment if they’re on a budget and get a keepsake that will last!
Nikki 🙂
[…] separating the proteins (casein) and/or removing the water, but I had no idea where to start. In Making Breastmilk Jewellery Part 1, over on Keepsaker Supplies, I talk a little about the community I found and how it affected my […]
[…] separating the proteins (casein) and/or removing the water, but I had no idea where to start. In Making Breastmilk Jewellery Part 1, over on Keepsaker Supplies, I talk a little about the community I found and how it affected my […]
[…] Making Breastmilk Jewellery: Part 1 […]
I would like to see a full blog comparing the two kinds of resin with pros and cons.
That’s a great idea, I will do it as soon as I can thank you. The main reason I use UV is because I’m allergic to epoxy and I don’t like to wait!
Nikki