Making Breastmilk Jewellery: Methods That Work (Part 3 of 5)
Making breastmilk jewellery can be a difficult skill to master and I highly recommend being prepared to devote lots of time, energy and money to this skill. Breastmilk artisans were furious at me for spilling these secrets but I’m not sharing anything I didn’t learn myself. As much as they would love to blame me for the influx of new artists I can imagine the majority of people reading this were already thinking of, or have begun to learn, the art of preserving breastmilk. Remember, this blog is not a “how-to”, it’s a guide to getting started!
This series on making breastmilk jewellery is not a how-to, it won’t give you all the answers and it won’t magically create a business for you. If you’re looking for step-by-step instructions and a guaranteed method, just buy our ready-mixed Breastmilk Preservation Powder here.
Please see our individual country-specific blogs for shopping supplies: United Kingdom, USA, Australia, Canada, other EU countries (coming soon) and non-EU countries (coming soon).
You can find part one of the blog here in Making Breastmilk Jewellery: Part 1 which gives you a list of initial supplies you’ll need for this craft. Part two of the blog is here in Making Breastmilk Jewellery: Part 2 which explains some of the ways to preserve milk that do and don’t work. Where to go next and details on joing the Facebook Breastmilk and Memorial Jewellery Group is in Making Breastmilk Jewellery: Part 4 here.
When the use of Optiphen started to become known as “Nikki’s Method” I was so happy to find out that I wasn’t the only one using it. However, the methods for adding it can vary. Initially I was using a stove but sterilising the equipment made it slow and laborious doing one at a time. Other heating devices became part of my trials with tips from other artists. So, instead of adding a list here myself I’m going to ask you guys to help be a part of this yourselves. Please comment below with the ways you’ve tried heating the milk and what equipment you used, including kitchen and jewellery making!
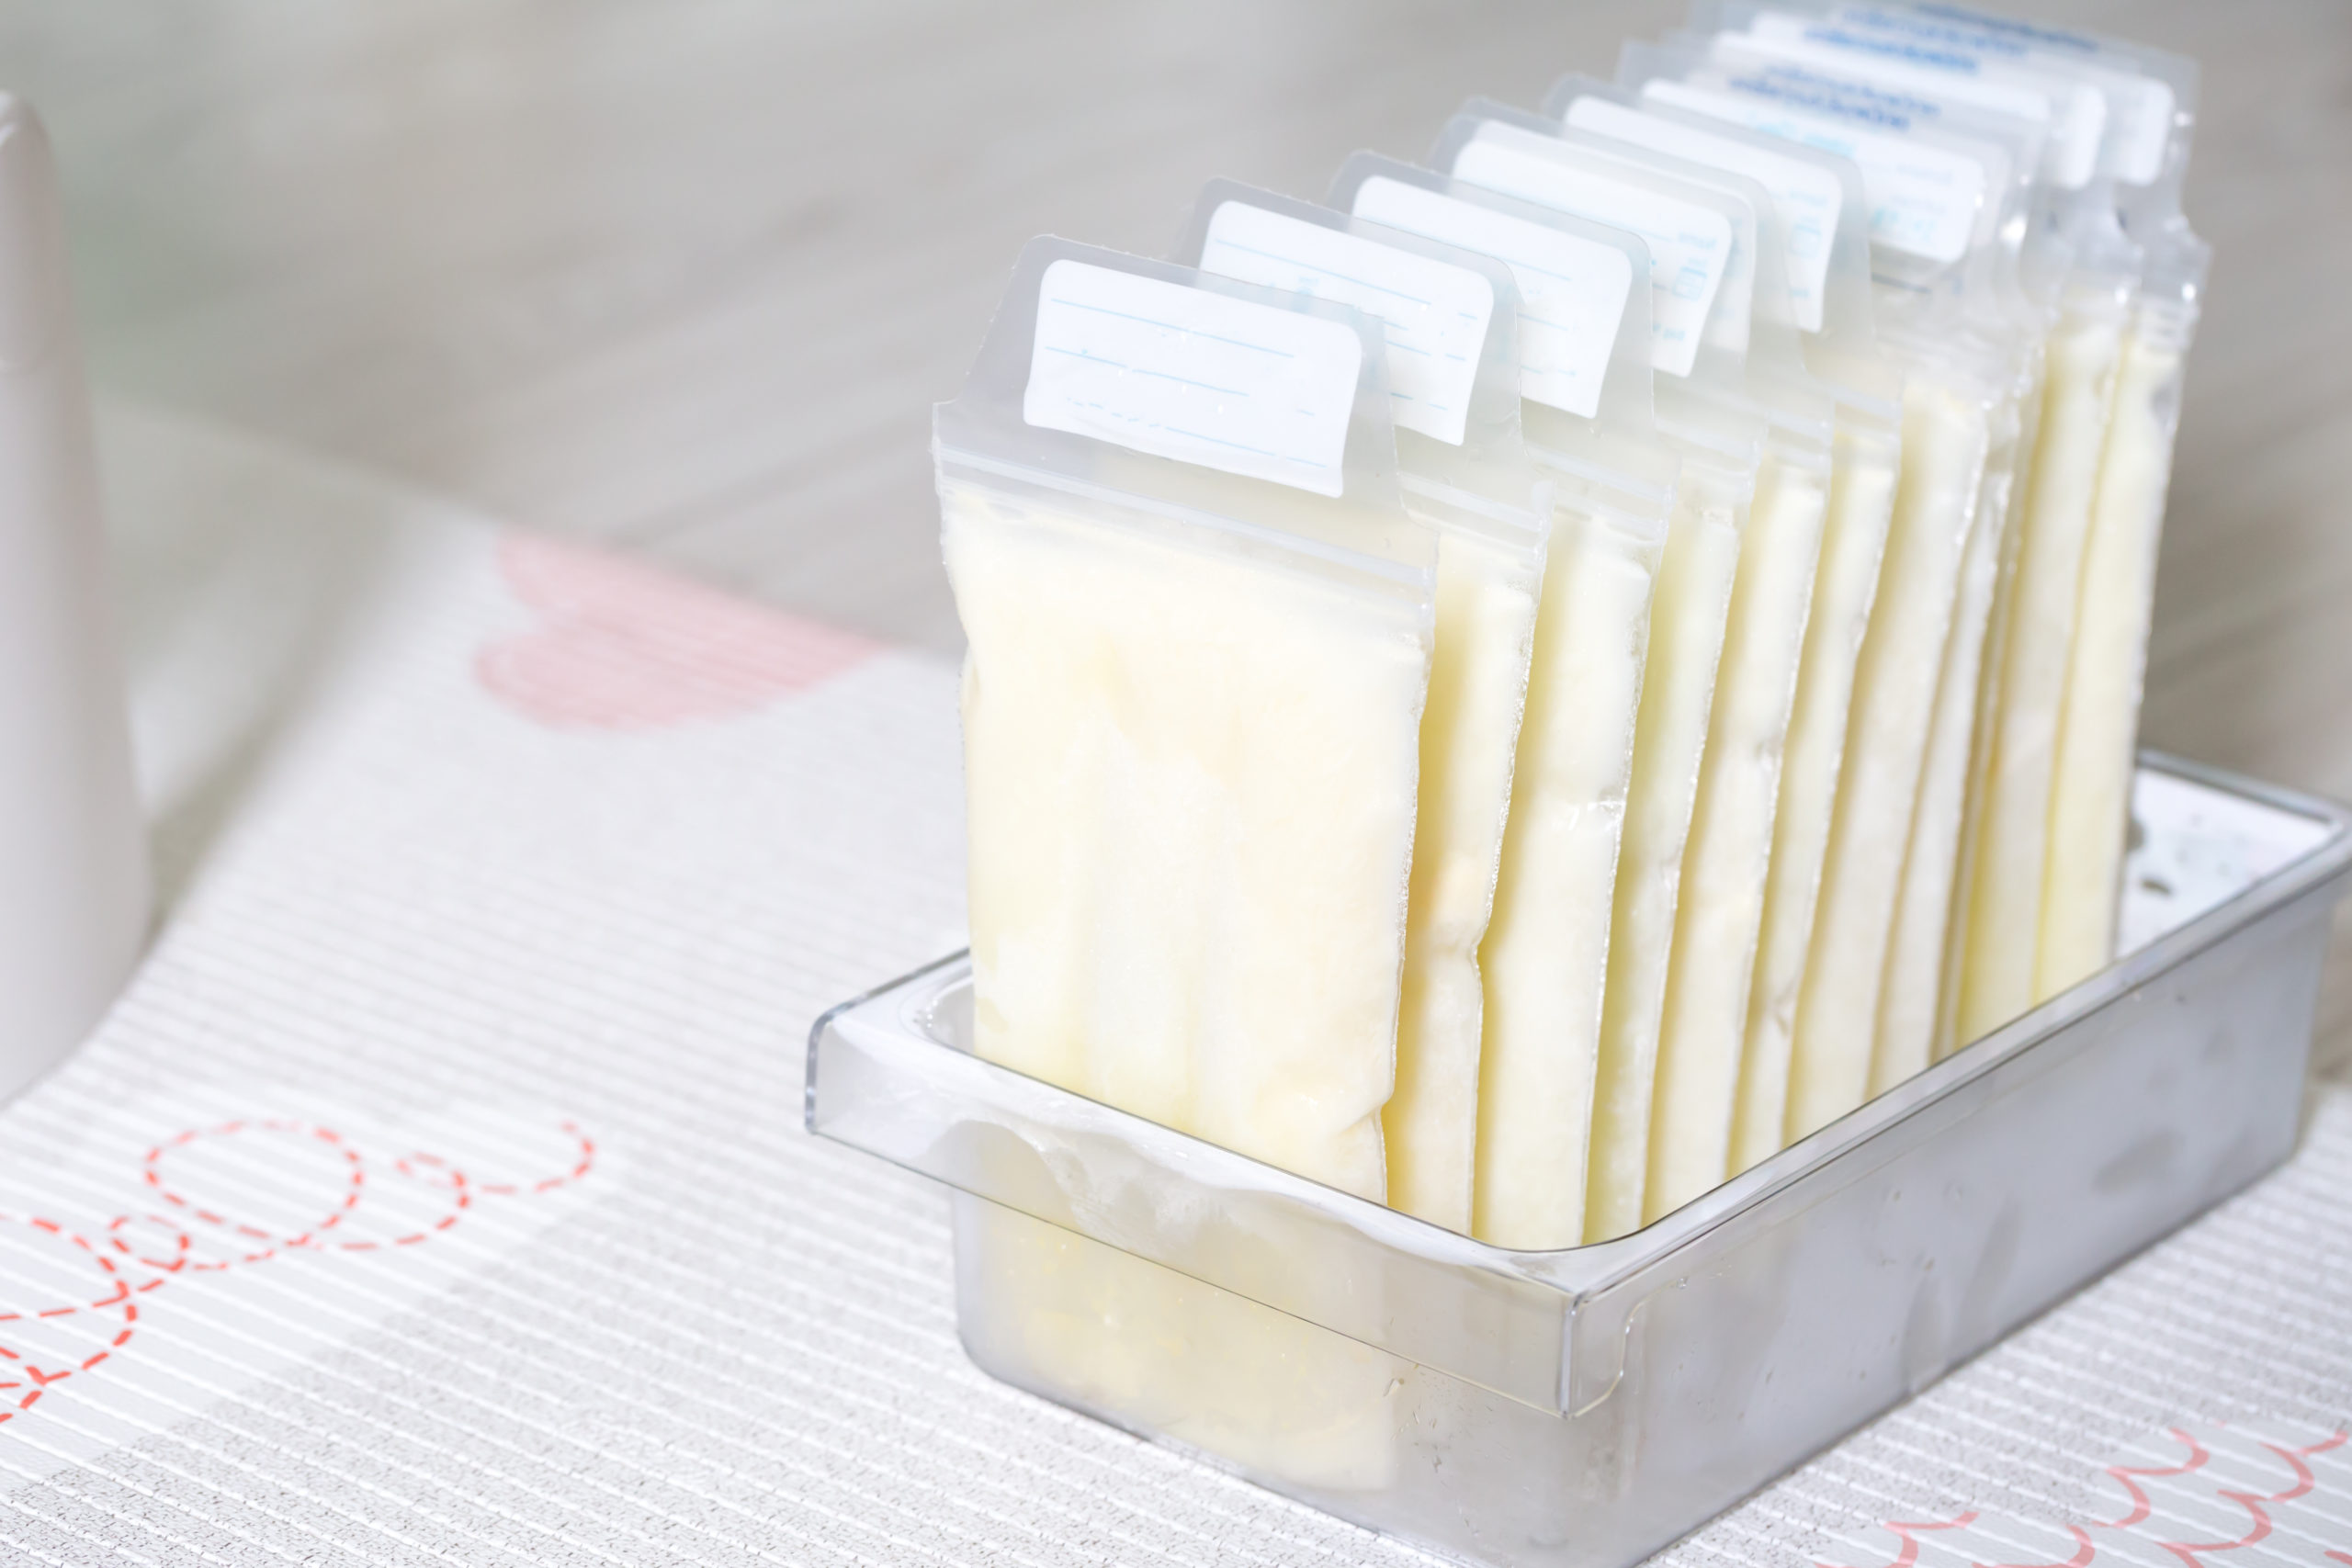
We would send our clients a kit with instructions on sending in breastmilk and other elements. We never call these things “inclusions”, that’s because in traditional jewellery making an inclusion is known as a flaw. Our clients’ breastmilk, locks of hair, cremation ash and umbilical cord isn’t a flaw, it’s the most important element of the pieces we make. People post in their milk in the test tubes, just regular shipping, and so long as it’s not mouldy when it arrives it’s ok. I pop them straight in the freezer, mark them as received on the system and write out the label for their container ready for the preserved tube.
You can consult a chemist if you like, but most importantly make new friends because it’s a stressful vocation and it’s so important to have colleagues that understand. When I first started a group of us were at the same stage and would spend hours talking about ideas we’d had. Most breastmilk jewellery artists are generous with their knowledge and creative ideas, others aren’t, but mostly you will find that once you’re bouncing ideas off someone it’s very satisfying. If you’re here you might have been told “no” when requesting help from artists but please bear in mind we get several a week here through email and social media and it gets stressful. Please forgive me, anyone I’ve brushed off, and I hope this blog helps.
How To Preserve Human Milk
Freeze Dry Method for Breastmilk Jewellery
The first way I learnt of preserving milk was to flash heat (pasturise) then freeze dry it, known as sublimation. Personally it didn’t work for me because it took too long and I couldn’t keep the milk organised. I was getting so many orders through and running out of room so I switched to Optiphen.
If you do decide to freeze dry you won’t need a special machine (unless you have one, of course!) you spread it in a thin, even layer then the water will slowly and gradually come out of the milk. I used silicone baking trays at first then researched freeze drying. The idea was to remove the air, creating a vacuum in a chamber with your items suspended above what’s known as a “humectant” (something that retains moisture) and first I tried kitty litter. People who make cosmetics may be used to the phrase as something that helps keep moisture in the skin, like glycerine, and I’d love to hear of anyone using a humectant inside the actual jewellery itself.
For freeze-drying breastmilk you can use calcium chloride in a vacuum dish like the VacuumSaver which comes with a little hand pump to suck out the air. They use them in pubs to remove the air from wine bottles and a job at the end of the night was often w**king the wines. I found it made my poor freezer entirely covered in frost, this process is called freezer burn when it happens to veggies and is the reason you have to defrost every now and again.
Preservative Methods for Breastmilk Jewellery
You could add your preservative before or after flash heating the milk but mixing it in on its own never worked for me or anyone I know. It probably depends on the ratio of milk to preservative, which you’re using, how you’re heating it but that’s going to be up to you. The aim is to split and preserve it, it’s how I do it and a lot of others. Then you use that semi-solid to create the jewellery. Sorry to disappoint anyone who was hoping for a fool-proof method but you still need to work hard. This information is for professionals and it’s up to you to make yourself that person. Experiment in safety and try to research any chemicals you choose to combine first. The safest way is to stick to the Optiphen (phenoxyethanol), Optiphen+ (phenoxyethanol and acid) because while it’s not “safe” itself and can harm your skin neat, it is safe enough that they use it in cosmetics. Recently we’ve also come across Plantaserve which is used in E Liquid, which contains phenoxyethanol & ethylhexylglycerin and the instructions say to use them as a guide
Safety in Making Breastmilk Jewellery
So another safety reminder before we move on, not meant to patronise but to remind us how important PPE (personal protective equipment) and safety are. I can’t make you read it, but I hope to do my best not to encourage anyone to take risks in their family home. Use common sense and we take no responsibility for any use of heat, preservatives, chemicals including resin etc.
1. Take care to research any chemicals. Phenoxyethanol – safecosmetics.com with websites that contain information from peer-reviewed studies such as this. If this information seems complicated we advise you not to proceed or to consult a chemist.
2. Use the correct plastic tubes to heat the milk in, whether adding chemicals first or not.
3. We recommend wearing goggles, facemask and tying back your hair (if appropriate) when working with resin. Most importantly you must wear gloves. Some people are allergic to latex, like Nikki, so unpowdered nitrile gloves are what we use here and a great tip is: put on two pairs of gloves then you can remove one pair quickly while working with no break in workflow.
4. Be careful not to do any of this with pets or small children around, even if it is heating something in the kitchen. I’ve found that even curious spouses need to be kept away… Let us know in the comments if you have any more suggestions.
5. If you’re working with heat and pressure make sure you do it safely and sensibly and practice with spare milk until you have it right. Please don’t burn yourselves!
How To Make Breastmilk Jewellery from Preserved Milk
Most artists use the preseved milk in resin because it’s a medium with so much potential, adaptability, and you can see the natural colours of the elements such as breastmilk, cremation ash and hair. You can also use your breastmilk powder or breastmilk clay (depending on your method and results) in kiln-fired or lampworked glass pieces, metal and precious metal clay, polymer clay like FIMO (baked in the oven) or airdry clay or even Lumina clay which is translucent. You could add breastmilk powder or flakes directly to casting grain to be embedded within traditional bench jewellry and we have sent pieces off with cremation ash and breastmilk for hallmarking with the Birmingham Assay Office who are extra careful when working with elements like this, and were quite happy to hallmark full purity even with large amounts of ash as they said it didn’t affect the purity of the metal.
In the blog series we will be writing more about working with resin (epoxy and UV curing), metal clay, silver work and goldsmithing and more. For classes on resin you may be able to find something local but Nikki learnt all resin and most silversmithing from YouTube tutorials. We’re planning videos showing you how to make and use silicone moulds, open bezels and pour-in bezels as well as some studio safety. We only use UV resin that we sell here over at Tree of Opals.
The idea is to remove as much of the moisture and oil as you can, leaving lots of protein behind. Some people use tissue paper but I like to use special oil removing sheets with the solids
You can find part one of the blog here in How to Make Breastmilk Jewellery (part 1), which gives you a list of initial supplies you’ll need for this craft. Part two of the blog is here in How To Make Breastmilk Jewellery (part 2) which explains some of the ways to preserve milk that do and don’t work. Don’t forget to subscribe to our blog for new articles and tutorials.
Making Breastmilk Jewellery eCourse
Making Breastmilk Jewellery Intro (Part 1 of 5)
Making Breastmilk Jewellery: Methods To Avoid (Part 2 of 5)
Making Breastmilk Jewellery: Methods That Work (Part 3 of 5)
Getting Started Making Breastmilk Jewellery (Part 4 of 5)
What You Need To Make Breastmilk Jewellery (Part 5 of 5)
Breastmilk Preservation Powder Instructions
Breastmilk Preservation Powder FAQ’s
Making A Breastmilk Heart Necklace
Umbilical Cord and Breastmilk Ring Tutorial
6 Ways To Sell More Breastmilk Jewellery
Please note this blog may contain affiliate links, meaning we may recieve a little extra income from your purchases at no extra cost to you
Spellings – this blog is written in the United Kingdom so my spelling is in English. I’ll try to add alternatives after but our spelling of jewellery is correct here.

[…] blog has moved! Please see our sister site Keepsaker Supplies for the Making Breastmilk Jewellery Part 3 and don’t forget to […]
Hi Nikki! I have a question…. you said that splitting the milk was really hard because of the minnimum amount of casein…. but then in the “nikkis method” you said that “The aim is to split and preserve it”. How do you split? because phenoxyethanol doesnt split de milk… and as you said … with vinegar nothing happened.. :(. You just split de milk by heating it? Sorry if my english isn’t too good… I’m from Southamerica… I hope you can help me. Thanks
I found this fascinating, I already do cremation in Glass and have done f9r some time and they work well but I have been asked about milk and wasn’t sure wher to start so thank you for your insite to this, still not sure how you get the milk into dust ! I guess you mix the optiphen plus’s phenoxyethanol and citric acid with the milk and freeze it ? I will have to re read and take more time but thank you
I couldn’t find part 2.
Hi Crystal it should all be back up now, sorry for the wait!
Nikki x
At what ratio the milk, optiphen+, citric acid are to be added? Also, all the material is to be added together? And for how long the mixture is to be heated?
Hi Nikki, want to know that what ratio is to be added of chemicals and milk? also, milk, optiphen+ & resin is to be added together and for how long it is to be heated?
Hi Vanshika, I’m sorry this blog isn’t a “how-to”, it’s just meant as a little guidance towards your goal. It’s your responsibility to experiment and keep great records so that you learn what works with your milk. What works with one sample might not work with another so please practice lots.
Thanks
Nikki
Hi Nikki, thank you so much for the blog! As a mom who is trying to make a profession from making BM jewelry (to help financially and combat depression), the minimal information out there about it is disheartening. I won’t sell anything until I have it right, but I have tried so much. Most recently, I have tried Optiphen, however the milk is not drying. Unknown if it needs an additional preservative for hardening or if my ratios are off. I’m also nervous about heating chemicals on the stove in my home with babies, since I read that some toxins will evaporate into the air. I’ve noticed that DIY kits are sent with ‘preservation powders’ and wondering if you have heard of any powders, apart from citric and sorbic acid, that may help with the solidification? Someone that I was trying to learn from found a complete powder formula, but isn’t willing to provide any details and I’m starting to lose hope. Any info is appreciated! Thank you!
I’m in the same boat just tried the Optiphen and citric avid many ways with no luck of drying. Just wanted a hobby but also feel like giving up 🤷🏼♀️
So many makers put years and years into perfecting their craft so that they can support their families. Personally, if you’re looking for a hobby I’d suggest lampworking, silversmithing or putting flowers into resin. Breastmilk jewellery making is ideal for someone who has the time and money to invest in the supplies but it’s not the most “fun”!
Nikki
Hi, thank you for sharing. with you 😍 so kind of you. I started creating such jewelry but I’m a little unsure about the preservation process, how long should I wait to see if the milk will mold? How would i know if i do the wright way. I will really appreciate if you can answer me Best regards
There’s no right or wrong answer, it can go bad after any amount of time, depending on the method and resin. All you can do is be honest with clients and say “I have been making these for ___ months and so far none of them have gone yellow”. It’s then up to them to make an informed decision as to whether they want to purchase or not. Hope that helps
Nikki
Thank you for your answer! Ja its right what you said! I followed your method 🙂 with citric acid and phenoxyethanol so what do you think about the time 🙂 ? Is there any mail adress that i can send picture to you to show how i did ?
Thank you so much
Best regards
[…] Jewellery (part 1) which gives you a list of initial supplies you’ll need for this craft. Part three of the blog is here in How to Make Breastmilk Jewellery (part 3). Existing resin artists and jewellers, traditional and non-traditional, will have a bit of a head […]
[…] Making Breastmilk Jewellery: Part 3 […]
[…] Making Breastmilk Jewellery: Part 3 […]
Hey nikki, hope you answer, I’m so happy you shared this info 🙂
but i have some questions because I don’t get some parts… the Optiphen is supposed to dry the milk or just preserve it?
And if it is just a preservative, do I need to like…flash heat the milk, add the Optiphen and then dry it?
or the optiphen is supposed to make it solid/dry it?
Hope hope you answer
Anyway, thank you!!!! <3
The blog is not for step by step instructions. It’s up to you to research any preservation methods you want to try. If you want a guaranteed method then just buy our powders!