How To Make An Ashes Orb with Beachball Resin Technique tutorial. Learn how to make keepsake and memorial jewellery using a silicone mould. I’m also showing you how to wire wrap a headpin for a sphere, orb or pearl. Recently I’ve created two free courses to help people learn how to make breastmilk and memorial jewellery – click here to register and take them! This video is a sneak preview of our Advanced Memorial Jewellery Course, look out for pre-registration.
Use a nice shiny mould to try to prevent needing a UV top coat, and make sure the colour isn’t too opaque if you’re working with UV so it cures in the middle.
How To Make An Ashes Orb with Beachball Resin Technique Tutorial Video
You’ll need the following supplies

- the client’s cremation ashes
- 11mm sphere mould
- a solid gold domed headpin
- resin sparkle mix (I’m using mermaid in this video)
- 3 cocktail sticks
- pestle and mortar
- tiny spoon
- label backing paper
- UV resin
- gold filled leaf
Tools and Equipment
- LED UV lamp to work with UV resin
- You can also use epoxy resin for these pieces but you will need to wait for the resin to cure between layers which can take days
- a pearl drill
- round nose pliers
- wire cutting pliers (optional)
RECEIVING ASHES
*You can check this blog How To Make Sending Kits for advice on instructing clients on sending in cremation ashes, here are the sending kit instructions templates and here are the 3ml Sending Pots we sell. Some memorial jewellers send a 3ml spoon and ask for half a spoonful (if it’s a large order they can fill the pot, or if they don’t have much ash they can add just a pinch; for example where a baby or small pet has passed away). This absolutely wonderful client came in person so I refunded the cost of her kit and shipping. When they arrived I helped them transfer half a teaspoon above a sheet of paper then labelled the pot in front of them.
If you’d like some animal ash to practice with, you can request practice ashes here!
PREPARING ASHES
Ask your client to send a quarter or half a teaspoon of ashes, which is plenty for up to a dozen pieces. Add a few tiny spoonsful of ashes to a pestle and mortar and grind gently to break up any large flecks. This step is optional but I’ve found that clients prefer the look of finer ashes in memorial jewellery.
Take some label backing paper and add a drop of UV resin, some ashes and some resin sparkle mix. Wipe the tiny spoon in between with a biodegradable baby wipe to prevent ashes getting in the sparkle mix. The quantities or ratio you use is completely up to you as an artist and with practice you’ll work out what cures nicely and what works for you. Mix a little with a cocktail stick and this is your coloured ashes paste.
FILLING THE MOULD
Fill your water clear silicone mould with resin, they’re available from Keepsaker Supplies. Use the cocktail stick to transfer some paste on top then poke it into the resin. Be super careful not to poke the mould itself or you’ll mark it and you’ll get imperfections in the finished orbs!
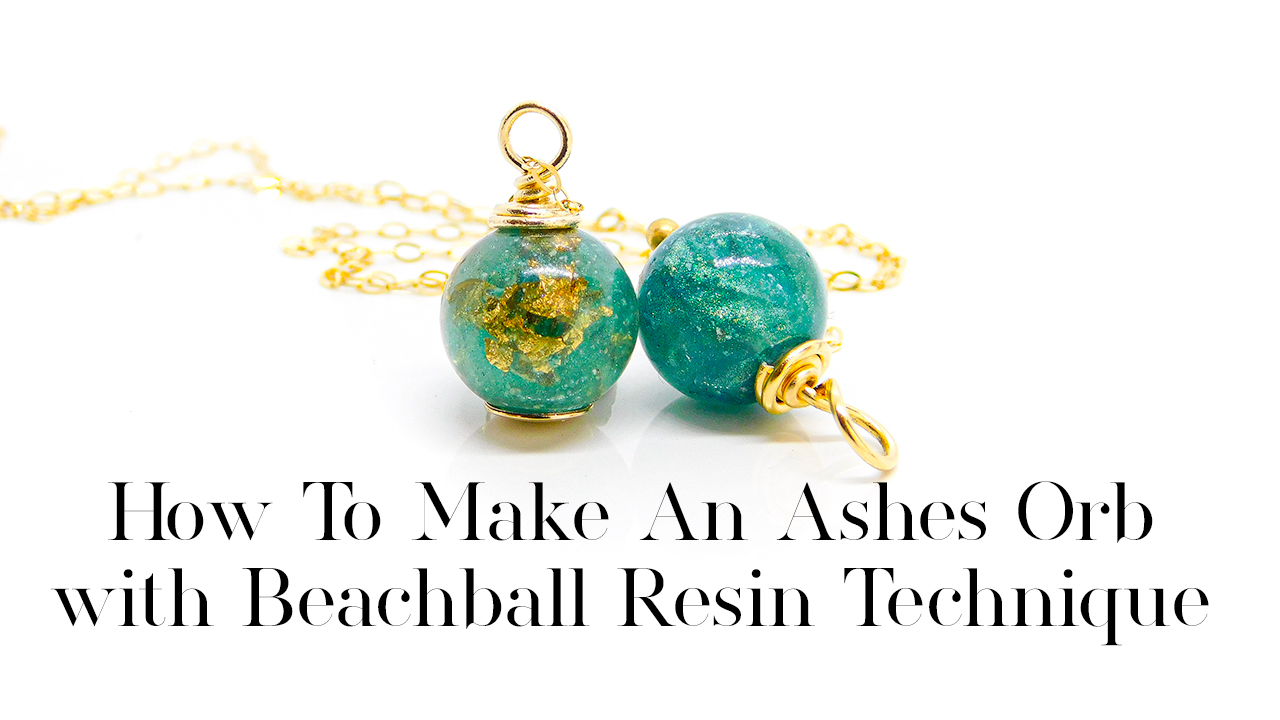
If you bring the colour all the way round the outside of the orb and it’s opaque you might find it doesn’t cure inside. Instead, I like to use a technique I call the Beachball Resin Technique. In this photo you can see it much clearer, where you swipe the colour out. From the outside it looks like a beachball, and from the bottom it looks a bit like a star. The clear resin in between the swipes cures perfectly, and you get full colour coverage with a beautiful translucency. Clients absolutely love it.
The resin should be flush with the bottom of the pouring spout, slightly underfilled is easier but not too much of a dip. You may have a few large bubbles which you can fish out with the cocktail stick and a little bit of patience.
PROOF PHOTOS
I had a feeling (intuition) that I should make an orb for Emily with gold-filled leaf. I don’t think it’s wasteful because you will always return all of the unused blanks you make, and it gave her the choice.
After you make each orb, put it in the UV nail lamp for a 99 second low heat cure, then add the next and the next. I like to cure them at least three or four times each, turning after each cure. Whilst they’re in, put away the client’s ashes and clean your workstation.
Once the orbs have completely cooled down, and don’t be tempted to touch them to check, you can remove the spheres from the mould. Arrange them somewhere you can take a photo for your client to make a choice and send them a photo.
FINISHING AN ORB
To finish an orb, cut away the excess with side cutting pliers then sand with a diamond file. If you need to finish it, you can rest it on some WhiteTack and add a drop of resin and cure to dome it.
Use a black Sharpie pen to make a dot right in the centre of the pouring hole. Put it in the pearl drill or try your best to drill by eye. The pearl drill guarantees the hole goes straight through! Put the headpin through, if it comes out the end with liquid on that means it’s not fully cured in the centre. you’ll need a headpin wide enough to cover the pouring hole and we have these solid 9ct yellow or rose gold domed deadpins on Keepsaker Supplies.
Use round nose pliers to bend back the pin a little above the base, then bend it round the pliers to form a loop. Then wrap the pin around, working down to the base. I like to snip it off just where the bend finishes (before the straight end) before I tuck it in, but you can just tuck it in without cutting if you like. I decided to make Emily’s second choice into a piece of jewellery too with a gold vermeil ball headpin. I was completely happy with how the order turned out. This video will be part of our new Advanced Memorial Jewellery Course and if you want a taster of the course you can take our free Basic Memorial Jewellery Course.
If you have any questions at all about this How To Make An Ashes Orb, please comment below or on the video. I’m so grateful to anyone who can subscribe to my YouTube because it really helps me to be able to bring you more tutorials.
Nikki
pronouns – they/them

Is there a place that I can get some ashes to practice with? I thought I saw it on your site once but now I can’t find. I believe the were horse remains. Thanks
Kathy
Hi Kathy, If you’d like some animal ash to practice with, you can request practice ashes here https://keepsakersupplies.com/product/a-dried-leaf/ hope that helps 🙂
Nikki
Hi what size mold do you use
It’s the 11mm sphere mould – I’d missed that off well spotted 🙂
Thanks
Nikki