Gold Leaf Breastmilk Jewellery Tutorial – Making Resin Jewellery. Making breastmilk stones with a lock of hair and gold leaf, diamond powder and pearlescent sparkle mix. I’m also showing you a remoulding technique to add a top coat to a piece without having to brush it on. Keepsake jewellery using a mould to make a cabochon stone technique. You’ll find more info on preserving milk and making pieces with stones and direct pours in our Advanced Breastmilk Jewellery Course. Recently I’ve created two free courses to help people learn how to make breastmilk and memorial jewellery – click here to register and take them! I’m using one of our solid gold hallmarked necklace settings which are great for rubbing over a stone, which is also available in solid silver here. The breastmilk kit option for the ring comes with a single mould, so you can make a couple of cabochons then choose your favourite to set in the setting or you can pour the milk paste and resin directly into the ring. Our solid gold rings are hallmarked at the Birmingham Assay Office, you can read about different types of gold here in Types of Gold. If you’d like me to make this necklace for you in full or want to see how I list it on Tree of Opals here it is.
Solid Gold Breastmilk Ring With Hair Tutorial Video
After your first order you’ll receive a reasonable 15% off future purchases*. Firstly, when making breastmilk jewellery send your client a breastmilk sending kit, see this blog How To Make Sending Kits for advice on instructing clients on sending in breastmilk, here are the sending kit instructions templates and here are the 5ml Breastmilk Sending Tubes we sell. We hadn’t sent this client a kit in the post; he sent me a full bag of breastmilk, triple bagged, and the rest of the milk is in tubes in my freezer now as he gave permission to give it to my clients for practice. I like to suggest that the client keeps another 10 mil in their freezer in case it’s lost in the post
You’ll need the following supplies
one of our DIY breastmilk necklace kits the breastmilk version of the kits contain:
- a single silicone mould
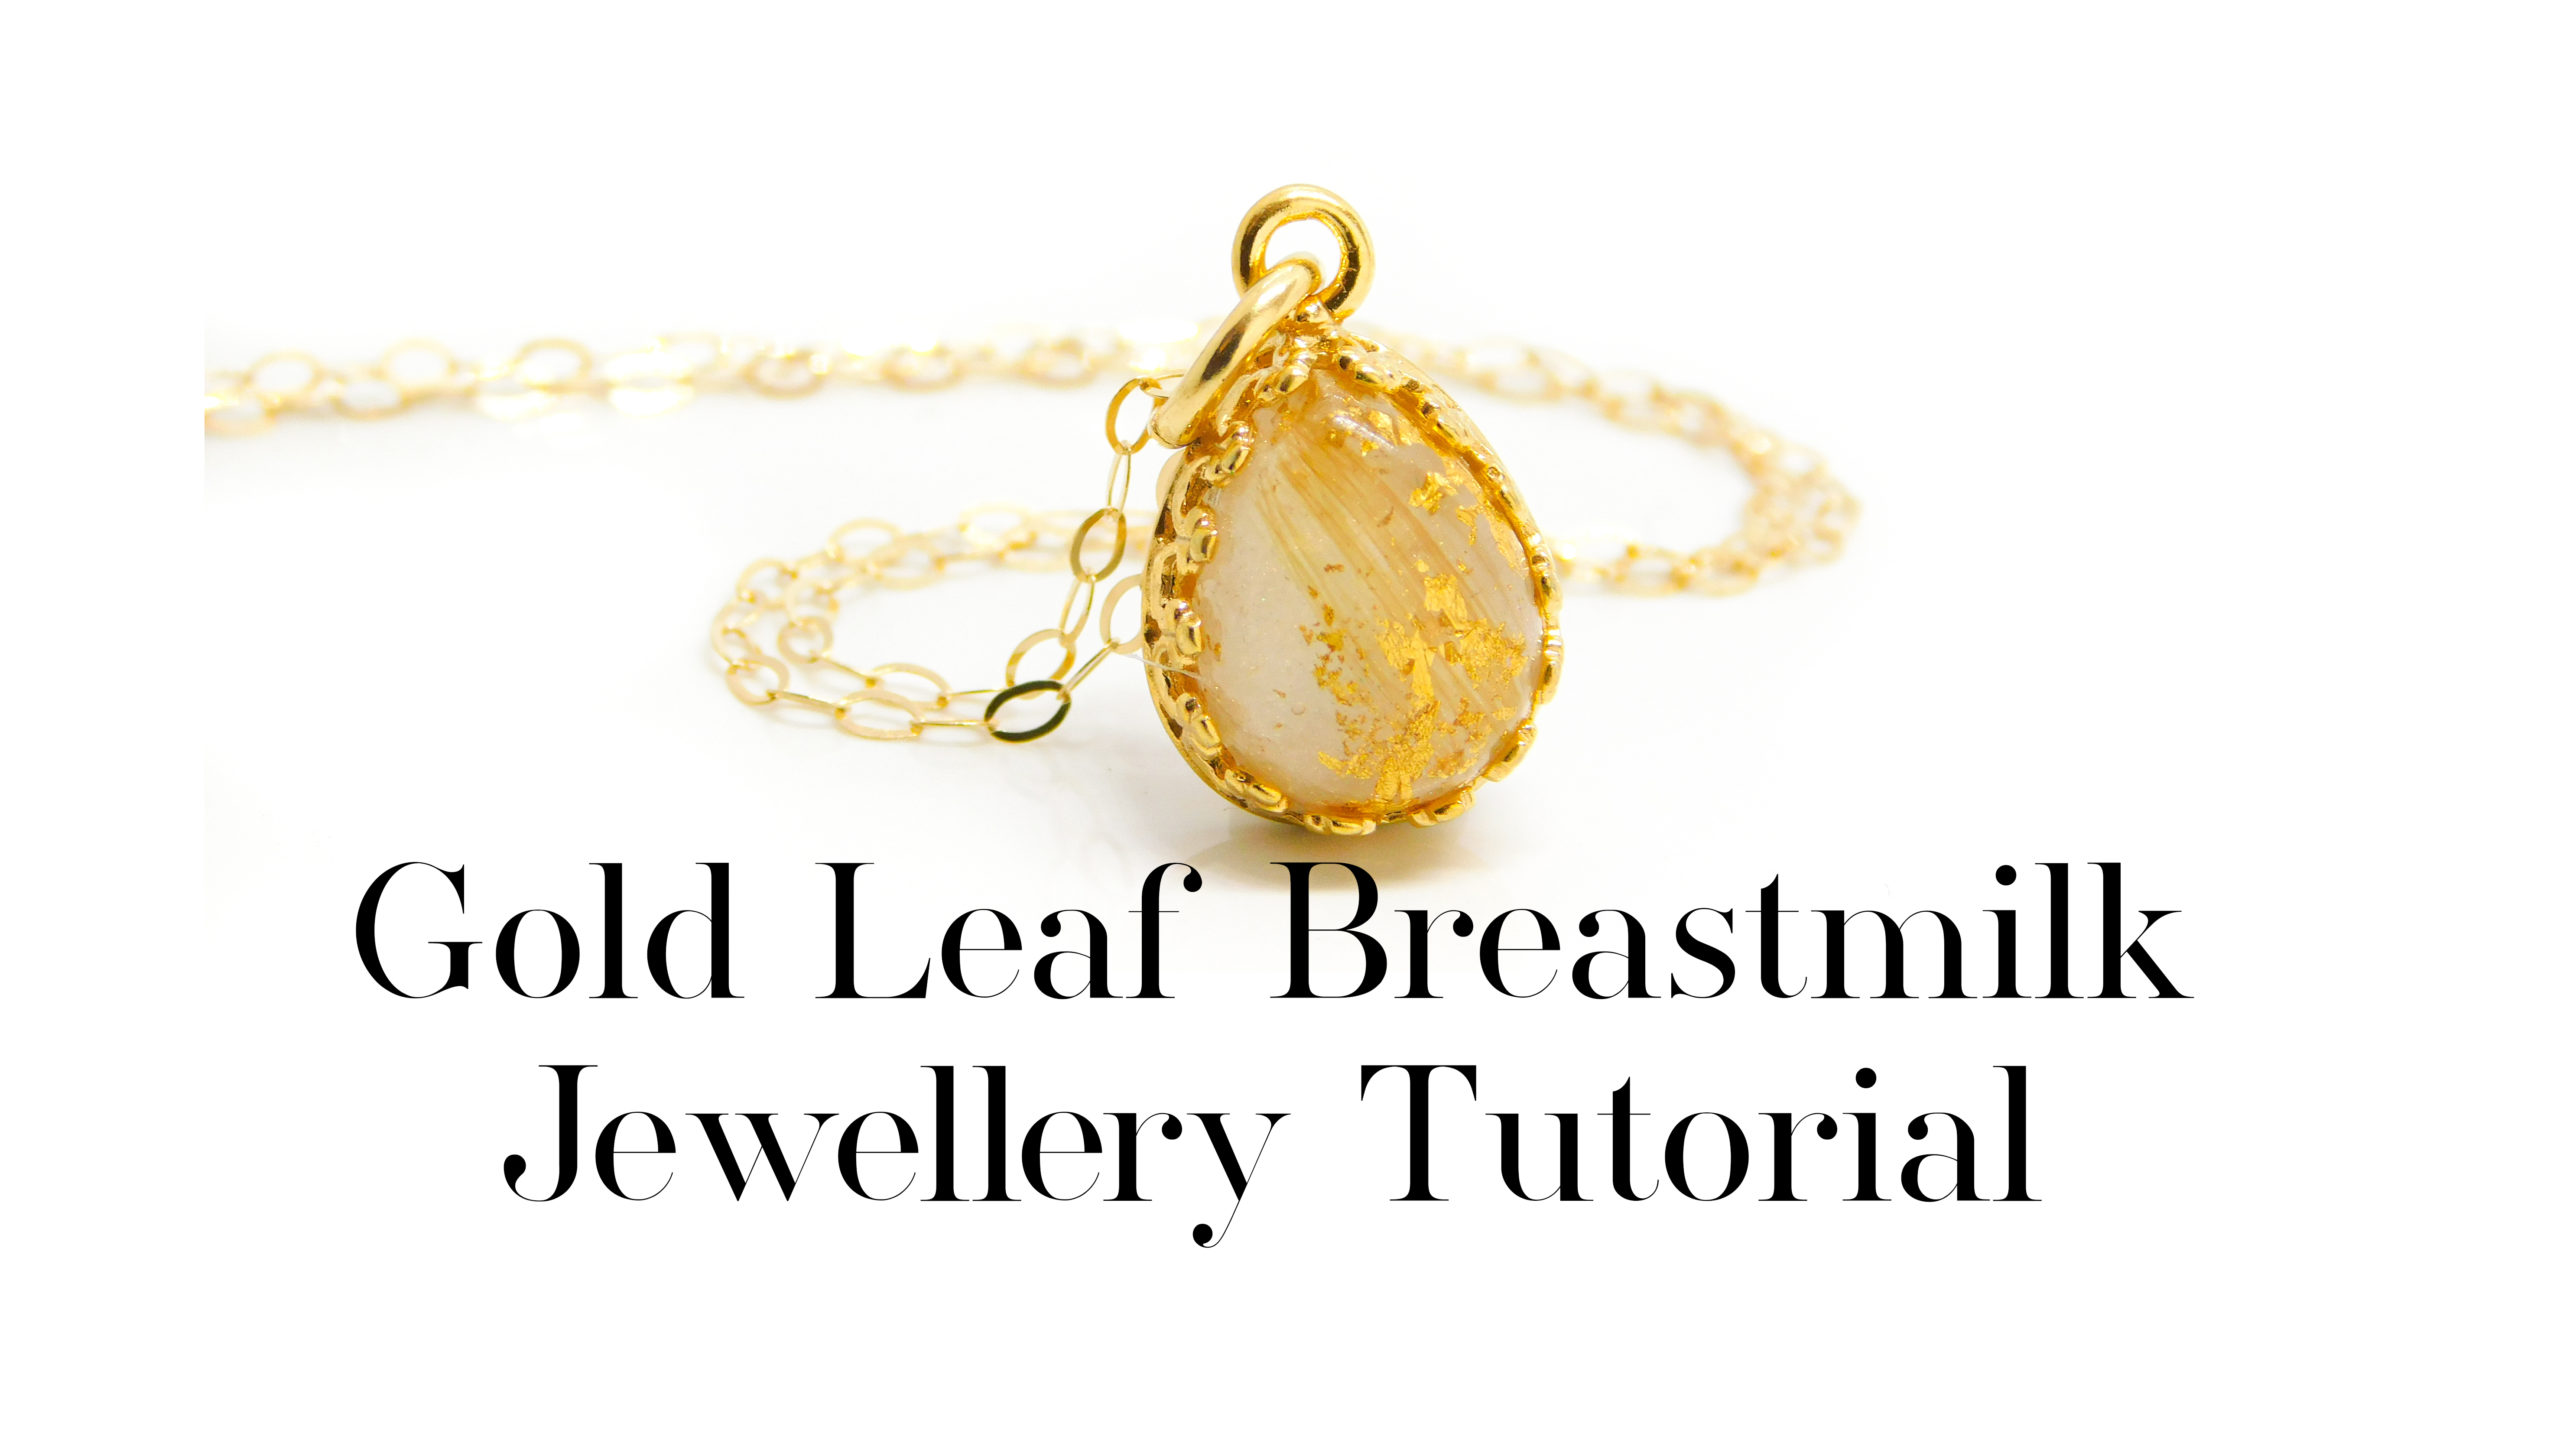
- a necklace setting – this is one of our solid gold crown point teardrop settings
- vinyl gloves
- resin sparkle mix (you can use eyeshadow for a custom colour!)
- a dust mask
- label backing paper
- some sandpaper
- 3 cocktail sticks
- 10g UV resin
- breastmilk preservation powder
You’ll also need your client’s breastmilk for this Gold Leaf Breastmilk Jewellery Tutorial. We ask them to only send half an ounce (around 15ml)! That way, if it’s lost in the post they can send a little more. Tools and Equipment
- silicone spatula
- double boiler
- warming heat mat
- silica gel sachets
- pestle and mortar
- LED UV lamp**
- hairdressing scissors
- tweezers
- a tiny measuring spoon
- gold leaf
- sparkle applicators
- tiny spoon
- pearlescent sparkle mix
- diamond powder
- curved burnisher or a teaspoon
- gold polishing cloth (a silver one is fine for gold)
RECEIVING BREASTMILK Before starting, I preserved and dried the client’s milk, being careful to keep it labelled

Gold Leaf Breastmilk Jewellery Tutorial
Hi, I’m Nikki Kamminga from Keepsaker Supplies and Tree of Opals and today I’m showing you some different ways to add gold leaf to a stone in a mould. I’m setting the teardrop stone in one of our brand new solid gold crown teardrop settings. They’re solid 9ct gold and hallmarked A few days before starting, I preserved the client’s milk in a double boiler with Breastmilk Preservation Powder. I sell the powder and everything else I’m using in this video! I was in a hurry so I got a warming mat and laid an old towel over it then put the preserved milk on top for a few hours, this sped up the drying process. I ground the completely dried paste into a powder the other day and put it in a bag with the client’s name and order number. I added a silica gel sachet to keep it completely dry. This is a great hack to get a super fine powder, the dryer the better! The first method you can use is applying the gold leaf directly to the mould with a sparkle applicator. If you use this method, you have to apply a top coat to the stone after you’ve finished. Another method is to apply a little clear resin to the mould and cure before you add the gold leaf. I’m adding a lock of hair to these stones so I’ll put a little bit in with the clear resin before curing for the first time, on both of the stones. Use a cocktail stick to soak the hair in the resin and remove air bubbles. Then cut the hair to lengths a little longer than the mould, so they can curve around. Using tweezers, carefully transfer the hair to the moulds and adjust with a cocktail stick.

Once you’re happy with the hair placement, and you can check from the back if you’re using water clear moulds, then you can cure under the UV lamp. I get so many comments asking “Where can I buy a kit like this” and all of the supplies I’m using in the video are available on my website KeepsakerSupplies.com There’s a link in the description or a Linktree in my bio Whilst they’re curing you can prepare the breastmilk resin. You could use cremation ashes here or ground umbilical cord with the same method. Use some clear resin, I’m using Padico Star Drop hard UV resin which we have in stock. Put it on a piece of label backing paper with some preserved breastmilk powder and some pearlescent sparkle mix if you like. The resin in the moulds is now cured. On the second stone, on the left here, add a layer of gold leaf. Pop a tiny bit of clear resin in both sides, add a little diamond powder if you like, and stir in a tiny bit of the breastmilk resin. Swirl it gently so the stones aren’t opaque, check the back and cure again. These first two methods use the gold leaf either above or below hard resin. We sell genuine copper, silver, gold, rose gold, white gold, platinum and palladium leaf as well as all the precious stones which are all very popular with breastmilk as boobie awards or just for the extra bling they add. Yellow gold leaf represents the one year breastfeeding award, also known as golden boobies, diamond is the April birthstone or the two year boobie award. Another method you can use is adding the clear resin first, then swirling in both the milk resin and some flecks of gold leaf before the first time you cure. Use a cocktail stick to pick up pieces of leaf and gently place them in the wet resin. With either method you can add more gold leaf in subsequent layers if you like but I don’t find it’s usually needed. Just add the breastmilk resin in layers, getting more and more opaque as the mould fills so the back is a solid colour. I really hope you’re enjoying this video, it’s so lovely to read the comments from people who find them helpful. Now I have a favour to ask. I’m a single parent with three children. The eldest two have additional needs and the youngest is my two year old daughter Lexi, who wants to breastfeed ALL the time. So finding time to make these videos is tricky! I’ve got over 2000 subscribers now but only 132 of you have clicked the bell to get notifications. I don’t post very often so if you don’t want to miss my next video, click the bell below the video now and YouTube will let you know next time I upload a new tutorial. After the final layer, add some top coat to the back of all the stones, cure and cool. The first stone we made was the one chosen by the client in the proof photo so I’m adding a layer of clear resin or top coat back into the mould. This is known as the remoulding technique. Cover the stone in a little bit of the resin or top coat and push back into the mould. Be careful there aren’t any air bubbles trapped in there and cure again a few times then cool. Next, prep your setting by checking it’s hallmarked if it’s solid gold like this. Then give it a really good polish with a gold polishing cloth. Trim the edges of the stone with side cutting pliers, or even scissors will work. Put it in the setting and use a curved burnisher to press down the crown points. You don’t need glue. Add the chain and photograph before sending. Let me know in the comments which of these stones you prefer! Don’t forget, I’ve linked to all the supplies I’m using in the video description or there’s a link in my bio, or you can just go to KeepsakerSupplies.com Now relax and do some crafting
Add your email address to get an email whenever I post new blogs and tutorials, plus be the first to hear about discounts and new freebies!