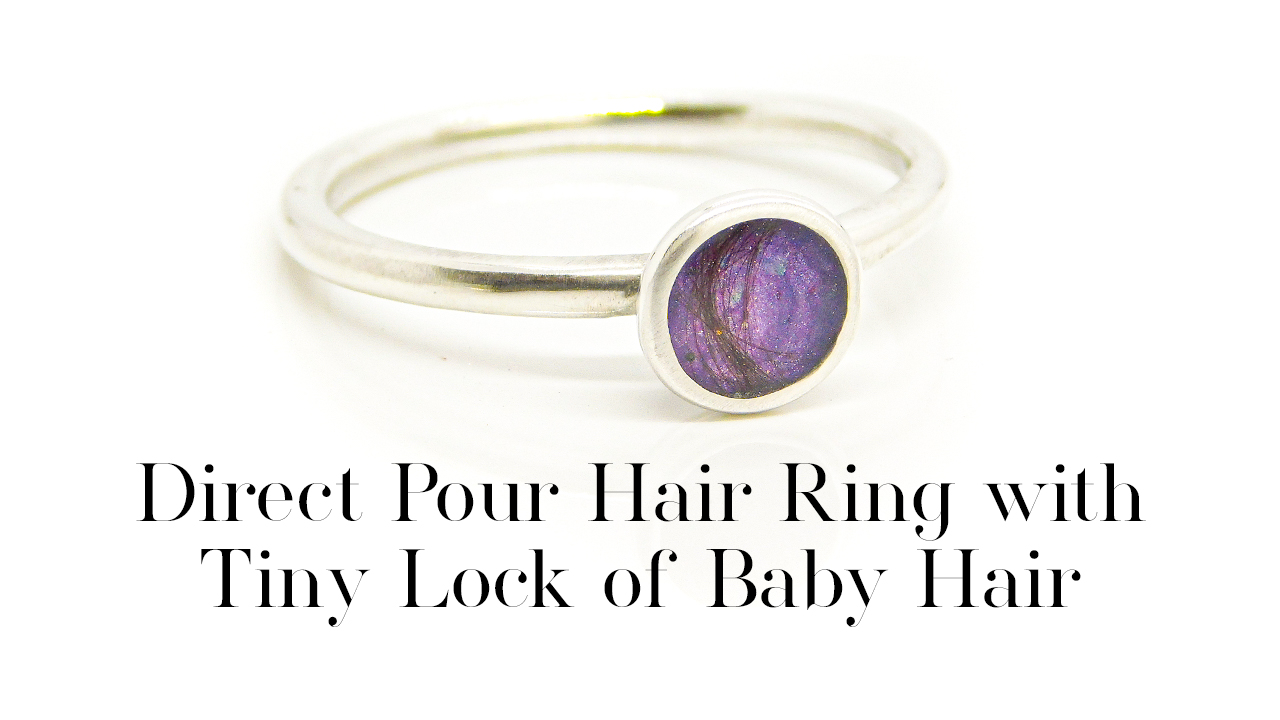
Direct Pour Lock of Hair Ring with Bonus Stone Necklace – making keepsake jewellery using a direct pour technique compared to using a mould. I’m also showing you how to work with the tiniest amount of hair and how to fix imperfections once the ring is cured. Recently I’ve created two free courses to help people learn how to make breastmilk and memorial jewellery – click here to register and take them!
The direct pour technique is ideal for our exclusive hybrid rings here which are great for direct pouring because the walls are curved over, meaning the resin can’t pop out again. You also have the option to use the mould included in the kit to make a couple of cabochons then choose your favourite to glue into the setting and top coat.
Direct Pour Lock of Hair Ring with Bonus Stone Necklace Video
You’ll need the following supplies
- the lock of hair
- a ring setting with a closed back, like this Ayla solitaire ring in solid silver
- resin sparkle mix (I’m using orchid purple again in this video because it’s our most highly requested colour)
- 3 cocktail sticks
- label backing paper
- hairdressing scissors
- UV resin
- UV top coat
To make the necklace you’ll also need
- 8mm round mould
- 8mm round small necklace setting (I used the heart point necklace)
- silver necklace chain
Tools and Equipment
- LED UV lamp to work with UV resin
- You can also use epoxy resin for these pieces but you will need to wait for the resin to cure between layers which can take days
- curved burnisher or a teaspoon
- side cutting pliers
RECEIVING HAIR
This lock of hair ring is from a baby, and the family only had the tiniest amount to send. We sent them a kit in the post and asked them to retain some hair from the tiny lock they had. I always recommend you ask clients not to send all of it, in case it’s lost in the post. When I saw the amount of hair in person my breath caught for a moment. I always want to do the best work possible, and it is slightly trickier with a tiny sample. There were around ten strands of hair, so I prepared to work really carefully and be careful not to breath directly on the hair until it was in the resin, to make sure it didn’t blow away
FILLING THE RING
Put a small drop of resin and some sparkle mix on a piece of label backing paper, then stir it thoroughly. Sorry about the state of my fingers, I’ve been polishing some silver! Make sure you’re wearing PPE. I’m not wearing gloves here because I need accuracy with this hair. Put your ring in something to hold it steady, I’m using reverse action tweezers here. Put a small dot of the coloured resin into the ring, you don’t need full coverage and each layer should be very thin otherwise the light can’t penetrate enough to cure the UV resin.
Move it to the edges, being careful not to get any around the top. You could add cremation ashes, umbilical cord or preserved, dried and finely ground breastmilk powder in with the colour. Cure for 99 seconds on a low heat setting then repeat with another layer. Swirl the colour around so that you get a beautiful galaxy effect. I’m also carefully placing some little flecks of opalescent flakes from the sparkle mix. The colour should come around two thirds of the way up the sides or just under the edge and be opaque now. Cure again then you’re ready to add the hair.
ADDING THE HAIR
Prepare some fresh label backing paper with a thin line of resin then place the strands of hair along it. The resin stops them blowing away and helps control placement. Cut the lock of hair in the middle and double up the strands to thicken the lock. If you’re enjoying this video please consider subscribing to my channel. Check against the width of the ring to see how long you want the lock of hair you’ll place inside, then cut the hair a little longer than you’ll need. Double up the hair again with what’s left then cut to size and place in the ring. Moving the hair around inside the ring takes a lot of patience and a little practice but there’s no rush. When you’re happy you can cure it under the lamp then do a thin layer of clear resin on top to protect the hair.
FILLING A MOULD
I had a little resin covered hair left on the label backing paper and wanted to make a small gift for the family. Put a little resin into the mould and transfer in the hair across. Move the hair around until you’re happy with the placement. I only have a tiny bit of hair here so I’m doing my best to get it in the centre so it can be seen. Put the stone in the lamp to cure then do a second layer, this time with just a little colour mixed in with clear resin, then cure again. The next layer should have a little more colour and the final layer should make the stone opaque.

TOP COAT
I was about to top coat the ring when I noticed some hair poking out of the side. This can be easily corrected by taking an ultra fine foam sanding pad and gently rubbing it away. This made the stone opaque but then when you add the top coat it’s shiny again. Take your time to make sure it doesn’t bleed over the edge and has a slight dome. Cure it making totally sure it’s completely level. Whilst it’s curing you can do a layer of top coat on the back of the stone.
Cure both pieces for 99 seconds then allow to cool completely and cure again, then cool before touching them. To set the stone just remove it from the mould and trim the edges with scissors or side cutting pliers. Place inside the setting and use the back of a teaspoon, or a curved burnisher like I’m using here, to press down the points to secure the stone. Add a chain and the little necklace is ready. Photograph the pieces and then they’re ready to send to your client.
Usually, even if I’m doing a direct pour setting like this ring, I like to make a quick stone first with the client’s lock of hair and the colour they’ve chosen. I take a photo and send it to the client to check they’re happy with the colour. I let them know this stone is theirs to keep free of charge. Proof photos virtually eliminate complaints from clients who don’t like the colour, which is especially important with a direct pour setting because it’s hard to remove the resin to remake the piece. Because this lock of hair was so tiny I spoke to the family first and they were happy for me to go ahead without the mockup stone proof.
I’m so grateful for their permission to film this anonymously as part of my series of courses to make breastmilk and memorial jewellery. We have two free courses available at the moment – click here to register and take them – and I hope you get a chance to try them. Thanks for watching. Now relax and do some crafting
Please note, this blog contains affiliate links, meaning I receive a small income based on your purchases from Amazon and Etsy etc. This affiliate income is really helpful to me to support my family and if you’d like to know how I set it all up please get in touch (blogs coming soon!).
Nikki
pronouns – they/them

