Easy Double Ashes Ring Tutorial with birthstone colours – making bereavement and cremation jewellery using a direct pour technique. This technique is ideal for our handmade rings here which are all solid silver. This twisted band is my most popular ring style, although you can request a 3mm, 4mm, 5mm or 6mm duo setting for any of my rings (or even heart, teardrop or oval duos or a combination!)
Easy Double Ashes Ring Tutorial Video
TikTok coming soon!
Here’s the transcript. After your first order you’ll receive a reasonable 15%* off future purchases. We have several courses here including some free to help you learn more about making bereavement and cremation jewelry such as a cremation ring.
You’ll need the following supplies
one of our DIY ashes ring kits
the ashes/hair version of the kits contain:
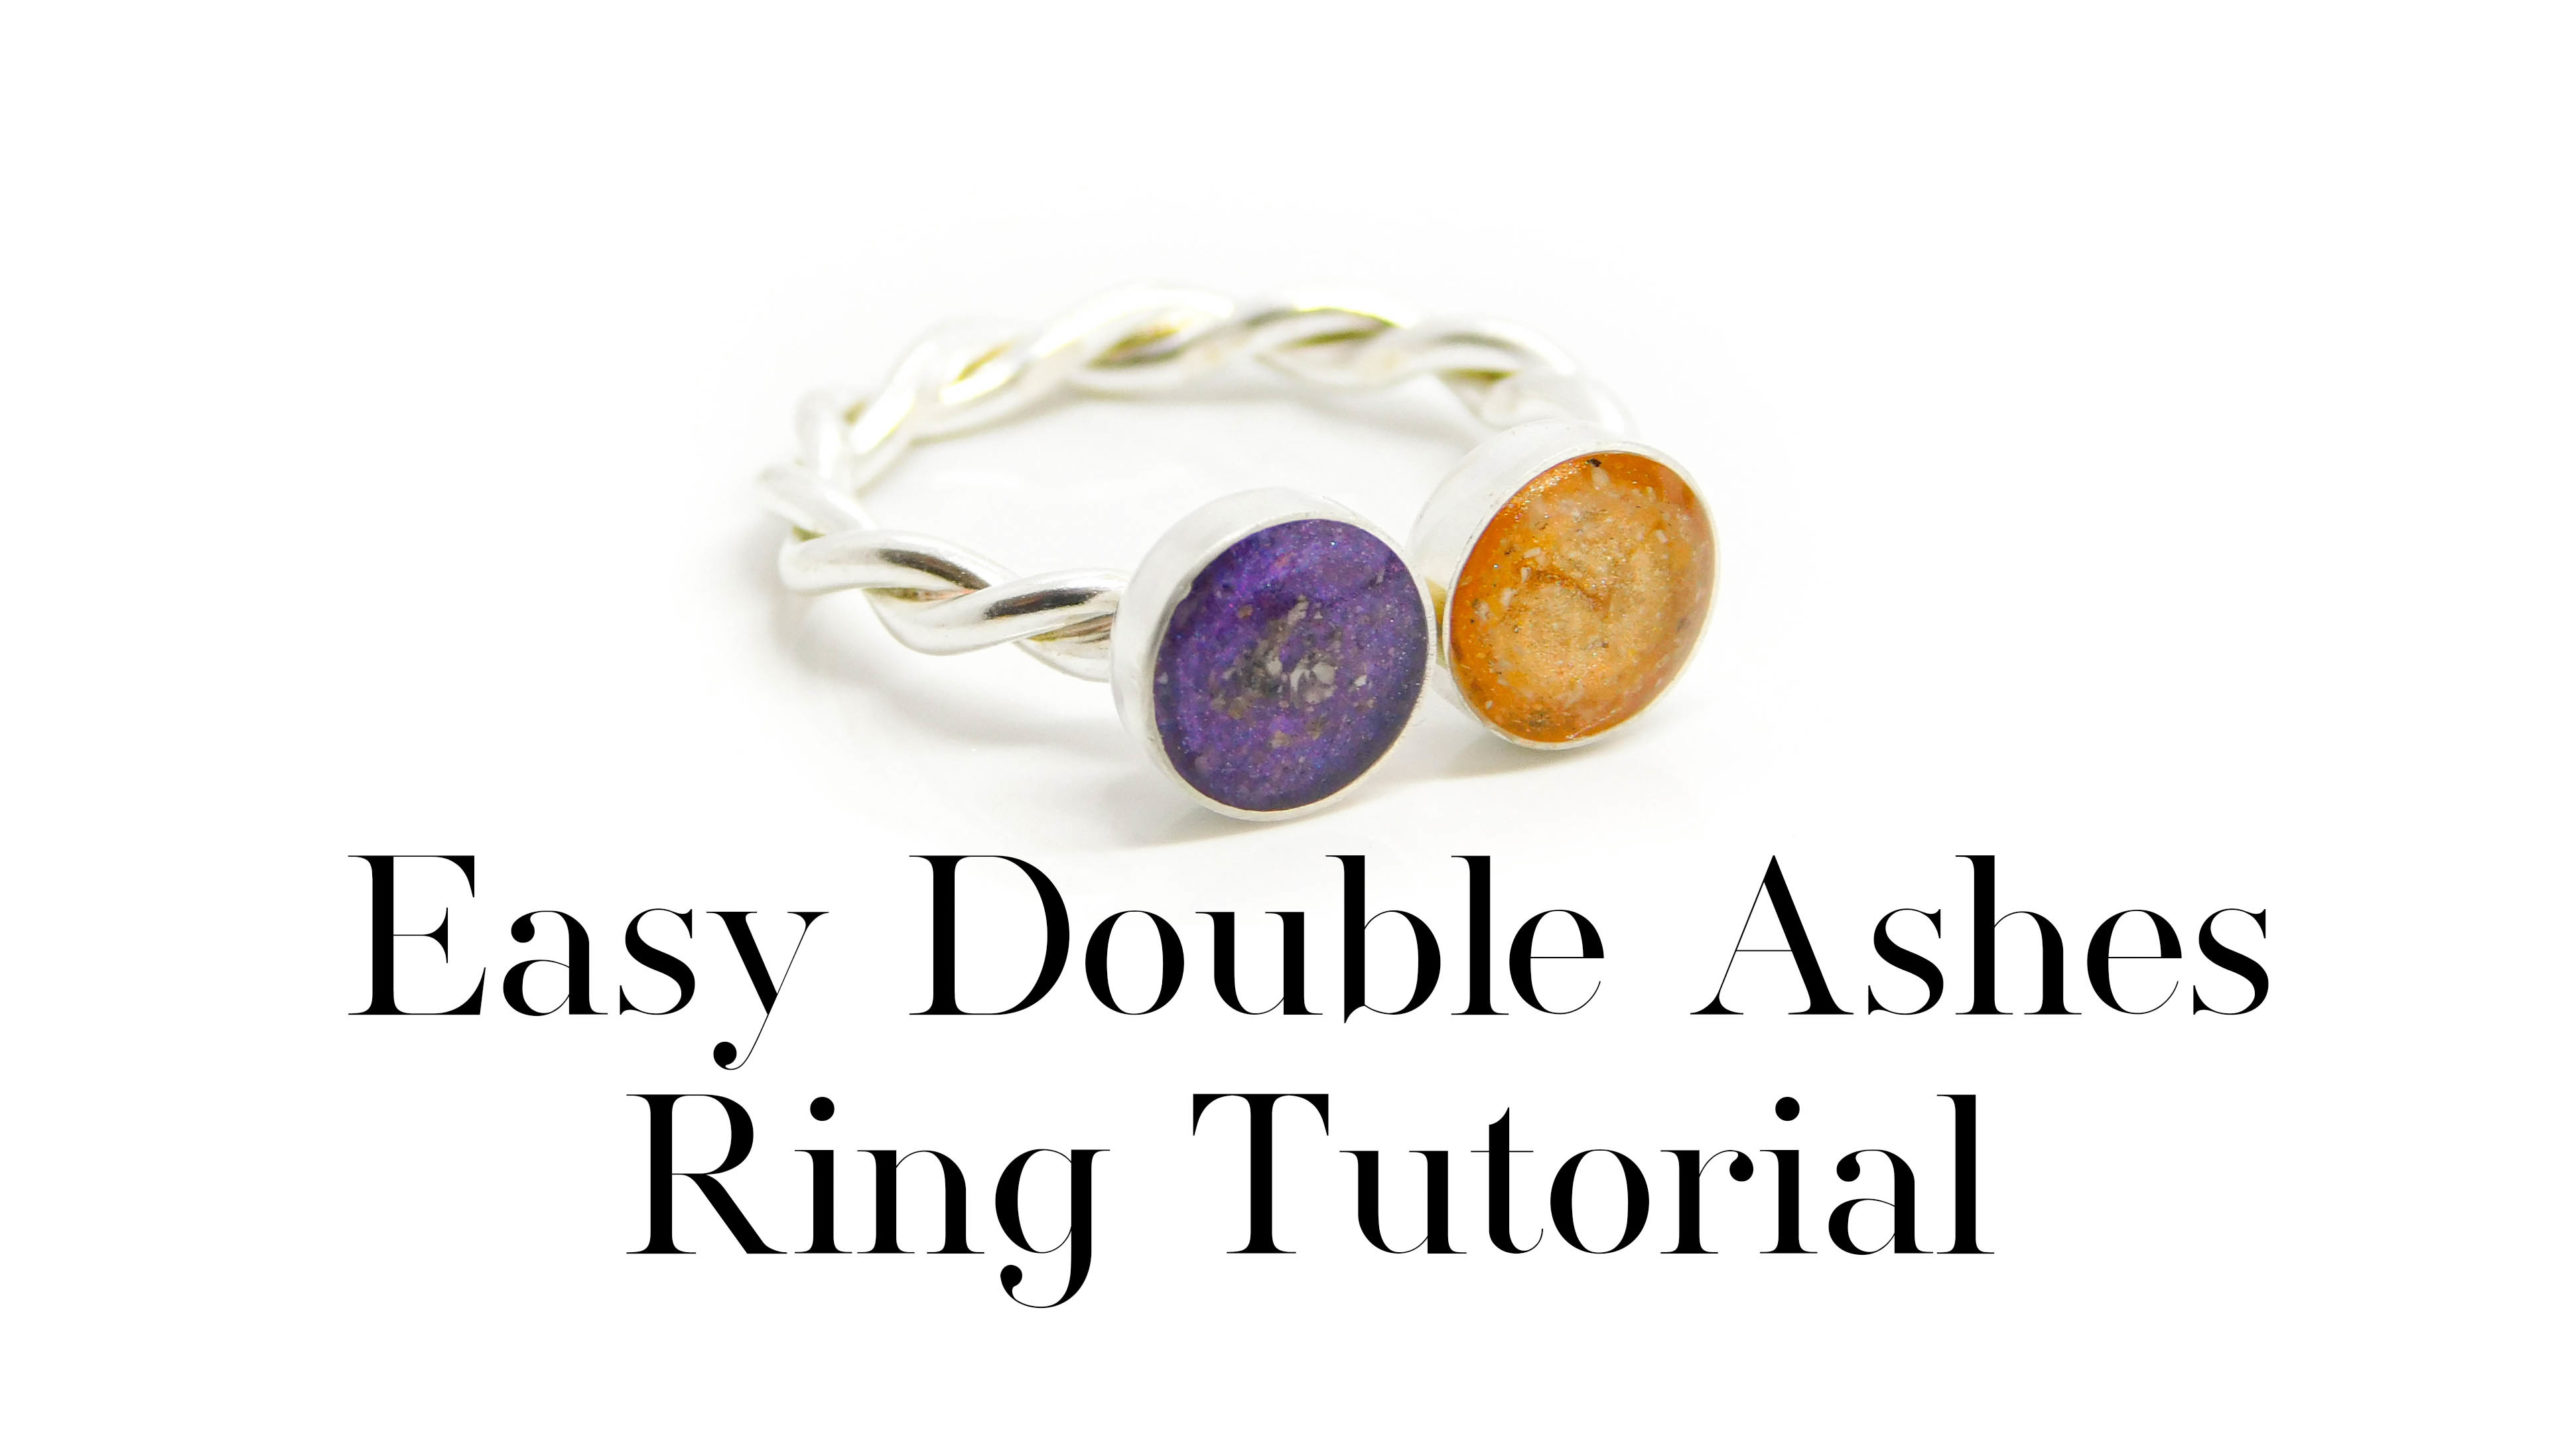
- a ring setting – this is one of our twisted band rings with 6mm round duo bezel cups
- a practice setting for direct pour (checking colour etc)
- vinyl gloves
- resin sparkle mix (you can use eyeshadow for custom colours!)
- a dust mask
- label backing paper
- some sandpaper
- 3 cocktail sticks
- 10g UV resin
You’ll also need your client’s cremation ashes for this Easy Double Ashes Ring Tutorial. We ask them to only send half a teaspoonful! That way, if it’s lost in the post they can send a little more. We sell wholesale sending kit supplies such as ashes sending pots here. You might also need:
-
- LED UV torch** or a good UV lamp for professionals
- ring sizer set
- ring sizing stick or mandrel
- reverse action tweezers/third hand
- a tiny measuring spoon
- crushed glass for birthstones
- biodegradable cleaning wipes cut into smaller squares
- pestle and mortar
- UV top coat (optional)
- 200g bottle of Padico Star Drop
Easy Double Ashes Ring Tutorial
Thank you so much to my client, Vicky, for permission to film this video and your lovely comments. This video is dedicated to her grandparents, Jack and Monica
Vicky said:
I am beyond thrilled to wear this and keep my precious grandparents near me thank you so much xx
In this video I’ll be using UV resin in a direct pour techniques to create a Cremation Ashes Ring and two dangle charms, with birthstone. I’ve linked to all the supplies I’m using above. We sent Vicky a kit in the post with a pot for both of her grandparents’ ashes. We made sure to mark on the label and the pots which ashes were which, and the colours to use.
Vicky also requested this ring sizer set and luckily the sizers go from UK size A to Z+2. I’m proud to be a size inclusive jeweller and Vicky is a size G which is about a US size 3, which was no problem! I offer rings in all shapes and sizes, and you can order one ring with your loved one’s ashes or a hundred rings from me wholesale.
To hold the ring in place I like to use reverse action tweezers, also known as a third hand. Lay out your ashes and the colours. I’m using purple, yellow and orange here. You’ll need a little bit of label backing paper for each side too. I’ve already made these little 8mm necklace settings for my client to check she’s happy with the colours, I sent her a proof photo and returned these pieces along with her ring. Make sure to keep safe anything you make for your customer; I put these in a little cellophane bag in with her kit
I’m using sustainable cocktail sticks to stir and apply the ashes and they come in the DIY kits. I’m using Padico Star Drop UV resin again today because it’s the best quality. Put a little drop on the label backing paper, some of the sparkle mix and some of the ashes. Give the tiny spoon a clean in between dips with a biodegradable baby wipe.
Mix it well and place a very thin layer into one of the bezel cups, around the base and up the sides. Make sure it’s not too thick in the corners or it won’t cure. Pop it into your UV lamp for 60 seconds to cure and prepare the other ashes. I’m using a mixture of yellow and orange, you can now buy these pre-mixed with resin but it’s ok to use the loose powder too.
Vicky’s grandad’s ashes weren’t as fine as her granny’s so I used a pestle and mortar to grind them a little finer. This is totally optional though. I added in a small chip of yellow topaz too. Before curing, I did another layer on the purple side.
Cure and repeat working in thin layers to build up the colour. After around three layers of just the colour, do a layer of clear resin and swirl in a little bit of the colour and ashes mixtures. You can add a little bit more of the ashes too, if you like. Cure this layer.
Tidy up your workstation and carefully put the unused ashes back, ready to return to the client. I’m even returning the wipe because it contains Vicky’s loved ones’ ashes. I’ve also cured the leftover sparkle and ashes mix and am sending these back too.
You might need to add another layer of clear to dome the top but this ring was perfect so I cured it a couple more times and it was ready. I’m so grateful to Vicky for permission to film this video as part of my series of courses to make breastmilk and memorial jewellery
Thanks for watching. Now relax and do some crafting
