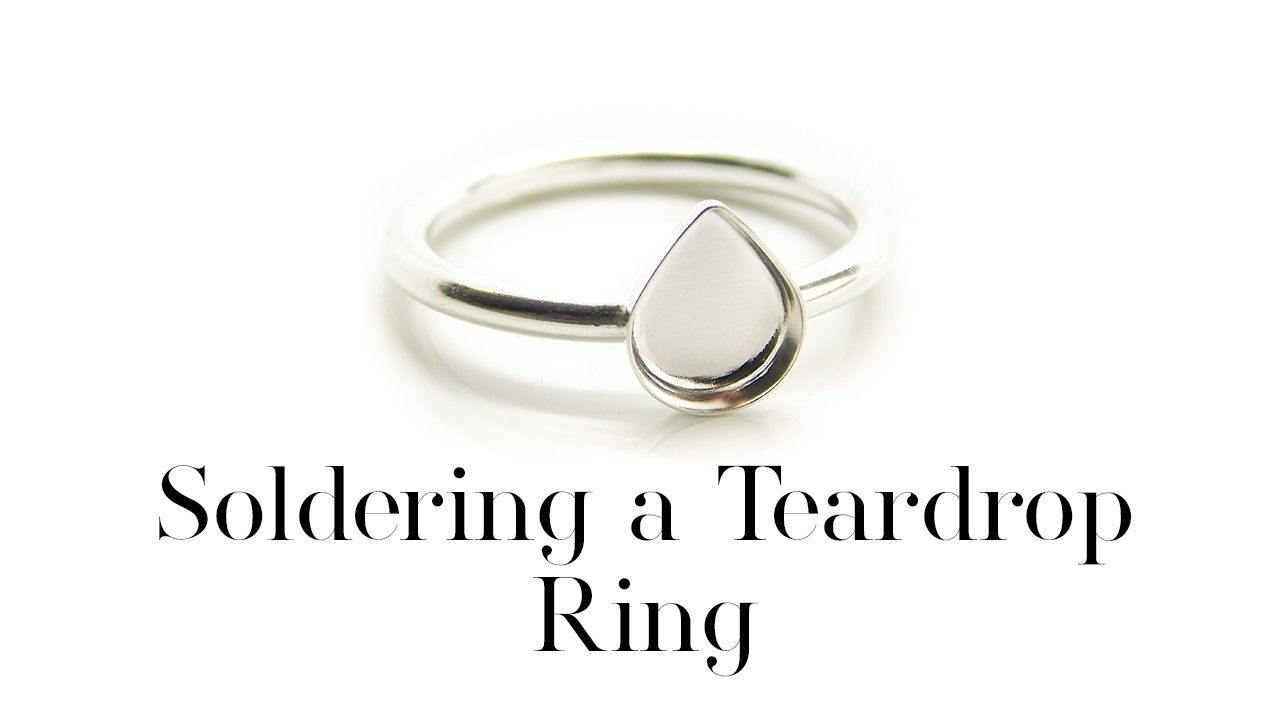
Soldering a Teardrop Ring Tutorial – making a classic ring with round wire and a pear shaped bezel cup ready to be filled with resin. I have two free courses to help people learn how to make breastmilk and memorial jewellery – click here to register and take them! I have a silversmithing course coming soon so please keep an eye out for it.
I’m using 2mm round wire, that’s around 14 gauge, but I find 14 is a bit thin sometimes. I’m using 940 Argentium silver wire, which contains much less copper than 925 sterling silver, read more in my blog about types of silver here. Argentium silver is less likely to tarnish than sterling due to the lower copper content and I prefer to work with it, but sterling would work just fine. The teardrop bezel cup is 925.
Soldering a Teardrop Ring Video
You’ll need the following supplies
- 2mm classic round silver wire (I use 940 Argentium but you can use 925 sterling) appx 14 gauge
- Digital caliper to measure the length of wire
- an Ultra Fine Sharpie
- bench peg
- a piercing saw (I use a Knew Concepts saw which I’ll also link to in the description), and saw blades (I use size 3)
- coconut oil or any blade lube
- diamond file
- washing up liquid and an old toothbrush
- flux liquid this is homemade; please let me know if you want me to cover that in another video
- an old paintbrush to apply the flux liquid
- a small blowtorch and a butane gas canister (I buy at a local hardware shop)
- a honeycomb soldering block
- a pickle pot, I use a small slow cooker with a nylon slotted spoon
- citric acid as natural pickle
- small nylon hammer and ring mandrel
- ring sizing stick might be helpful too, if you have one
- ring sizer set
- flat nylon pliers
- hard, medium and easy solder paste
- soldering pick
- sanding and polishing bits (cylinders)
- Dremel with flex shaft or generic rotary tool with flex shaft or pendant motor like the Foredom (preferred)
- third hand tweezers and cross lock
- 8x6mm teardrop bezel cup
- wooden ring clamp
- Ring sizing for cutting chart (this is a free download I have)
- foam sanding pads
- magnetic tumble polisher – totally optional, a big purchase which makes life 100 times easier
You might also need the following:
- silver polishing cloth
- biodegradable cleaning wipes cut into smaller squares
You’ll also need your client’s ring size for this Soldering a Teardrop Ring Tutorial. Learn more in our silversmithing jewellery making course (coming soon!).
Hi, I’m Nikki Lovegrove from Tree of Opals and Keepsaker Supplies. I’ve been making memorial and breastmilk jewellery for clients for nine years and this is my first soldering tutorial. I’ve been learning tips and tricks over the years which I want to pass on to you all. In this video you’ll learn how to make a solid silver teardrop ring from scratch and you can find most of the equipment you need on my website KeepsakerSupplies.com
To begin, use the sizing chart to work out which length to cut. I’ll be doing a video soon for my soldering course on how I use the chart to work out exactly what to cut and it saves me a lot of time.
Make sure your wire is nice and straight then measure the length you need and mark it with the Sharpie. I’m cutting two here so I have a spare for next time. Use a bit of coconut oil to lubricate the blade and cut through on the line.
You can see that the wire has little bits of silver at the edges and they’re not totally straight. I like to file these off with a diamond file so they’re even. Use the toothbrush with a little washing up liquid to clean off any silver dust and oil then dry them and put them on the soldering block.
Add some flux liquid to protect the silver from fire scale. Using the torch, anneal the wire by heating it up to a cherry red colour. This will make the silver softer so you can shape the ring. Once they’ve cooled down, quench them in some cold water (be careful not to touch them when they’re hot!). Now you can pick them up. Put them in the pickle pot for a few minutes to get rid of any copper that’s come to the surface then rinse.
Dry the silver off then shape it round the ring mandrel, smaller than you need it to be. Try to make sure both sides are even. Then use the nylon mallet to tap the ends down so they meet in a V shape.
Use the nylon flat pliers to flatten the V so that it closes a bit but not completely. You need it a little more open at the top of the ring and not completely joined. Now cut through the join with the piercing saw to completely close it. You might need to do it twice, like I’m doing for this second one. If you do, the wire might not be as snug and you want the two ends to be pressed together firmly.
To fix it, push the ends of the wire past each other like this, on either side. Now wash the ring again with the toothbrush and dry it off. Apply some more flux liquid then light it to burn off the alcohol. Flip and repeat, so both sides are covered.
Now apply a dot of hard solder paste to either side of the join. Heat the ring from the back, working in a U shape towards the join, until the ring becomes red (but not orange) and the solder melts. When they’ve cooled a bit, use the soldering pick to put them into the cold water to quench it, then put it into the pickle for a few minutes to remove any copper from the surface.
After you rinse and dry the ring, it’s ready to be formed into the ring shank. Place it on the ring mandrel and use the nylon mallet to tap the corners, or shoulders, to round them off. They’re a size L now, and I want an N so that’s perfect. Keep turning the ring as you go and gently tap until it becomes the size you need.
I like to double check the size on my ring sizing stick to make sure, even though I know the mandrel and stick are calibrated and the same as my ring sizing set.
To prepare the ring shank for adding the bezel cup, I like to use a sanding cylinder in my pendant motor to file off a bit of the excess solder. This is 1500 grit. I just do a little on the sides and the inside, don’t worry about the top because we’re filing that off in a minute anyway.
We want to create a platform large enough for the bezel cup so you get a good area that soldered and nice and secure, but don’t file too much off the ring shank that it’s visible from the sides. This is 6mm across so I try to file off about 5mm. Place the shank in the wooden ring clamp and file across diagonally in all four directions.
Wash the ring shank again to remove any silver dust then apply flux liquid to it and the bezel cup then burn off the alcohol. When it’s cooled, use the Sharpie to mark the edges of the bit you filed off, on the side of the shank so that you’ll see it when you’re placing the bezel cup underneath.
Place the ring shank in the third hand so that it sits perfectly level with the bezel cup. This bit takes a lot of practice and might be frustrating, but the more perfect it is, the better the ring looks in the end. I find round bezel cups easier to work with, but if you’re using a teardrop or heart, just make sure the point is at 90 degrees to the ring shank. Take your time. Check from the side to make sure the ring shank is straight too, not leaning to the front or the back, or the bezel will be wonky!
Gently move the third hand away without adjusting the height, then put medium solder paste onto the bezel cup. Put the ring shank back on top and triple check the positioning. Use the blowtorch to heat the top of the ring shank and the third hand, slowly working down to the bezel cup until the solder melts. Don’t overheat it or the hard solder on the ring shank will also melt and it could spring open.
Allow the ring to cool down. I don’t advise quenching Argentium silver straight away because the change in temperature can make it brittle. If you’re using sterling silver only then you can quench it straight away in cold water. Put the ring in the pickle. You can see the shank is pretty silver in colour because it’s Argentium but the bezel cup is a greeny/beige colour. It would be brown/black if I hadn’t used the flux. As soon as it goes in the acid pickle, that colour changes to pink. This is the copper which has come to the surface and will transfer into the pickle, leaving pure silver on the surface of the ring.
Once the colour is a nice silvery white, rinse it and dry it off. Use an ultra fine sanding pad to level off the bezel cup, because sometimes they’re a little uneven. Then use the sanding cylinder to even off the sides and insides where the join is.
You can finish with abrasives like jewellers’ tripoli and rouge, or green Luxi compound, but I have a magnetic tumble polisher which gives me this beautiful sustainable satin finish. I just throw it in for 15 minutes and it comes out perfectly clean and ready for use.
=======
I’ve linked to all the supplies I’m using in the video description, most of which are for sale on my website KeepsakerSupplies.com. If you’d like to purchase one of these rings ready-made, ready to add your own breastmilk or your loved one’s ashes, I also sell them there. I even have listings for wholesale quantities if you have a successful keepsake business and would like to order a batch.
And finally, if you’d like to send your ashes, hair, milk or umbilical cord in to me to make a piece for you, please have a look on my other website, TreeOfOpals.com
Thanks for watching. Now relax and do some crafting
Please note, this blog contains affiliate links, meaning I receive a small income based on your purchases from Amazon and Etsy etc. This affiliate income is really helpful to me to support my family and if you’d like to know how I set it all up please get in touch (blogs coming soon!).
Nikki

TikTok videos
@keepsakersuppliesSoldering a Teardrop Ring Tutorial – making a classic ring with round wire and a pear shaped bezel cup ready to be filled with resin. I have a silversmithing course coming soon so please keep an eye out for it. I’m using 2mm round wire, that’s around 14 gauge, but I find 14 is a bit thin sometimes. I’m using 940 Argentium silver wire, which contains much less copper than 925 sterling silver, read more in my blog about types of silver here. Argentium silver is less likely to tarnish than sterling due to the lower copper content and I prefer to work with it, but sterling would work just fine. The teardrop bezel cup is 925. #Silversmithing #DIYJewelry
