Making A Breastmilk Heart Necklace with Breastmilk Preservation Powder from Keepsaker Supplies is easy and affordable. You’ll need one of our Heart Necklace Settings with a breastmilk kit and a few optional supplies to make breastmilk jewellery and you can add little extras to personalise your clients’ pieces. You can buy the Breastmilk Preservation Powder exclusive to us here separately in larger packs.
Breastmilk Heart Necklace Setting
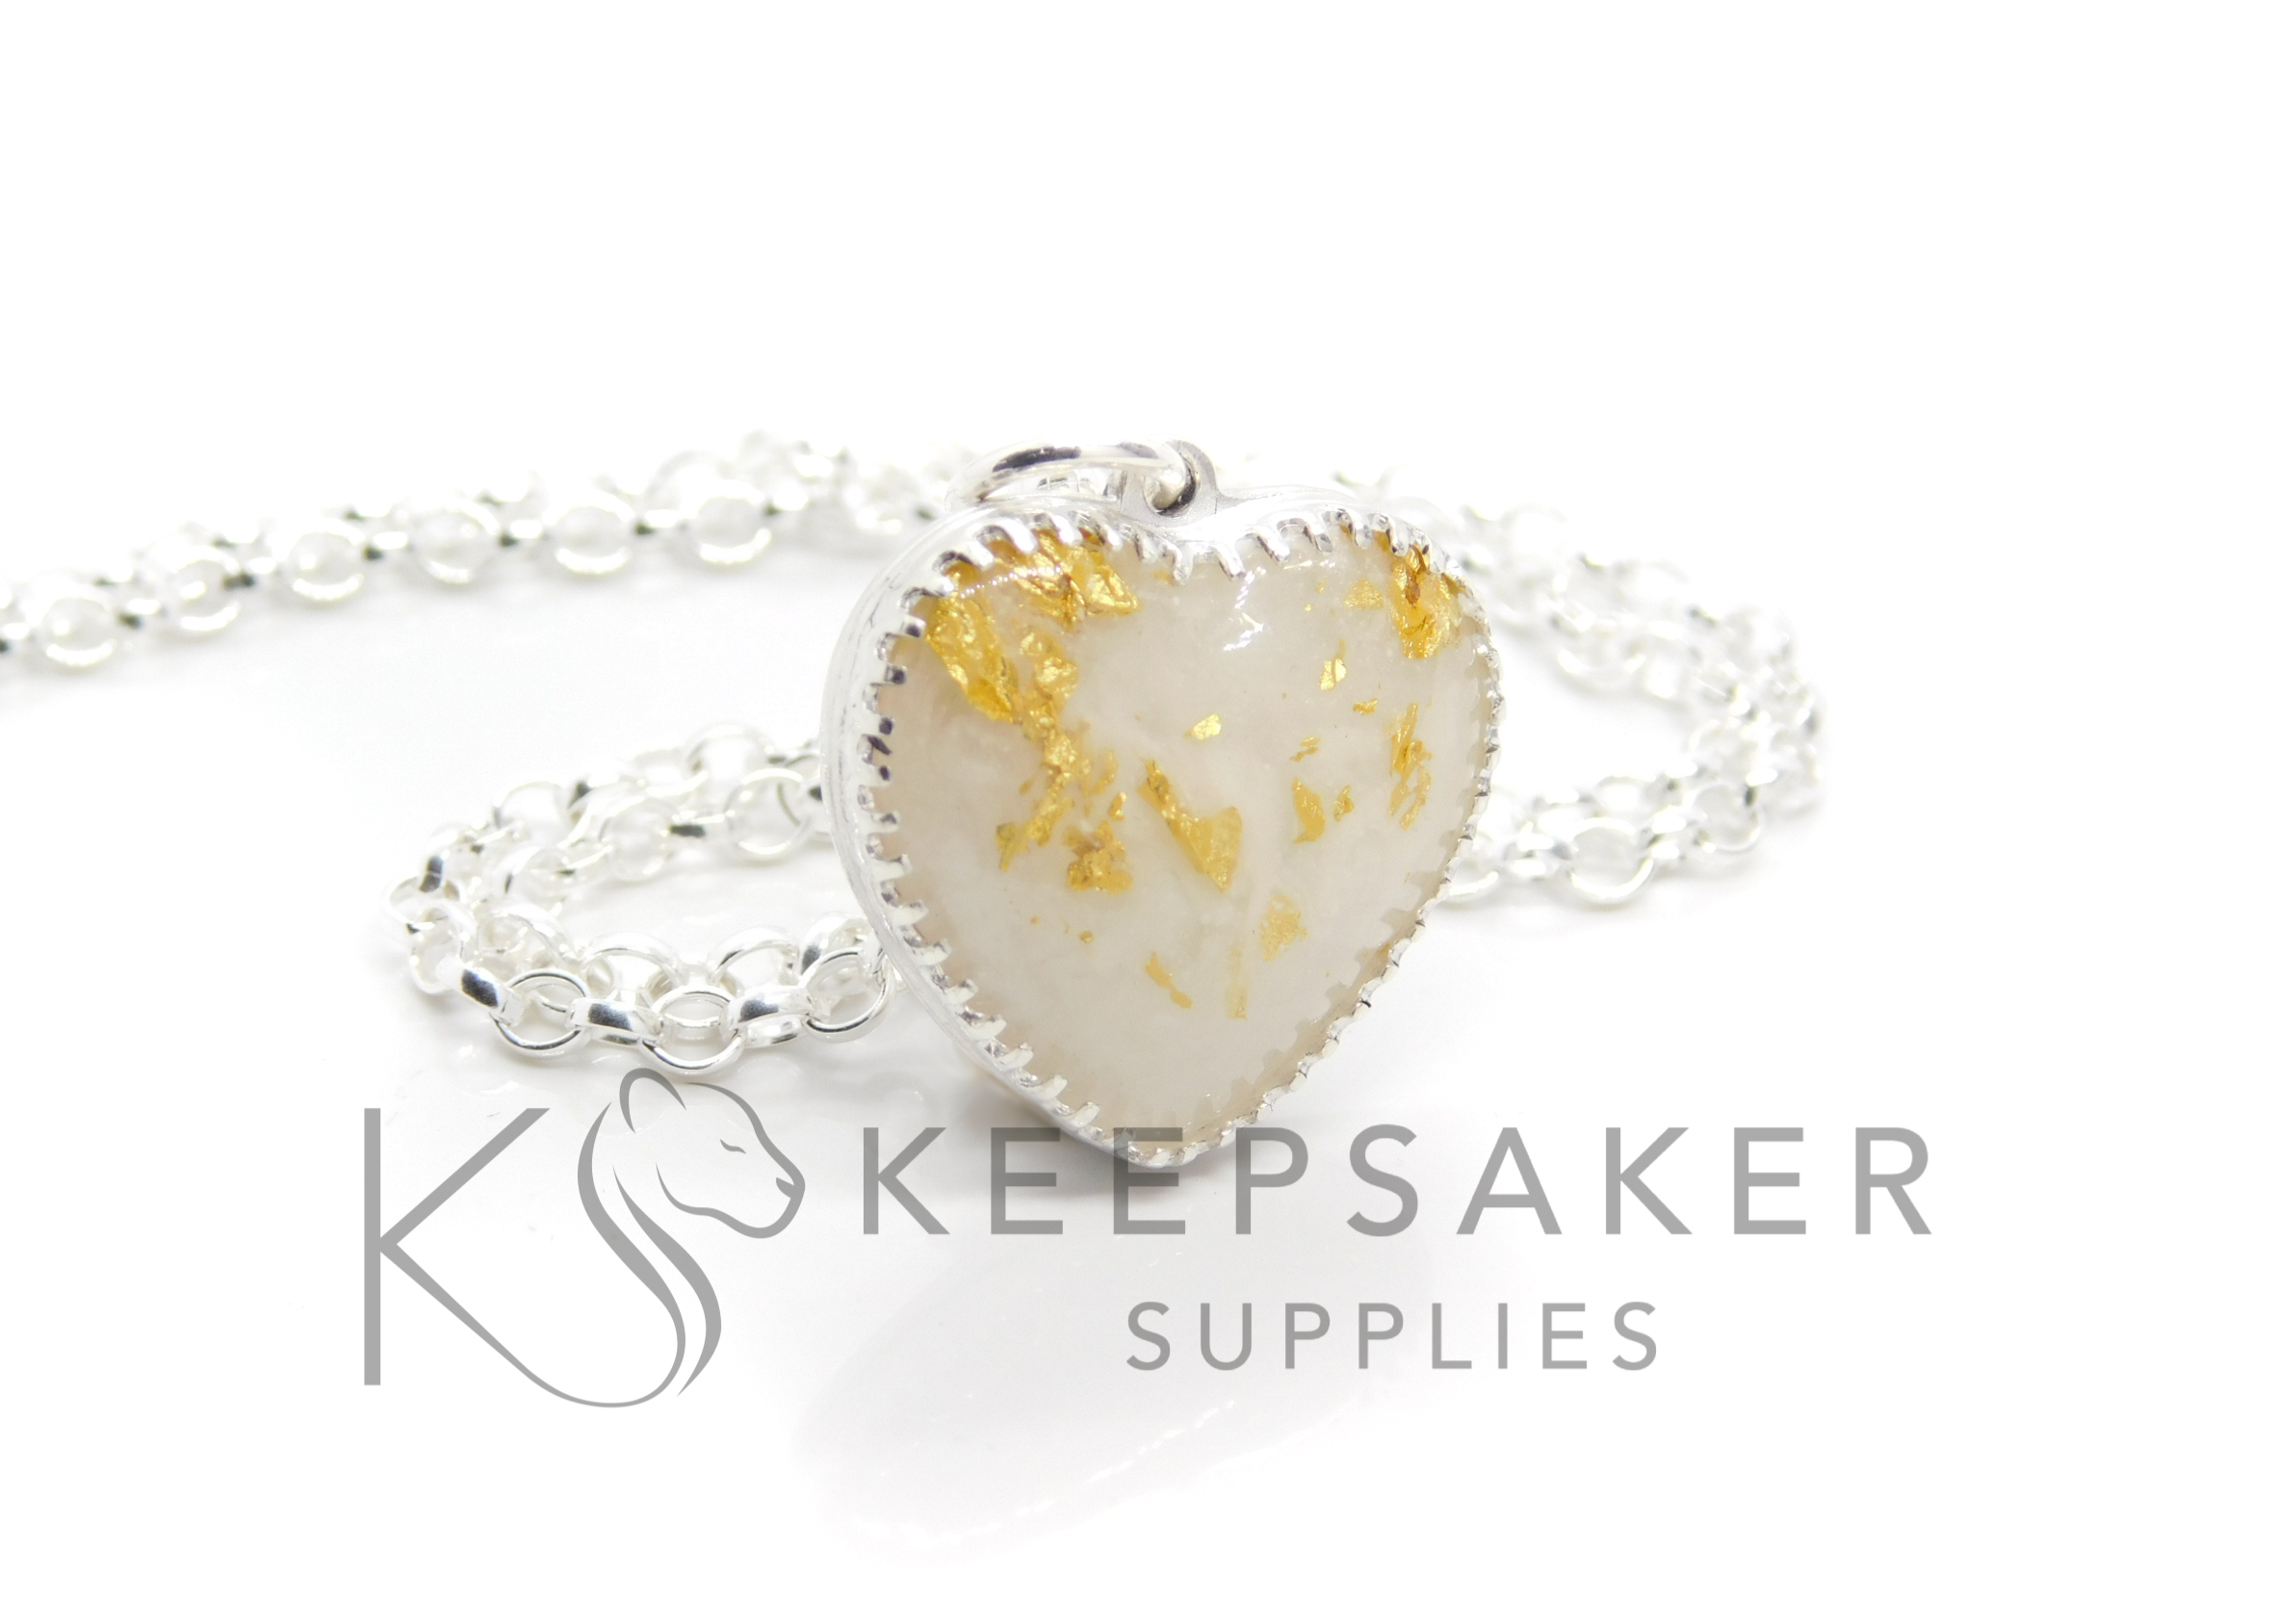
- You can use our scalloped edge heart setting, or our crown point heart necklace setting (both of which are compatible with our 18mm heart mould!)
- Or you could fill a bezel setting like this with resin, but please see our blog on Filling V’s Rubover settings to find out why we recommend you use a mould!
- Please remember that our necklace setting kits come without a chain so you will need to purchase a necklace chain here or buy them locally. We recommend sourcing chains locally so you can get great value on lightweight chains such as a 20″/50cm from suppliers like Cookson Gold (Europe), Rashbel (Israel) and Rio Grande (USA).

This vlog is similar to our Making a Cremation Ashes Heart Necklace tutorial but I’ll be showing you how to preserve breastmilk using our Breastmilk Preservation Powder, which is included in our DIY breastmilk kits. We include these PDF downloadable instructions with the breastmilk kits for preserving the milk. After your first order you’ll receive a reasonable 15% off future purchases*. If you’d like to work towards your own preservation methods please read our breastmilk jewellery making blogs!
Firstly, send your client a breastmilk sending kit, see our Worldwide Sourcing Guides here – including the UK, USA, Australia and Canada (more countries coming soon) for details on the tubes we recommend, which are also suitable for heating directly although that’s not needed for this method.
First, preserve the milk using the method in Part 1 – here’s the full blog with instructions.
Secondly, watch this video to see how to use he preserved breastmilk
Making a Breastmilk Heart Necklace with Preserved Breastmilk
You’ll need the following supplies
one of our DIY breastmilk heart necklace kits
the breastmilk version of the kits contain:
- a single sachet of our own Breastmilk Preservation Powder
- breastmilk pearly resin sparkle mix
- a heart pendant setting (this one has Silver South Script text engraving added)
- a single 18mm heart mould
- label backing paper
- some sandpaper
- a dust mask
- vinyl gloves
- 10g UV resin
- 3 cocktail stick
You might also want
- LED UV lamp (you can use a UV torch or even bright sunshine)
- a mylar bag and Sharpie (to stay organised)
- silica gel sachets
- a white pestle and mortar (you can use a spoon)
- genuine 22ct gold precious metal leaf
- a tiny measuring spoon (you can use a spoon)
- UV top coat
- curved burnisher (you can use a spoon)
- necklace chain
- silver polishing cloth
GRINDING THE DRIED BREASTMILK
Once the milk is completely dry, which takes a day or two depending on the weather, I recommend you transfer it into a mylar bag
Make sure the bag is labelled with the client’s name and order number
And add a single sachet of silica gel to keep the preserved breastmilk dry
The powder can be kept like this indefinitely and with the silica gel to keep away moisture it’s unlikely to ever degrade
To grind the milk into powder, put a small amount, however much you need for the client’s order, into a clean white pestle and mortar like this one we sell
Grind it as finely as you can. The finer it’s ground, the better it will suspend in the resin and the more opaque the piece will look
Get it as fine as you can then grind it a little bit more, then a little more again
In fact, when you think you’re done, just grind it a little further and you’ll thank me later
Some people use the back of a spoon but why not just go ahead and invest early in tools that will make life a lot easier
FILLING THE MOULD
Take a piece of label backing paper and squeeze on a little UV resin
Use a tiny spoon to scoop a little bit of breastmilk powder on top then mix thoroughly
Put a thin layer of the resin into the mould
Now you can add gold leaf with a toothpick, a little at a time
Then drip in a few drops of the breastmilk and resin mix, and swirl gently
Cure for 20 seconds on a low heat setting then allow to cool completely
The trick is to create thin layers to add depth
You can do this in epoxy resin but the layers take much longer to dry. If you do it all in one layer you might find the breastmilk powder sinks
Add another layer of resin and swirl in a little more breastmilk this time then cure again
Repeat until the mould is full and allow to cure and cool in between layers
REMOVE FROM THE MOULD
At the end, take the piece out of the mould and cure the top, which was the first layer you did
Even off the back, if needed, with the sandpaper. This bit is easier without vinyl gloves!
Then I like to add a layer of clear UV top coat and cure a couple of times, cooling completely between cures. This gives it a very hard and shiny finish which helps prevent UV damage
Now put the heart in your necklace setting
Use a curved burnisher to press down the scalloped setting. This is much easier than with a regular bezel setting because each one can be pressed down individually
I’ve engraved this one for Hollie’s daughter Poppy in Silver South Script font which is another service we offer at Keepsaker Supplies
Add a chain to your piece – all clients will expect a chain so I like to include a lightweight one in the price and then offer them a necklace chain upgrade
This is the rolo chain that I sell at Keepsaker Supplies. It’s hand-finished and you can purchase it alongside the breastmilk heart necklace kit, or the heart setting if you’re buying things separately which my customers tend to do once they already have the mould
I make and sell the breastmilk preservation powder I’ve featured in part one of this video on www.KeepsakerSupplies.com You can buy the sachets individually or in larger packs. Thank you so much for watching my videos and supporting my little business, especially during these difficult times. I’m hoping to start uploading videos more regularly now that 16 week old Lexi is going longer between breastfeeds.
Now relax and do some crafting breastmilk preservation powder video
Please note, this Preserving Breastmilk blog contains affiliate links meaning I receive a small income based on your purchases from Amazon and Etsy etc. This affiliate income is really helpful to me to support my family and if you’d like to know how I set it all up please get in touch (blogs coming soon!).
Nikki x
*terms apply – some products aren’t included such as settings and findings, sorry.
Making Breastmilk Jewellery eCourse
Making Breastmilk Jewellery Intro (Part 1 of 5)
Making Breastmilk Jewellery: Methods To Avoid (Part 2 of 5)
Making Breastmilk Jewellery: Methods That Work (Part 3 of 5)
Getting Started Making Breastmilk Jewellery (Part 4 of 5)
What You Need To Make Breastmilk Jewellery (Part 5 of 5)
Breastmilk Preservation Powder Instructions
Breastmilk Preservation Powder FAQ’s
This blog contains affiliate links so we may make a little extra income at no extra cost to yourself. It’s a nice way of supporting my family and helping me keep the blogs up to date. I’ll do a new blog eventually, showing you how it’s done!
