Breastmilk Ring With Hair Tutorial – making breastmilk stones with a lock of hair and gold leaf. Keepsake jewellery using a mould to make a cabochon stone technique. In the video I’ve gone into a bit more depth about the process of preserving breastmilk, and you’ll find more info in our Advanced Breastmilk Jewellery Course. Recently I’ve created two free courses to help people learn how to make breastmilk and memorial jewellery – click here to register and take them!
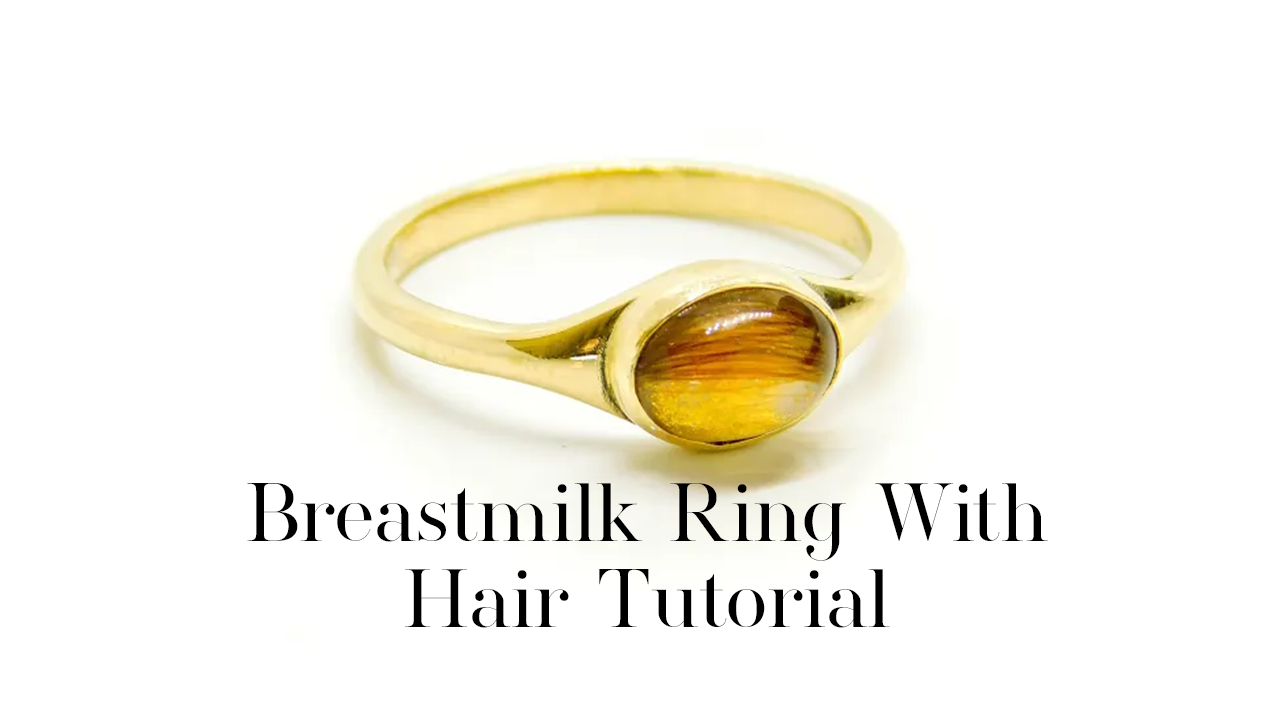
I’m using one of our solid gold hallmarked rings which are great for rubbing over a stone or direct pouring; this is our Chrissie Oval Ring which is also available in solid silver here. The breastmilk kit option for the ring comes with a single mould, so you can make a couple of cabochons then choose your favourite to set in the setting or you can pour the milk paste and resin directly into the ring.
Our solid gold rings are hallmarked at the Birmingham Assay Office, you can read about different types of gold here in Types of Gold.
Solid Gold Breastmilk Ring With Hair Tutorial Video
After your first order you’ll receive a reasonable 15% off future purchases*. Firstly, when making breastmilk jewellery send your client a breastmilk sending kit, see this blog How To Make Sending Kits for advice on instructing clients on sending in breastmilk, here are the sending kit instructions templates and here are the 5ml Breastmilk Sending Tubes we sell. We hadn’t sent this client a kit in the post; he sent me a full bag of breastmilk, triple bagged, and the rest of the milk is in tubes in my freezer now as he gave permission to give it to my clients for practice. I like to suggest that the client keeps another 10 mil in their freezer in case it’s lost in the post
You’ll need the following supplies
All of our rings are available as breastmilk kits, but I’m listing the supplies I used below individually:
- a Solid Gold Chrissie Ring setting
- your client’s breastmilk & lock of hair
- breastmilk preservation powder
- label backing paper
- UV resin
- 8x6mm oval mould duo (or you could use the 8x6mm faceted oval mould)
- gold leaf
- UV top coat
Tools and Equipment
- silicone spatula
- double boiler
- silica gel sachets
- pestle and mortar
- tiny spoon
- LED UV lamp to work with UV resin
- sparkle applicators
- cocktail sticks
- tweezers
- hairdressing scissors
- You can also use epoxy resin for these pieces but you will need to wait for the resin to cure between layers which can take days
- side cutting pliers
- diamond file
- sandpaper
- ring clamp
- curved burnisher or a teaspoon
- polishing cloth (a silver one is fine for gold)
RECEIVING BREASTMILK
Before starting, I preserved and dried the client’s milk, being careful to keep it labelled

Breastmilk Ring With Hair Tutorial
I’m setting the stone in one of our solid 9ct gold hallmarked Chrissie rings using a rubover bezel technique. Before starting, I preserved the milk in a Pyrex dish over a saucepan of water. Get everything you need ready before you begin! When the water starts condensing on the bowl, add the breastmilk and allow it to begin to heat. Once the breastmilk is steaming, you’re ready to add the sachet of powder and stir well immediately. Remove from the heat as soon as it starts to turn into a paste; I took this off a little later than I usually would because the camera lens fogged up. Continue to stir off the heat, I do it on an old towel, and once it’s all a thick paste then spread it onto some label backing paper or baking parchment.
There’s a “sweet spot” in the consistency you’ll find after a few tries. If the paste is too thin it takes longer to dry, but if it’s too thick it’s harder to spread. The bowl can go back onto the hot water to continue thickening if need be so always take it off a little early and check it on the towel. Dry out the client’s milk, being careful to keep it well-labelled, then grind. This sample was dry by the next day, but I usually wait a few days and do batches of a dozen clients at once
Remember, some samples take longer than others to dry. In my last breastmilk jewellery video you saw the process of grinding the milk over five minutes and the differences in the consistency. You can put the ground milk into a sealed bag with some silica gel sachets for a day then grind again, which makes it even finer
Making Breastmilk Stones – Lock of Hair and Gold Leaf
To make a breastmilk and hair stone, put a small amount of the lock of hair on a piece of label backing paper. Don’t use it all up, no matter how much the client’s sent you… That’s very important in case you make a mistake! Add resin all along the hair and put a tiny drop in each of the moulds. Use a cocktail stick to soak the hair in the resin and remove air bubbles. Then cut the hair to lengths a little longer than the mould, so they can curve around.

Using tweezers, carefully transfer the hair to the moulds. This part can be tricky so give yourself plenty of time and don’t worry, I drop the lock of hair sometimes, which is why I always work on a large white tile.
Once you’re happy with the hair placement, and you can check from the back if you’re using water clear moulds, then you can cure. I use a SUN3 UV lamp which we sell at Keepsaker Supplies, and it has a 99 second low heat setting which I find really helps cure the pieces well. Once they’re cured, you can apply precious metal leaf and I’m using a sparkle applicator here to add gold leaf behind the hair. We sell genuine copper, silver, gold, rose gold, white gold, platinum and palladium leaf which are all very popular with breastmilk as boobie awards or just for the extra bling they add. Yellow gold leaf represents the one year breastfeeding award, also known as golden boobies.
Next, add another very thin layer of clear resin to the mould. Mix some breastmilk powder with clear resin on the label backing paper, we can send you some sheets of this for free with any order, and make it into a paste. Use a cocktail stick to add a tiny bit of this to the mould and swirl it into the clear resin
Cure under the UV lamp then do a third layer with just the breastmilk resin and cure again. The amount of layers depends on the depth of the mould and the thickness of the layers but at this point my mould was full.
If you enjoy my videos please consider subscribing to my channel or following me on TikTok, it really helps me support my family and pay my energy bills! Leaving a comment helps me out a lot, too. After the final layer, add some top coat to the back of all the stones, cure and cool.
Next, prep your ring by checking it’s hallmarked if it’s solid gold like this, and double or triple check the size. Then give it a really good polish with a polishing cloth. Wait until the stones are completely cool then remove them from the mould and give them a good check. Send your client a proof photo to see which one they prefer, and once they’ve decided, take their stone and trim the edges with scissors, tin snips or side cutting pliers. Check it in the ring setting and, if necessary, use some coarse sandpaper to level out the back. If the stone is too tall, sand it down until it sits nicely, if it’s too short then build up the back with some UV resin. If the stone is sticky or has any imperfections just give it a layer of UV top coat and cure. This may be enough to make the stone perfect, or you may need to remake it. Try to spot these imperfections before sending your client a proof photo, but if you do need to remake it then please let them know.
To set the ring, place the ring setting in a ring clamp then add the breastmilk stone. You don’t need glue. Use a curved burnisher to press in the edges at 12o’clock, 6o’clock, 3o’clock then 9o’clock, then the corners, then smooth down any ridges. Put the ring in a nice box and send to your client. I’m so grateful for my client’s permission to film this anonymously as part of my Advanced Breastmilk Jewellery Course.
Now relax and do some crafting
Please note, this blog contains affiliate links, meaning I receive a small income based on your purchases from Amazon and Etsy etc. This affiliate income is really helpful to me to support my family and if you’d like to know how I set it all up please get in touch (blogs coming soon!).
Nikki
pronouns – they/them
@keepsakersupplies Breastmilk Ring With Hair Tutorial with gold leaf. Linktree in bio to the tutorial with all the supplies #BreastmilkJewellery ♬ original sound – Keepsaker Supplies
