What You’ll Need To Make Breastmilk Jewellery (Part 5 of 5)
Part of our Making Breastmilk Jewellery eCourse. Please see our individual country-specific blogs for shopping supplies: United Kingdom, USA, Australia, Canada, other EU countries (coming soon) and non-EU countries (coming soon).a double boiler and a silicone spatula, a pestle and mortar (click here), a tiny measuring spoon or our subtle pearly breastmilk resin sparkle mixes. Breastmilk bead cores are here and for a mystery box of moulds just click here.

Breastmilk Preservation Powder
Preserve your clients' breastmilk easily and inexpensively with this amazing powder
If you’re looking for step-by-step instructions and a guaranteed method to preserve breastmilk just buy our ready-mixed Breastmilk Preservation Powder here. To try your own preservation techniques, read all parts of this blog and give it a try.
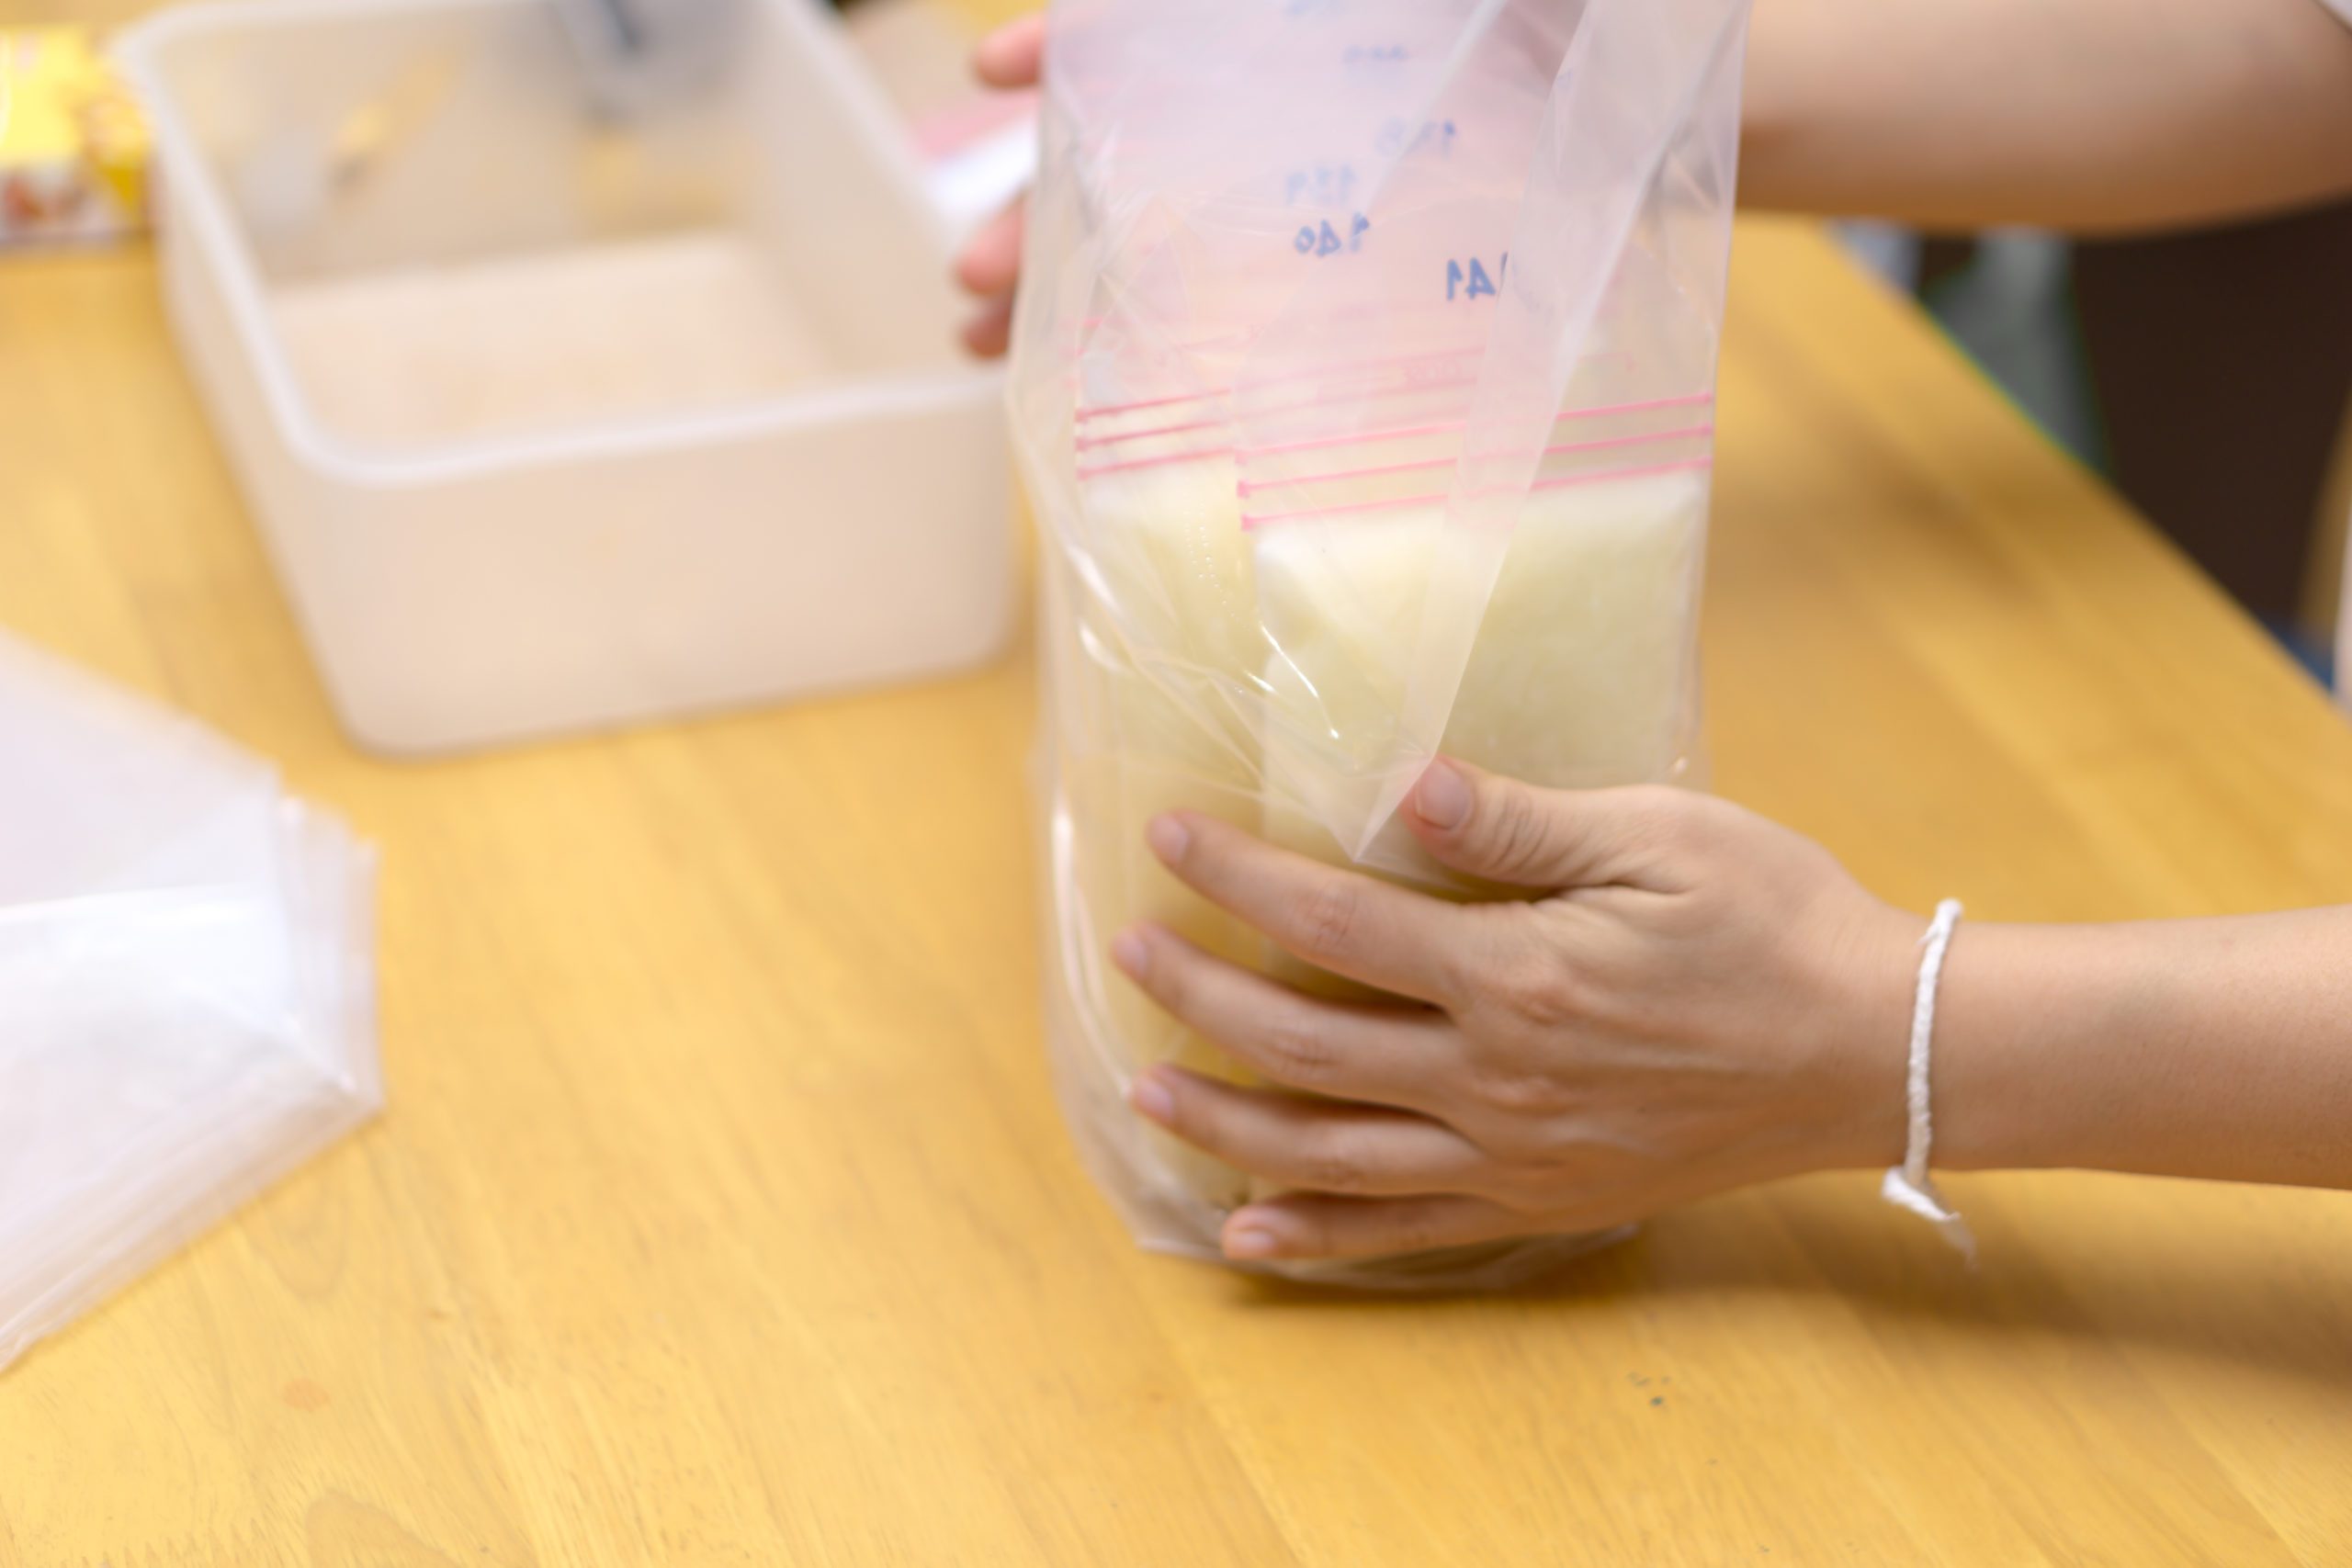
Breastmilk
First thing you’ll need to make breastmilk jewellery is some breastmilk. Whilst many of our students have their own ready supply of breastmilk, for others it’s not so easy. You can ask friends or family or ask on local Facebook groups; just make sure you ask the admin and you’re open about what happens to the milk. It can be soured milk but that’s not ideal to work with (it smells), so fresh or frozen is better – that can include milk that’s been frozen for ten years! You could ask someone who’s exclusively pumping to save up what’s left in their baby’s bottles for a few days so there’s no wastage. Get them to top up a bag in the freezer then collect it preferably. Once you recieve the milk, if it’s defrosted/fresh then you can bag it down into 5/10ml portions, maybe into ice cubes. You can offer to return some of the finished cabochons to the person who gives you the milk and offer to set them for the cost of the silver.
Breastmilk Preservation
Firs we’re happy to send you a free sample of our Breastmilk Preservation Powder to try, just pay shipping. Please get in touch with the contact form below for a code. You’ll need a double boiler and a silicone spatula
Resin
For a comparison guide between UV and epoxy see our resin blog here. We only use UV resin at Tree of Opals (for a few reasons!):
UV Resin
We recommend using our UV resin by Qian Qian which is a UV gel from the Far East that has teal and mustard flowers on the front. UV resin is a lot more expensive gram for gram, but there’s a lot less wastage. For us, time is the most valuable thing, so a resin that cures almost instantly is perfect. You need to work in thin layers, especially if you’re adding opaque colours (ones that don’t let light through).There is a knack to it, however, it has fewer bubbles.
You can cure UV resin jewellery in the sunshine but that’s not practical especially if (like me) you work at night while your children are asleep, or you live somewhere like the Faroe Islands where it’s dark most of the day in the winter. We recommend a 48watt low heat UV lamp but any UV lamp that’s usually used for gel nails is great!
My best advice is to start off using a cabochon mould and follow the videos for locks of hair and practice with scraped off eyeshadow. You can put in different glitters then work up to locks of hair and fur, petals and flowers before breastmilk, make them for friends and family. There are squillions of videos all over YouTube to help get you going.
Epoxy Resin
I always used Axson D150 Rigid until I became allergic to epoxy (more on that coming in a future blog). I stopped for a few months and used EcoResin, made from recycled vegetable oils, but to my horror every single piece (including those just with white flowers and fabric) went yellow. Thankfully I kept every bag of breastmilk sent to me and was able to remake them all. Going back to Axson was great because it’s really easy to work with.
Stick to the ratio on the bottle for volume measurement. It’s more accurate to measure by weight than by volume; if you do that, and the ratio’s not on the bottle, contact the manufacturer because it might be different to the volume ratio. I think it’s best to weigh epoxy rather than measure it by volume using lines on the side of a cup because you’ll be working with tiny amounts and a small slip can change the ratio so much it won’t set or stays soft. I always use a pocket scale because they go to 0.01g accuracy but can take up to half a kilo which is great if I wanted to use resin for painting or furniture making. Put a little plastic shot glass on and press T to tare it (put it back to zero) then pour in part A to the desired quantity. Some resins need different ratios but 2:1 is pretty common and means two parts A to one part B. So if I want to end up with 15g mixed resin in total I’ll measure 10g A then 5g B. That can be daunting especially if it’s been a while since you did maths but stick to quantities like that and write down what you’ve added. I always do wet work (resin and silicone) on baking parchment because it’s easy to clean up. You can recycle any paper or break down a big cardboard box but I don’t use newspaper because it stains. When I first started I thought a silicone mat would be amazing but any unmixed resin is really hard to clean off and would end up all over my arms.
Mix A and B together slowly with a lollipop stick which you can get in packs of 20 from places like Hobbycraft (UK) or Michael’s (USA) or so I’m told. I buy them in bulk because we never reuse them due to contamination risk and they’re really inexpensive. We get through a box a year, probably around two per order and I neutralise our carbon footprint in other ways like reusing the boxes that clients send their milk in. Use a 3ml pipette to transfer resin to your mould or bezel, add your glitters etc and leave it to cure. A pipette isn’t essential but it makes for more accurate pouring once you get the knack of them.

Preparing The Milk
Most people keep breastmilk in little breastmilk storage bags but to preserve the milk you’ll need heat. To take up the minimum amount of room in the freezer we send clients a little pot for their milk. It’s a special type of plastic that can withstand super hot and super cold temperatures and I haven’t had one crack yet! In part two of the series we will show you how to use heat and two special ingredients found in organic skincare to keep the milk preserved for years as well as other methods that are successful and not. Please let me know in the comments below if you’ve tried to make breastmilk jewellery and how it went for you! And don’t forget to tick the box below to notify you of new posts by email.
Part two of the blog is here in Making Breastmilk Jewellery: Part 2 which explains some of the ways to preserve milk that do and don’t work. Part three of the blog is here in Making Breastmilk Jewellery: Part 3 with details about the Facebook group and how to complain if you don’t think my blogs are good enough. Don’t forget to subscribe to our blog for new articles and tutorials.
Preserving Breastmilk with Breastmilk Preservation Powder
If you’d prefer to use a guaranteed method, you can preserve breastmilk using Breastmilk Preservation Powder. The full blog is here and you’ll be able to start making a profit immediately, even if you decide to still work on your own method in the background
Making Breastmilk Jewellery eCourse
Making Breastmilk Jewellery Intro (Part 1 of 5)
Making Breastmilk Jewellery: Methods To Avoid (Part 2 of 5)
Making Breastmilk Jewellery: Methods That Work (Part 3 of 5)
Getting Started Making Breastmilk Jewellery (Part 4 of 5)
What You Need To Make Breastmilk Jewellery (Part 5 of 5)
Breastmilk Preservation Powder Instructions
Breastmilk Preservation Powder FAQ’s
Please note this blog may contain affiliate links, meaning we may recieve a little extra income from your purchases at no extra cost to you

I’d like a code for a free breast milk preservation powder sample please!
Hi Brit, you can place an order for any other item including shipping and just ask for one in the comments on the checkout page and we’ll add one for you 🙂
Nikki