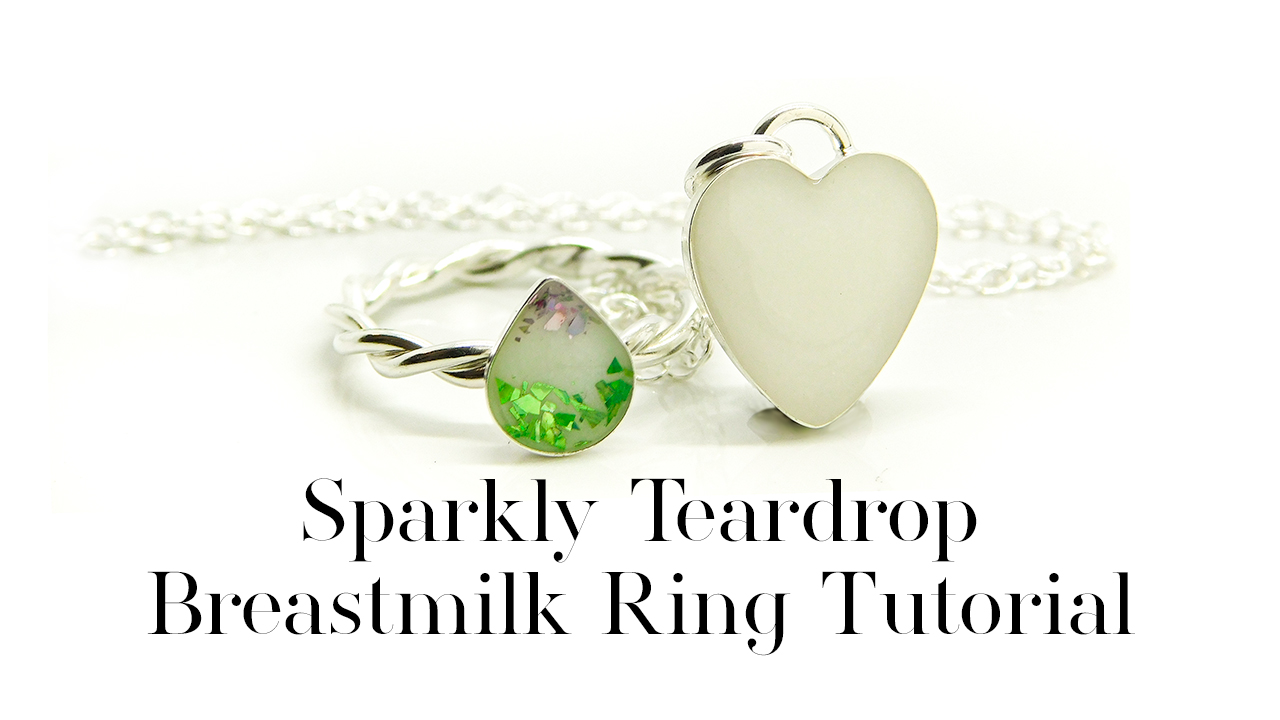
Sparkly Teardrop Breastmilk Ring Tutorial with bonus breastmilk heart necklace. Making a ring and pendant with UV resin. Keepsake jewellery using a direct pour technique. In the video I’m showing you how to work with removing bubbles, and you’ll find more info in our Advanced Breastmilk Jewellery Course. Recently I’ve created two free courses to help people learn how to make breastmilk and memorial jewellery – click here to register and take them!
I’m using one of our solid silver rings which are great for rubbing over a stone or direct pouring; this is our Twisted Heart Ring which is also available in gold vermeil (coming soon!). The breastmilk kit option for the heart bezel ring comes with a practice setting. I make these rings and necklaces by hand from solid silver and they’re also available as breastmilk or memorial jewellery on TreeOfOpals.com. I sell them without milk, and you can buy the ring by itself, or as part of a kit with everything you need to to add your own breastmilk, or you can order 100 at a time!
You can read about different types of silver here in Types of Silver and our twisted bands are made from 940 purity Argentium silver, so a little purer and more tarnish-resistant than sterling silver.
Sparkly Teardrop Breastmilk Ring Tutorial Video
After your first order you’ll receive a reasonable 15% off future purchases*. Firstly, when making breastmilk jewellery send your client a sending kit, see this blog How To Make Sending Kits for advice on instructing clients on sending in fur, here are the sending kit instructions templates and here are the breastmilk sending tubes we sell. This client returned their kit by Special Delivery and we ask them to give us the tracking number so I can look out for it.
Pro Tip: You can work with several pieces at once. You can technically do two clients’ orders at once, so long as they’re very different pieces. For example, a breastmilk ring and a cremation ashes bead. This means you’re always busy and not standing there waiting for pieces to cure. You must keep your work station incredibly clean and use separate tools. Never work on two different clients’ breastmilk at once in case you mix up the milks!
You’ll need the following supplies
All of our rings are available as ashes and fur kits which contain everything but the UV lamp and scissors, but I’m listing the supplies I used below individually for professionals wanting to get the best possible results:
- Twisted Heart Ring with breastmilk kit
- 12mm heart bezel necklace setting
- necklace chain or dangle charm bail setting or carabiner clasp
- white tack
- pestle and mortar
- Padico Star Drop UV resin (optional)
- UV pen light or SUN3 48w LED UV lamp
- reverse action tweezers
- holographic flakes
- sparkle applicators (optional)
- ring sizing stick (optional)
- silica gel sachets (optional)
- silver polishing cloth (optional)
Sparkly Teardrop Breastmilk Ring Tutorial
Preserve, Dry and Grind the Breastmilk
I have other tutorials showing you how to preserve, dry and grind the milk to a fine powder. I already ground this client’s milk a few days ago, then put it back in a sealed bag with some silica gel sachets. I did this to get the powder ultra fine by removing the smallest traces of moisture. Grind it a little bit more just before you begin
Add Resin and Work in Layers
Put a small drop of resin on a piece of label backing paper, then add a bit of the milk powder and combine to make a milk paste
Put a piece of White Tack onto something you can move around easily, such as an upside down ramekin. Stick your necklace setting on top and this keeps it in place. Add a very thin layer of the breastmilk resin paste all around the base and the sides. Cure with a UV pen light, or a UV lamp if you have one. About a minute is great.
Whilst it’s curing, you can work on the ring. I find clamping it in a pair of reverse action tweezers (also called a “third hand”) keeps it steady, but there are lots of ways of doing it. Some artists wrap Sellotape round an egg cup and cut a hole big enough for the ring, and some prop the ring in White Tack in a milk bottle top. So long as it’s steady and easy to move, give it a go! Again, add a thin layer of the milk resin around the bottom and sides, then cure.
Your second layer for the necklace can be a bit more translucent, so long as you can’t see the metal through the milk at this point. Add clear resin then swirl in some milk paste. I went for an opaque look here so I mixed in the milk completely. Cure again.
Top Coat
Repeat the layers until you’re nearly at the top. They can all be as opaque or translucent or swirled as you like. The final few layers of this necklace will be clear resin. You can see I’m fishing out a bubble here before I cure it.
Sometimes I like to go off and do something else in between so that pieces can cool down after curing each layer. This is important if the piece feels warm. Go grab a coffee, answer an email or prepare the box to ship the order in.
This ring is a mystery piece for my client and I knew that they were a size J and gave no preference on colour. I wanted to add a pop of pretty and sparkly contrasting colours. I added a very, very thin layer of clear resin first. I chose the new apple green and violet silver holographic flecks and placed them with a small sparkle applicator (there’s a link to all my supplies in the video description). Cure this briefly so the sparkles don’t float up into the top coat.
Meanwhile add as many layers of clear to your necklace as you need, then add the clear layer to the ring. I only needed one layer on the ring, whereas the necklace took three. In the second layer, when the piece had finished curing, I noticed a few microbubbles had popped on the top so there were tiny dents. With the third clear layer, I blew carefully on the resin and waited a few minutes before curing, checking carefully for bubbles first.
Add Findings and Finish
When your pieces are finished curing and cooled down, give them a polish with a silver polishing cloth before you wear them. You can add a chain or a dangle charm setting to the heart pendant, whether you want to wear it as a necklace or on a European or large link bracelet. If you’d like a video on how to open and close jump rings and different kinds of settings, please let me know in the comments.
I’m so grateful for my client’s permission to film this anonymously as part of my series of courses to make breastmilk and memorial jewellery
Now relax and do some crafting
@keepsakersuppliesSparkly Teardrop Breastmilk Ring Tutorial with bonus heart necklace – a tutorial for making a breastfeeding keepsake ring and breastmilk necklace or dangle charm. Thank you to my client for permission to film this video anonymously. Please wear full PPE and don’t do this around children or pets. Here’s where to see the full blog with the video transcript and all the equipment I used: https://bit.ly/3RAiAQz♬ original sound – Keepsaker Supplies
@keepsakersuppliesSparkly Teardrop Breastmilk Ring Tutorial with bonus heart necklace – a tutorial for making a breastfeeding keepsake ring and breastmilk necklace or dangle charm. Thank you to my client for permission to film this video anonymously. Please wear full PPE and don’t do this around children or pets. Here’s where to see the full blog with the video transcript and all the equipment I used: https://bit.ly/3RAiAQz♬ original sound – Keepsaker Supplies
