A tutorial to set a resin sphere, also known as a “pearl” or an “orb” with glue-on, partial drilling, full drilling and wire wrapped settings. You’ll learn what each of these terms mean and also how to cover the pouring spout for a beautiful finish on your spheres or pearls. You can create beautiful jewellery for your clients with their breastmilk, cremation ashes, lock of hair or fur, umbilical cord or placenta.
Here’s my YouTube tutorial How to Make a Forget Me Not Orb
You will struggle to nicely finish a sphere if the pouring spout is too big, if the mould is dull or overused. We recommend you start with a fresh shiny mould from our selection here (click). We have them from 6mm to 20mm and a full set is available here
Please see our individual country-specific blogs for shopping supplies: The UK version of the list is here, USA, Australia, Canada, other EU countries (coming soon) and non-EU countries (coming soon).
Preparing To Set a Resin Sphere
When your piece is fully cured, remove it from the mould. If you’ve used UV resin like ours here then give it a wipe over with a high proof alcohol on some cotton wool or white cotton fabric scrap (old kids’ vests are perfect!). You may have a little dip round the pouring spout if you under-poured, in which case add a little more resin to make the surface smooth. Even if you’ve used epoxy resin for your main pour, you can use UV resin to fill this dent.
If you’ve got a lip where the spout was where you poured, you can cut, saw or file off the excess. Don’t forget to wear the right PPE when filing resin – a good mask or at least the nail technician style mask. The “holy grail”, for me, in resin work is to just have the tiniest lip on a piece that can be removed with my fingernails. UV resin can be a little bit brittle so if you have too much excess and try to cut it away, you may accidentally lose a chunk of your piece. The safe way to remove it is with a burr drill bit on your rotary tool


How to Set a Resin Sphere – The Easiest Ways
1. Pearl Cage Resin Spheres
The easiest way to set a resin pearl is to place it in a ready-made pearl cage. You can get these on various jewellery making websites and there are lots to choose from on Etsy. You need to be careful because they almost all come from China and the price doesn’t necessarily guarantee if it’s solid sterling silver. You can sometimes tell if a British or US seller is reselling by comparing the photos.
This angel wing pearl cage looks like a good option because the seller offers both silver plated and sterling silver (this one is sterling silver).

angel wing pearl cage
2. Partially Drilled Resin Spheres
As above, you’ll need a nice even sphere, then mark the centre of the pouring hole with a Sharpie and make sure it’s central. I prefer to use a hand drill for drilling just a little bit, for accuracy, like this Archemedes Drill with a 0.8mm drill bit. Again, don’t forget to wear the right PPE when filing resin – a good mask or at least the nail technician style mask.

Drill down the length of you need for the setting (you can mark the depth on your drill bit with a bit of washi tape which is also perfect for keeping your metal stamping straight). It’s usually about 4mm deep you’ll need to go to glue on a bail.
Bails are easy to source from most silver suppliers but the difficulty is finding one wide enough to cover your pouring hole to set a resin sphere. A small pearl (6-8mm) will be ok with a small 4mm wide bail, but anything 9mm or larger we recommend a wide bail like this.

Use glue to stick on the bail, I like Araldite Jeweller’s Glue, and combine the parts A+B on a little label backing paper (if you don’t regularly use labels, ask at your local Post Office because they have bins full of this stuff they can give you). Apply the glue with the toothpick inside the hole you drilled and around the inside of the bail then push in place. You can wrap the whole thing in a piece of cotton fabric to hold the bail in place whilst it dries.
These are quick and easy to make but the disadvantage is if your client pulls the sphere too hard, it could come apart. Fully drilled spheres are more secure – keep reading to find out how to make them!

3. Fully Drilled Resin Spheres
Just as with the partially drilled resin sphere, mark the centre of the pouring hole with a Sharpie and make sure it’s central. You can drill the hole by hand/with an Archemedes Drill or with a rotary tool fitted with a 0.8mm drill bit.
For accuracy, especially if you’re working with something irreplaceable like someone’s last lock of their loved one’s hair, you should consider investing in a pearl drill. Whichever method you use, please don’t forget to wear the right PPE when filing resin – a good mask or at least the nail technician style mask.
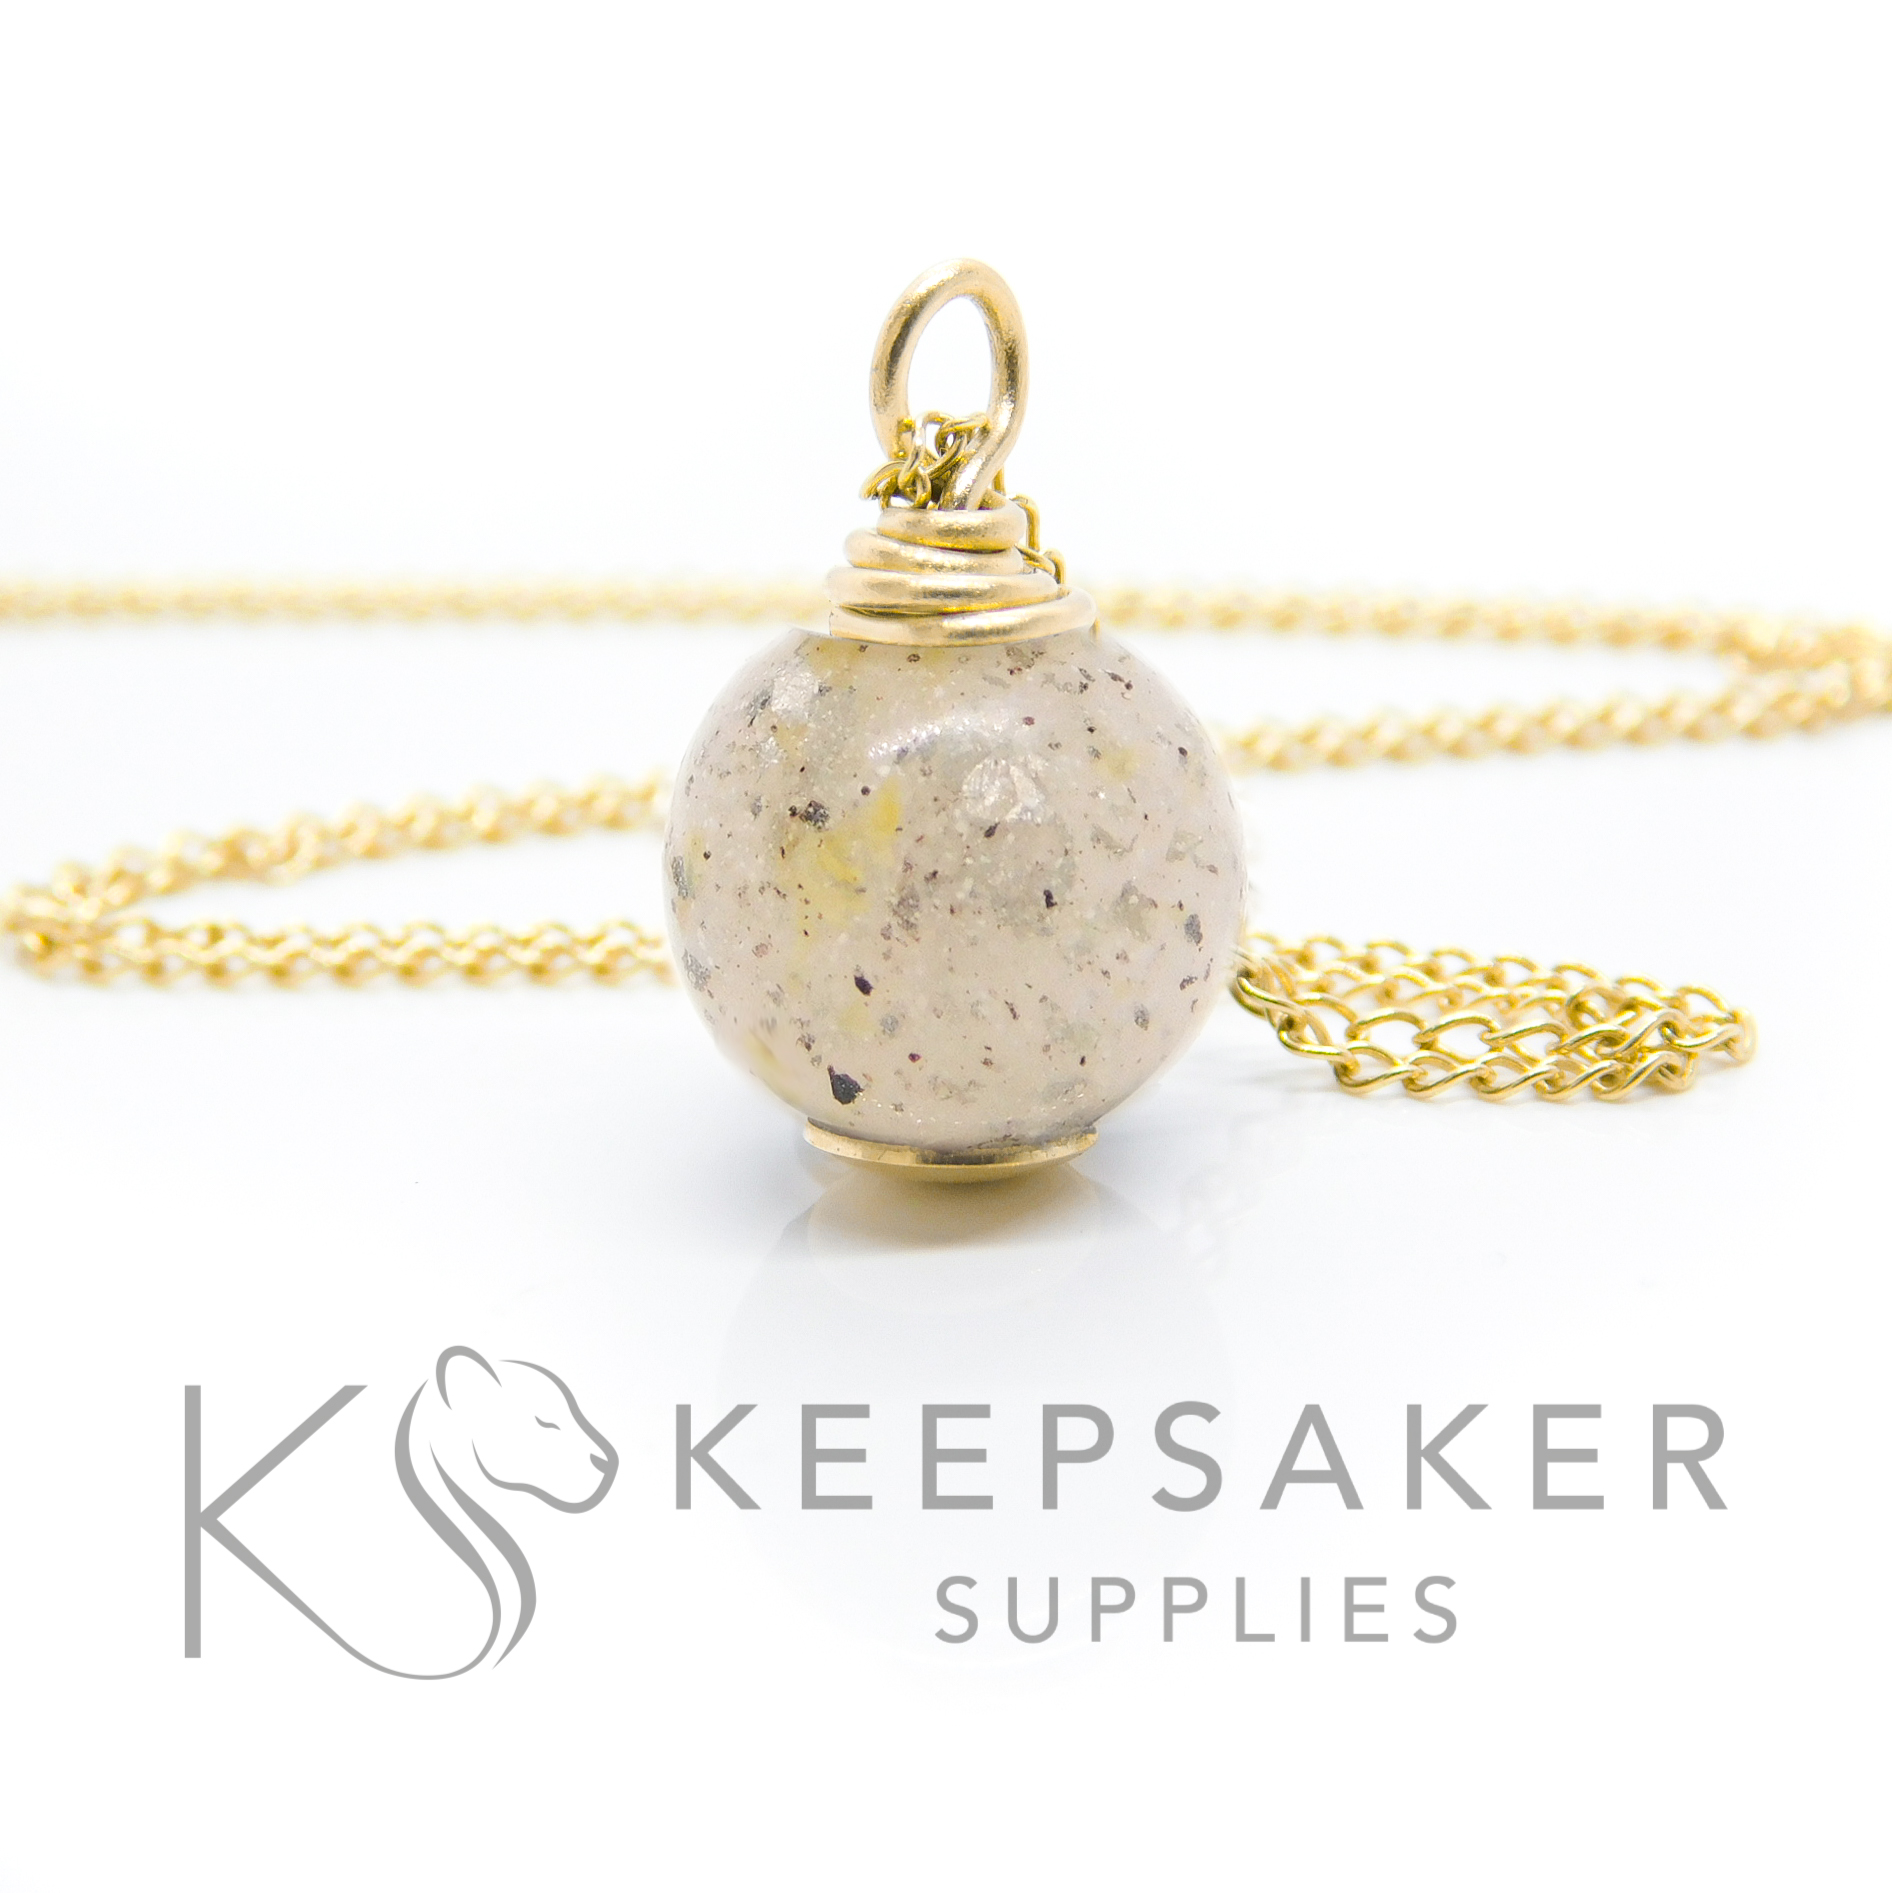
Wipe the sphere again with some alcohol and cotton wool or white fabric scraps. Then you’ll need a long flat base head pin which will cover some of your pouring area. You can also put the pouring area on the top and add an 8mm bead cap like this one.
Using a pair of bail and looping pliers you can create a beautiful bail to set a resin sphere, through which you can thread a silver necklace chain for your customer. You could alternatively add a 6mm solid silver split ring and a lobster clasp to make a dangle charm for Thomas Sabo style bracelets.
You can purchase silicone sphere moulds from our shop here and by following the links above you can find the right supplies and support our blog at the same time.
This page contains affiliate links meaning we may receive a small amount of commission based on your purchases with no extra cost to yourself.

[…] Set a Resin Sphere […]
Great Post. Thanks for sharing.