Black Resin Hair Sphere Tutorial – advanced technique memorial lock of hair orb with bello opal. Two ways of adding gold leaf to an orb or bead and curing black UV resin. You can also see our Placenta Orb Necklace Tutorial and How To Make An Ashes Orb blogs. We have two free courses to help people learn how to make breastmilk and memorial jewellery – click here to register and take them! The voiceover text is below.
How To Make A Black Resin Hair Sphere Tutorial Technique Video
KS YouTube post | 2026-03-12
TO Insta post | 2026-03-12
KS TikTok post | 2026-03-12
@keepsakersupplies Black Resin Hair Sphere Tutorial – advanced technique memorial lock of hair orb with bello opal. Two ways of adding gold leaf to an orb or bead and curing black UV resin #PadicoStarDrop ♬ original sound – Keepsaker Supplies
You’ll need the following supplies
-
- the client’s hair or pet’s fur
- Gold Orb Necklace Kit (this includes an 11mm sphere mould, a gold domed headpin, resin sparkle mix (I’m using vampire black in this video), 3 cocktail sticks, gloves, dust mask, label backing paper, 10g bottle of UV resin, 1mm drillbit, some sandpaper)
- gold leaf
- synthetic opal
Tools and Equipment
- pestle and mortar
- LED UV lamp to work with UV resin
- a USB drill
- round nose pliers
- wire cutting pliers
RECEIVING HAIR
*You can check this blog How To Make Sending Kitsfor advice on instructing clients on sending in hair, here are the sending kit instructions templates and here are the 3ml Sending Pots we sell. You can ask someone to send a photo of the hair next to a penny for scale. If it looks white/blonde/light then suggest they put the hair in water to see if it retains pigment or appears see-through.
Hi I’m Nikki Lovegrove and welcome to Keepsaker Supplies
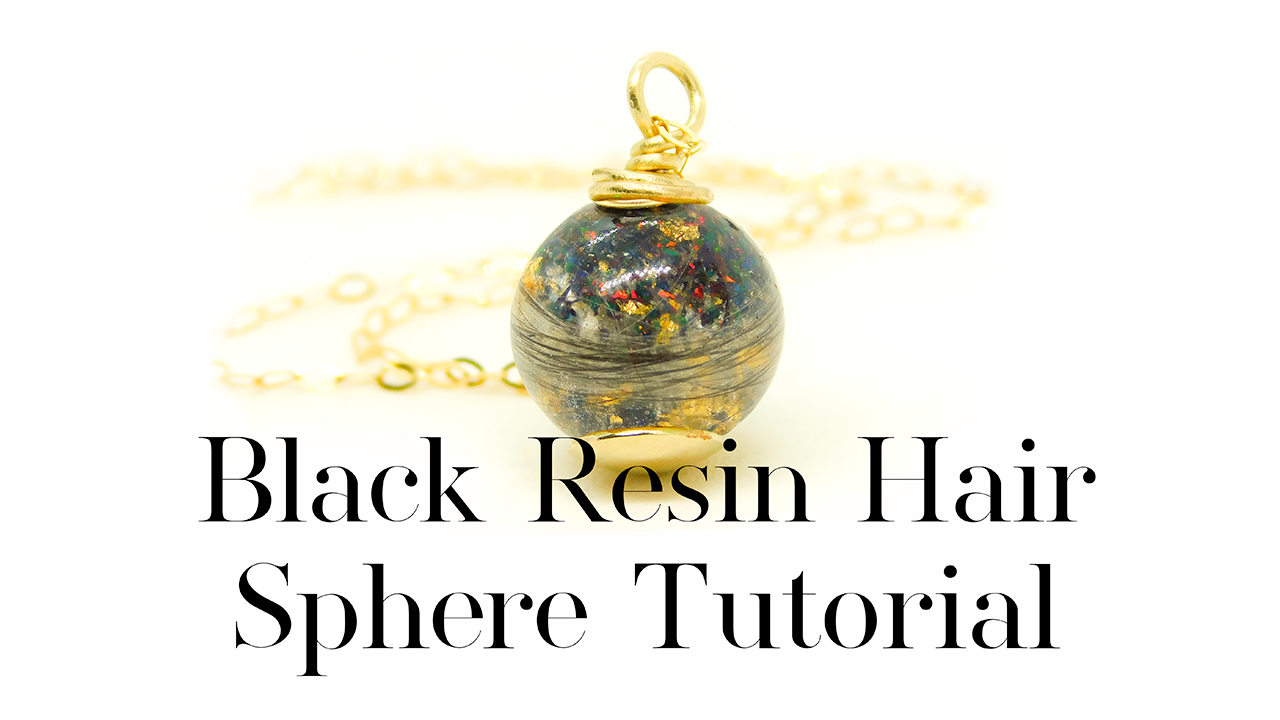
Today I’m showing you you how to make this memorial lock of hair orb with bello opal. We’ll talk about hair visibility, I’ll show you two ways of adding gold leaf to an orb or bead and curing black UV resin. The kit you need to make one of these is for sale on KeepsakerSupplies.com and you’ll find the link in the description and the comments. This video is filmed with my client Emma’s permission. Thank you for allowing me to show your mum’s hair to help my students, this is dedicated to her for Mother’s Day.
You can ask your client to send a photo of the total amount of hair they have. Make sure they never send the whole amount, just in case it’s lost in the post. If the hair looks very light in colour, you can suggest they hold it in some water to see if it goes see-through. Most “grey” human hair can be hard to see in resin, the water trick gives a better idea of what’s possible. Emma’s mum’s hair has come up very, very well in the finished orb, but hair won’t always be this visible. To prepare the hair, lay down a line of clear resin on label backing paper. Separate a piece of hair from the rest and trim if needed, put the trimmed hair and the main lock back safe in the pot. Lay the hair on the resin and arrange it nicely.
Add a bit more clear resin to soak into the hair and move it around so it’s thoroughly coated. Now trim the lock, this bit is completely your choice as to how long you’d like it. It’s a little easier if it’s shorter but I prefer the look when it’s wrapped around twice. I cut this hair in half at a sharp angle so when it’s in the mould it doesn’t look like a harsh cut line. The next bit takes a bit of practice. Getting the hair into the orb is easier the larger the hole on your mould, but the smaller the pouring spout, the easier it is to finish later. We make the hole on our moulds about 4mm wide which feels perfect for me. You’ve just got to use patience to poke it in, being super careful not to poke the mould or you’ll get little dots on your finished orbs! Don’t cure yet.
Once it’s in, gently place it roughly in the correct area, I like mine round the equator. Now fill the mould with clear resin, don’t cure just yet either! Meanwhile, I’ve realised my black is running low so I’m adding the vampire black resin sparkle mix refill to the opaque pot, about halfway up, then cover with clear Padico resin and stir it in, adding more of each as needed. Try and be a bit neater than I was, but if it spills I clear my work area straight away.Add a little black to the top of the mould then some gold leaf and start to stir it in around the centre and bring it to the edges in a few places.
For the second orb I’ve added the hair then I’m putting in the gold leaf before the resin. Give it a little squeeze if you’ve got any large bubbles. You can’t use a heat gun for these internal bubbles but I have been meaning to try a vibration stick but there are certain kinds I wouldn’t want to show in these tutorials! I’m ordering a special kind soon that’s designed for bubble removal so I’m not removed from here…
———-
Next add some of your colour and if you’d like you can add bello opal. I used kuratobi black, which I use as a “mourning black”. If you bring the black all the way round the outside of the orb and it’s opaque you WILL find it doesn’t cure inside. Instead, I like to use a technique I call the Beachball Resin Technique. In my solid gold ashes orb tutorial I go into more detail on this technique. The resin should be flush with the bottom of the pouring spout, slightly underfilled is easier but not too much of a dip. After you make each orb, put it in the UV lamp for a 99 second low heat cure. I like to cure them at least three or four times each, turning after each cure. Whilst they’re in, clean your workstation. Once the orbs have completely cooled down, you can remove the spheres from the mould. Don’t be tempted to touch them sooner. I put them on a cold tile to speed it up. Arrange them somewhere you can take a photo for your client to make a choice and send them a photo.
Emma asked to see an option with citrine colours for the November birthstone too. If you’d like to see more birthstone pieces then please let me know in the comments. To finish an orb, cut away the excess with side cutting pliers then sand with a diamond file or a carbide burr bit in a Dremel. Make a dot right in the centre of the pouring hole and drill all the way through the centre. Finish with a headpin; my placenta orb tutorial has an in depth walk-through of making a bail with a headpin. I also made Emma a small thank you token with her mum’s handwriting on a pendant shaped like a small decoration she’d once given her. I love the way all of the orbs came out.
Thanks for watching and don’t forget to give it a thumbs up. I promise to start posting new content again now I’m settled in the new workshop in Bath. Don’t forget I’ve linked to the blog and all the supplies you need down below. Now relax and do some crafting!

