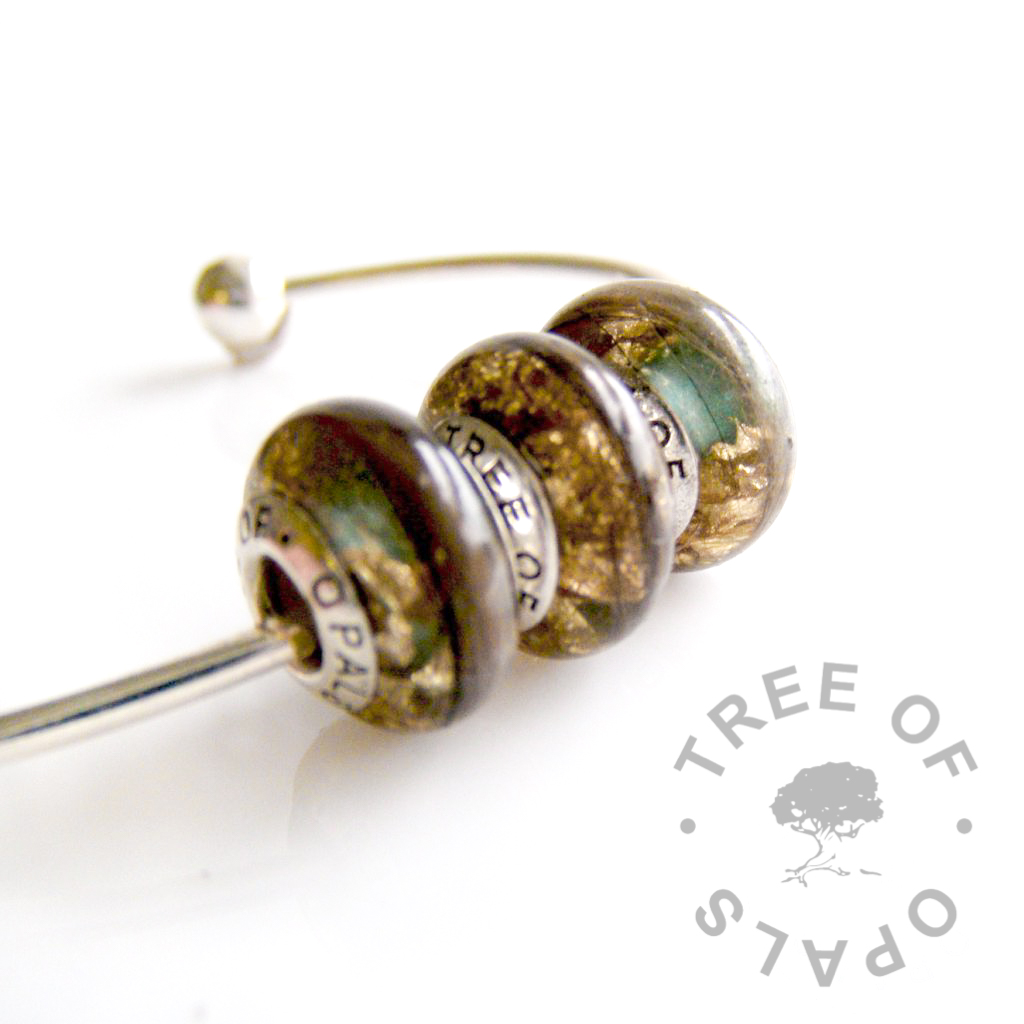
Adding a coloured core for European beads or Pandora style charms is easy when you’re working with resin.. There are two methods:
1) adding a core of fabric or mylar to the mould
2) colouring the core afterwards
Cord and Hair Bead Tutorial with Core Painting Technique Video
Learn to make baby keepsake jewellery using a silicone mould in this tutorial. This technique is ideal for making beads for your clients’ Pandora style bracelets. Finishing the bead with a painted core then adding a solid sterling silver engraved core finding.
For any resin work don’t forget to use correct PPE (personal protective equipment) such as gloves etc and see our list of supplies for UK, list of supplies for the USA and more to follow. Make sure you’re working in a nice clean, organised and relaxed environment away from children and pets (if possible… many a cat will sneak into a studio and, well, cats don’t accept orders!)

Why Add a Coloured Core?
You may want to include a Coloured Core for European Beads with sentimental fabric for a client, a special patterened background to a lock of hair or fur charm (or breastmilk if you’re adding opaque milk shapes). You may only have a tiny amount to work with and the client isn’t sure what colour they’d like so you can show them different options before they commit by adding colour afterwards. It gives a nice, deep. layered effect to have a different coloured core and you can still add metal leaf, for example, to the resin charm bead. In fact, you can even use precious metal leaf as the coloured core for a guilded look.
1. Adding a Fabric Core
To prepare a piece of fabric, such as a wrapscrap, you need a piece around the size of a playing card. You can pull a thread through to get a straight line to cut. Mix a little PVA glue (Elmer’s glue) with water 50:50 with a lollipop stick in a little measuring pot. I like the ones with the measurements on the side like this which you can use for resin (although if you’re working with epoxy resin I highly recommend weighing it out for accuracy). Soak the fabric in the mixture well and squeeze out the air bubbles, then lay it on a piece of label backing (the kind I recommend for working with hair), which is the perfect way to recycle the backs of your shipping labels.
Once it’s completely dry, take it off the backing paper and cut out a small rectangle. This takes practice to know the perfect height and width for your mould. It needs to be a little longer than the circumference of the silicone core in your mould plus a little overlap. When you’ve got it right, use a tiny dot of superglue to turn it into a little tube then put it in the mould. I recommend making at least two using interesting bits of the fabric. Add resin, like our UV resin here, in the usual way (don’t forget to add any hair first) and any other elements/inclusions. Cure as normal then be careful when drilling off excess. You’ll find it easier if the fabric cylinder isn’t too tall, but be careful it’s not too short or it won’t cover the whole core. It takes practice!
2. Adding a Coloured Core
Sometimes you’ll take a charm bead out of the mould and think that the colour isn’t deep enough, or you might want to add a different colour layer or even to give the client the choice of colour. You might need to widen the hole first because you’re adding another layer, you want it to still fit your client’s Pandora bracelet! Removing some of the existing core of the charm bead gives you a “tooth”, something for the glue to adhere to. Use a good rotary tool and a large tooth cutting bit from the set you use to finish the charms. I like these wood cutting bits because they cut away the resin rather than sanding it, meaning the piece doesn’t get too hot. They work very quickly though so you might want to use the pink sandstone cylinder which comes with your rotary tool (you can buy more sandstone bits here) or a diamond bit like this.
Coloured Core for European Beads
I love to use our resin sparkle mix blends, because I don’t want to increase microplastic waste to the environment. You can use mica, which is totally environmentally friendly, but there are so many worrying reports of mica being mined by children that it’s safer to stick with lab-produced mica (harder to find). I’m hoping to come out with some blends soon of ethical, plastic-free sparkle mixes! You can also use acrylic paint for a strong pigment and mix a little sparkle in. Mix your colour/glitter with a small amount of UV resin or epoxy jewellery glue on label paper with a cocktail stick. Carefully paint inside the charm bead in thin, even layers. You can even use two or more colours. To test a colour, just mix with a tiny bit of water and paint it on, take a picture and send to your client. Once you’re happy, go ahead with the resin or glue. Once you’re finished adding your Coloured Core for European Beads then glue in a charm bead insert or set with a core like our Forever In My Heart cores.
Please see our individual country-specific blogs for shopping supplies: The UK version of the list is here, USA, Australia, Canada, other EU countries (coming soon) and non-EU countries (coming soon).
Please note, this blog contains affiliate links meaning we may receive a small income based on your purchases after clicks with no extra cost to yourself.

… [Trackback]
[…] Read More: keepsakersupplies.com/coloured-core-for-european-beads/ […]
[…] Coloured Core for European Beads […]