Breastmilk Jewellery – The Magic of DNA Keepsakes
Find out how easy it is to make DIY breastmilk jewellery at home. Learn the simple preservation process to make yourself a special keepsake, and how to launch your own profitable keepsake business with Keepsaker Supplies.

How Is It Done?
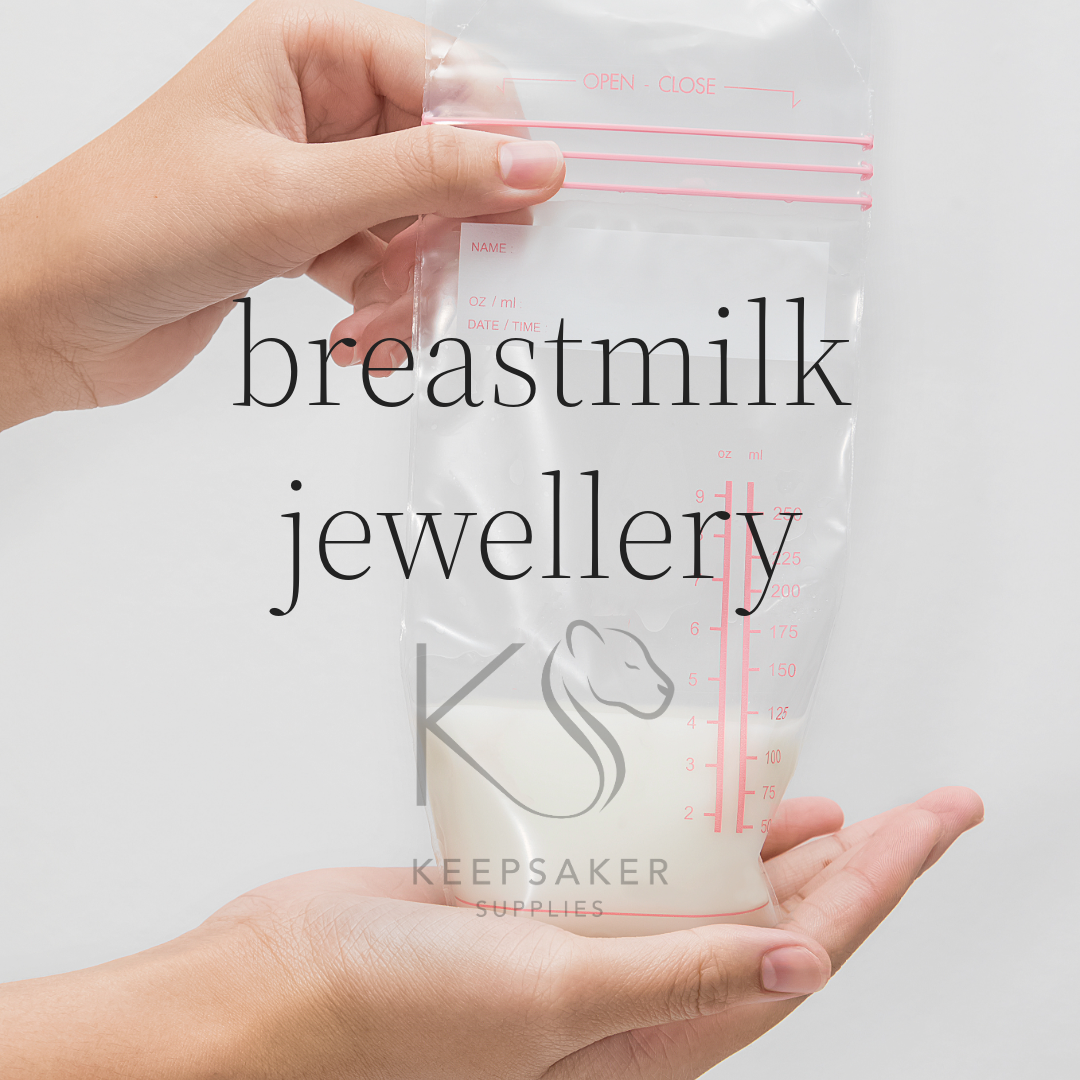
There’s a unique emotional bond between you and your baby when you breastfeed. So many of us want to preserve a tiny piece of it and we’ve made that possible with Breastmilk Preservation Powder and there are instructions here. You don’t need a chemistry degree or any expensive equipment, only a DIY kit, a bowl and saucepan and a UV lamp (or good strong sunshine!). Modern preservation powders (sold by us here at Keepsaker Supplies), it is accessible to anyone.
Is Breastmilk Jewellery Hard To Make?
“If you can bake a cake, you can make breastmilk jewellery.” To make the jewellery you preserve 5ml of breastmilk, about a teaspoonful, dry it, crush it up and mix it with resin. You put that into a mould or directly into the setting and cure under a nail lamp. If you make a mistake, you can file the cured resin with a nail file and add more resin and cure again.
Preservation is the only tricky part, and pre-made powder solves that instantly. Here’s the link to the Breastmilk Jewellery DIY kits we sell so you can get started. You only need a few drops of milk and honestly, it doesn’t matter if it’s a bit gone over. So long as there’s no visible mould growth, just pop some milk in the freezer until the powder arrives. If you’d rather not, then you can just order Breastmilk Jewellery from me at Tree of Opals.
Turning a Hobby into a Business
Breast milk jewelry is really popular. Since its creation in the 90’s, it’s gone from a niche skill to an accessible way to earn a little extra income or even grow to become a business with a shop and employees (and yes, tax, sorry…) I personally started out in 2015 with a little resin kit from Amazon and a couple of other curious friends in a Facebook group. I started Tree of Opals in August 2015 and was always happy to share ideas with other jewellers. Together, we figured out several ways to sucessfully preserve milk from freeze drying to ultra heat treatment and use of chemicals. Some of the chemicals are a bit scary and I wanted to offer a method for everyone using safe ingredients.

You don’t need a studio; a small table is sufficient. The powder isn’t dangerous (please don’t eat it, breathe it in, apply it to your skin or burn yourself) and you can speed up the drying so it’s ready to make jewellery the next day. A DIY kit is the perfect “test run” before buying bulk supplies to sell to others. Starting with just £50 for your own piece, or something for a family member, you can try out your artistry. Lots of my best wholesale clients started out this way and now have keepsake jewellery shops on the highstreet and full time members of staff.
Essential Supplies Checklist
Essentials:
- breastmilk jewellery DIY kit (comes with Breastmilk Preservation Powder)
- saucepan, wooden spoon and a bowl
- comes with UV Resin but you can use epoxy if you have it and are used to working with it
- UV light, a nail lamp or REALLY strong sunlight
- Comes with silicone moulds but you can buy more if you’d like to create different shapes or you can pour directly into some settings
- Jewellery Settings (Rings/Pendants) are included in the kits but you can add additional pieces such as earrings

pearly and iridescent shimmer orbs breastmilk necklace and earrings order
Start Your Journey
This is a learnable skill with high emotional reward. It’s super easy and if you change yoru mind, just send us the kit back with the milk (un-preserved or preserved) and we will finish it for a small extra charge and shipping.
-
Ready to create your first piece? Shop our All-in-One DIY Breastmilk Jewellery Kits today and start your keepsake journey. Link to any FAQ page regarding safety.
Nikki’s Breastmilk Jewellery Tutorials
Learn how to make breast milk jewelry with these videos, the blogs are here with all the supplies you’ll need
